Red Lentil Bread

There are many lentil bread recipes floating around the Internet right now, and I have tried several of them. None of those met my expectations. I’m not being picky; I don’t expect lentil bread to look and taste like normal bread, but besides being gluten-free, high in protein and low in carbs, I do have a few non-negotiables that any bread recipe must meet:

First of all, the recipe must be easy. The bread must be able to be sliced without falling apart. It must be firm enough to use in a sandwich without being dense and hard. It must be toastable. It must look appetizing (not grayish green). And it must taste so good that my husband, who is wary of any new recipe, will eat it. I knew that this recipe was a winner when he toasted it for his breakfast morning after morning and then asked when I’d be making it again. Winner!

Ingredients:

2 cups dry red lentils, soaked

1 cup real yogurt, unsweetened. (Greek or Bulgarian work well)

Egg Replacer equal to 4 eggs (I used Bob’s Red Mill brand)
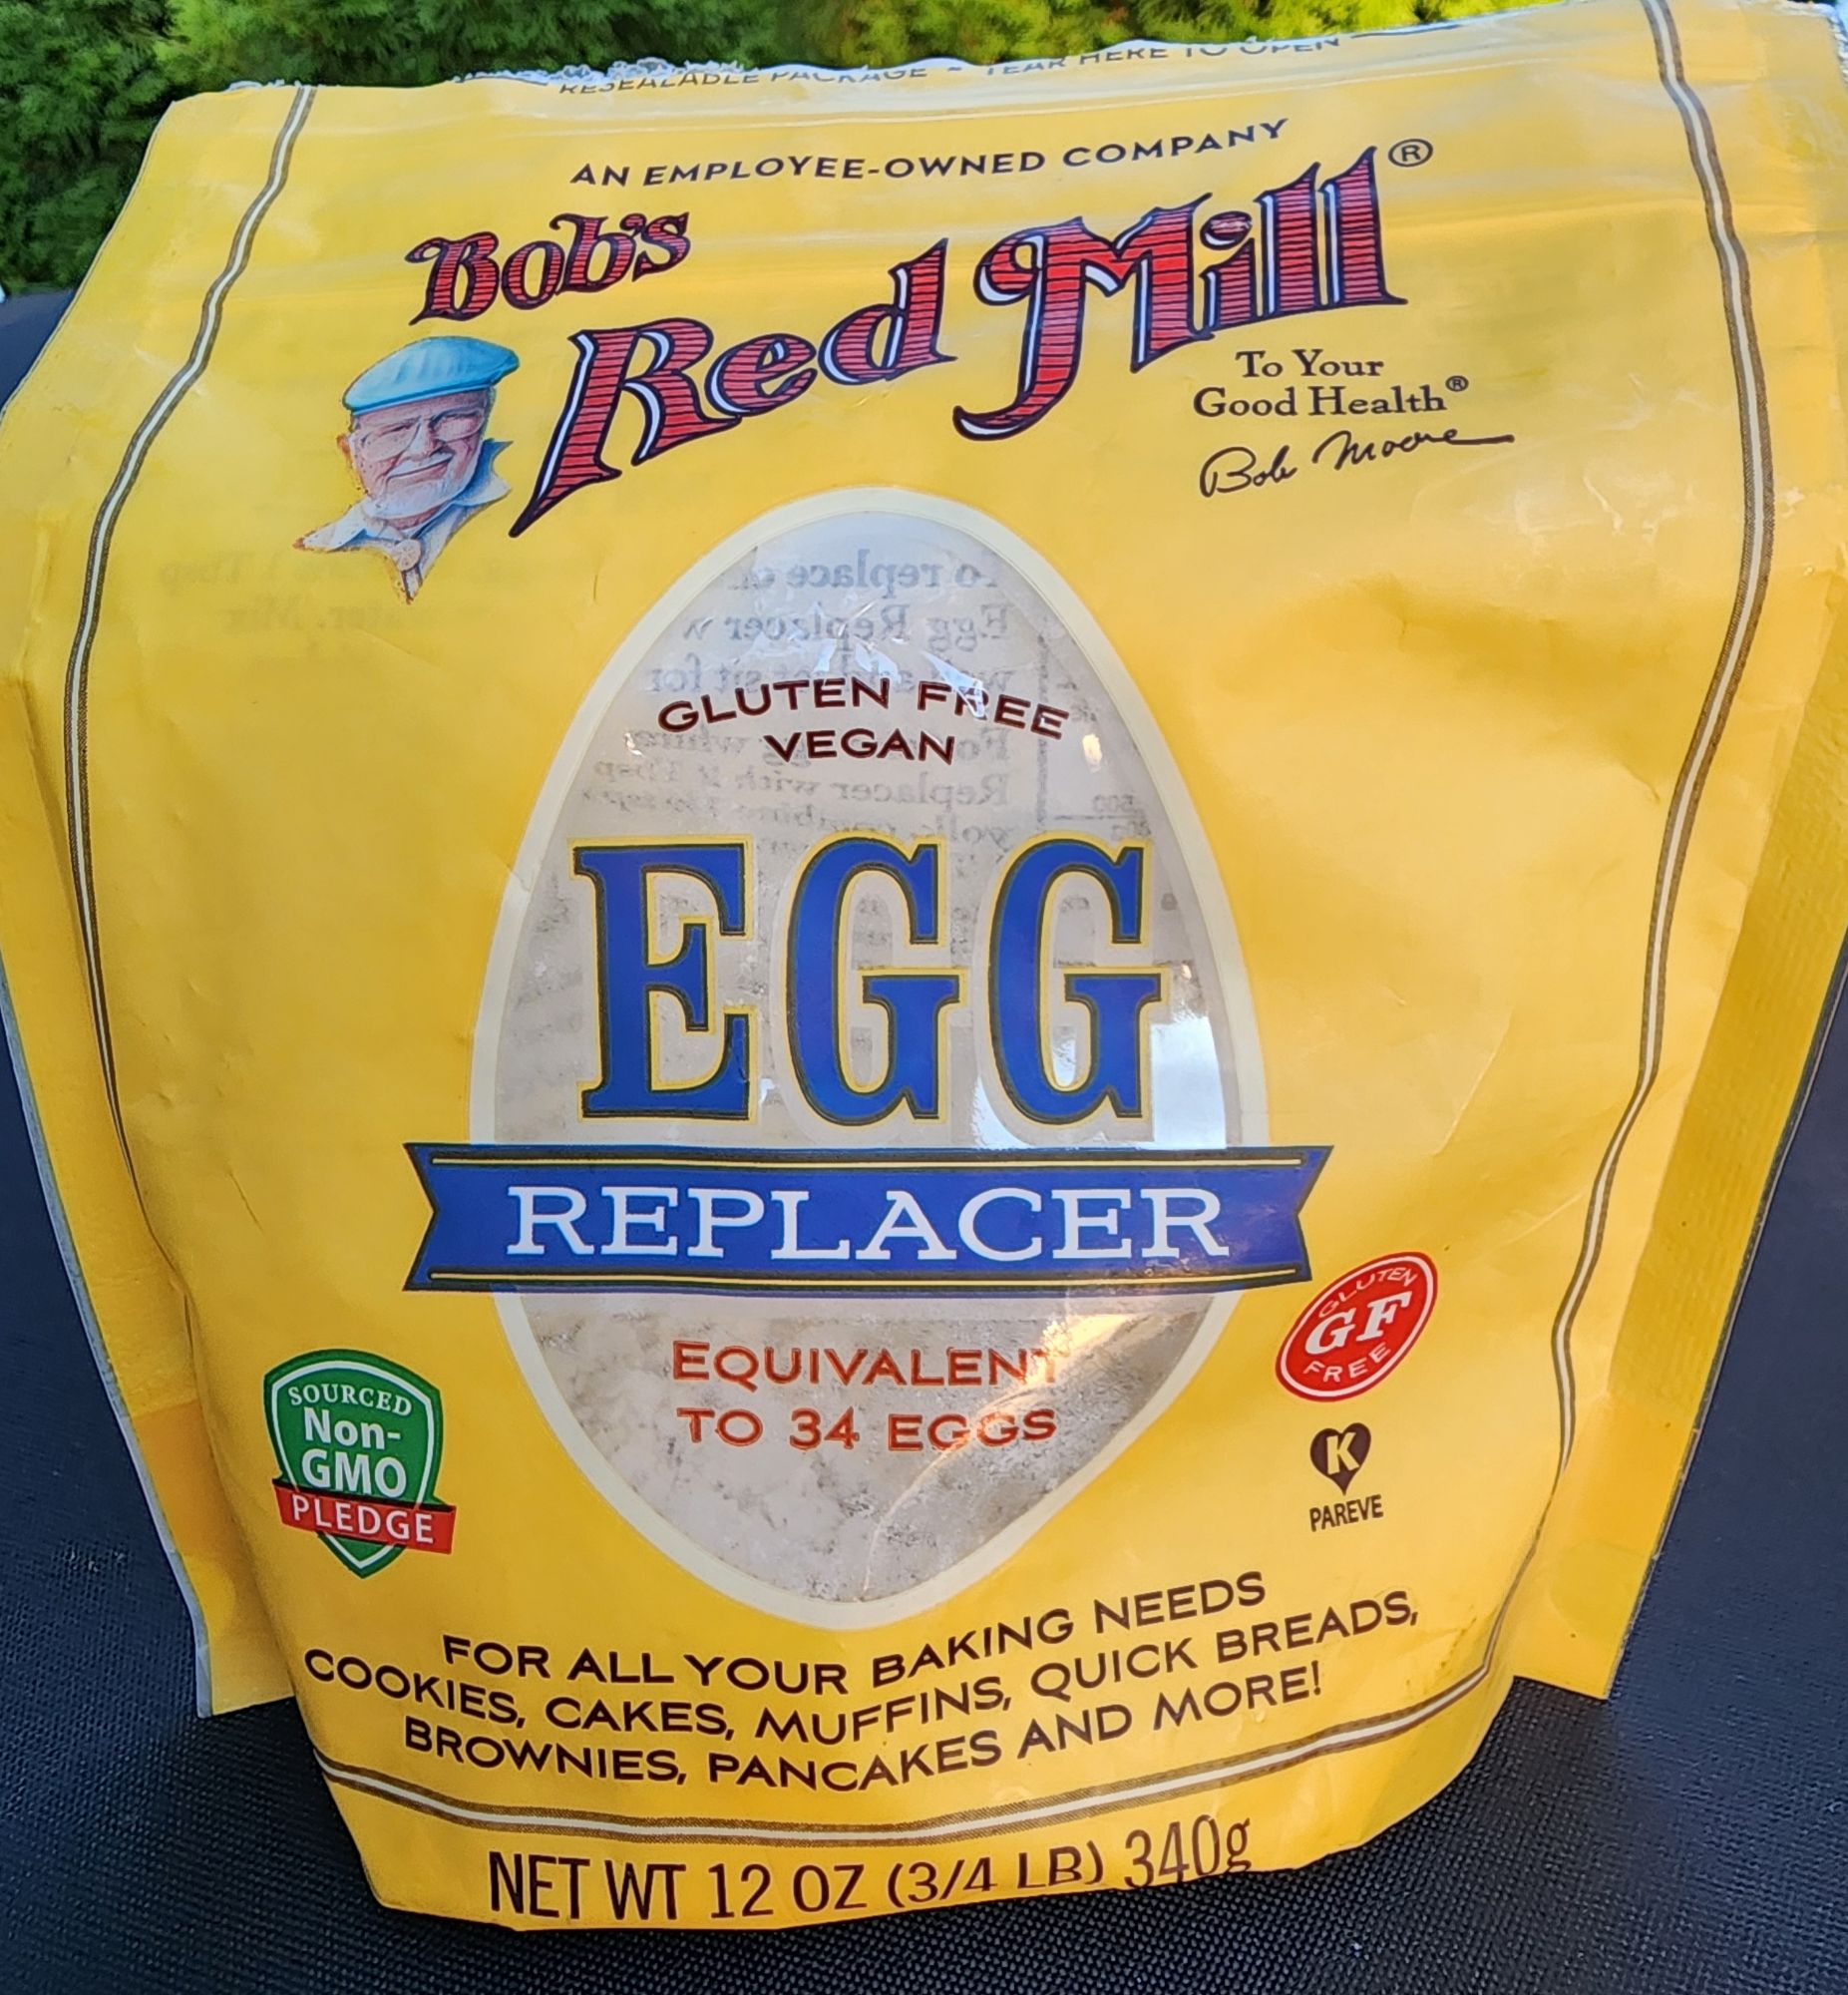
1/4 cup organic grapeseed oil

1 1/2 tsp. sea salt

1 1/2 tsp honey (to balance out all the salt)

1 Tbsp. baking powder

A handfull of assorted seeds of your choice to sprinkle on top (pumpkin seeds, sesame, poppy, sunflower, etc.)

Method:

To soak the lentils: First rinse them well and place them in a large mixing bowl, cover with purified water about 2 inches above the lentils. Place a cover or a large plate over the bowl and let them soak overnight or about 8 hours. They will soften and swell.

The next day drain the lentils and rinse well. Drain again.

Place the well drained lentils and all remaining ingredients in a food processor or a high-powered blender until a creamy batter forms.

Line a bread pan with parchment paper. Pour batter into the parchment lined pan and spread evenly.

Top the batter with seeds and gently press them down on the batter or they will fall off when you are slicing the bread.

Bake at 375 degrees for about 45 minutes. You want the top to be golden brown and springy to a light touch. I tested mine with a toothpick.

Cool the bread in the pan for at least 30 minutes, and then use the edges of the parchment paper to lift the loaf out of the pan. Cool completely before slicing. (Important- do not slice the bread while it is still warm or it will break apart).

When completely cool, I slice half the loaf into 1/2 inch slices and stack them with a small square of parchment paper between the slices. Store this container in the frig and remove slices as needed. The rest of the loaf can be sliced and stored just like that in a plastic container in the freezer or you can wrap it tightly in the same parchment paper you used for baking and cover that with an layer of aluminum foil. It will stay fresh to use whenever you want, just take out a slice at a time as desired.
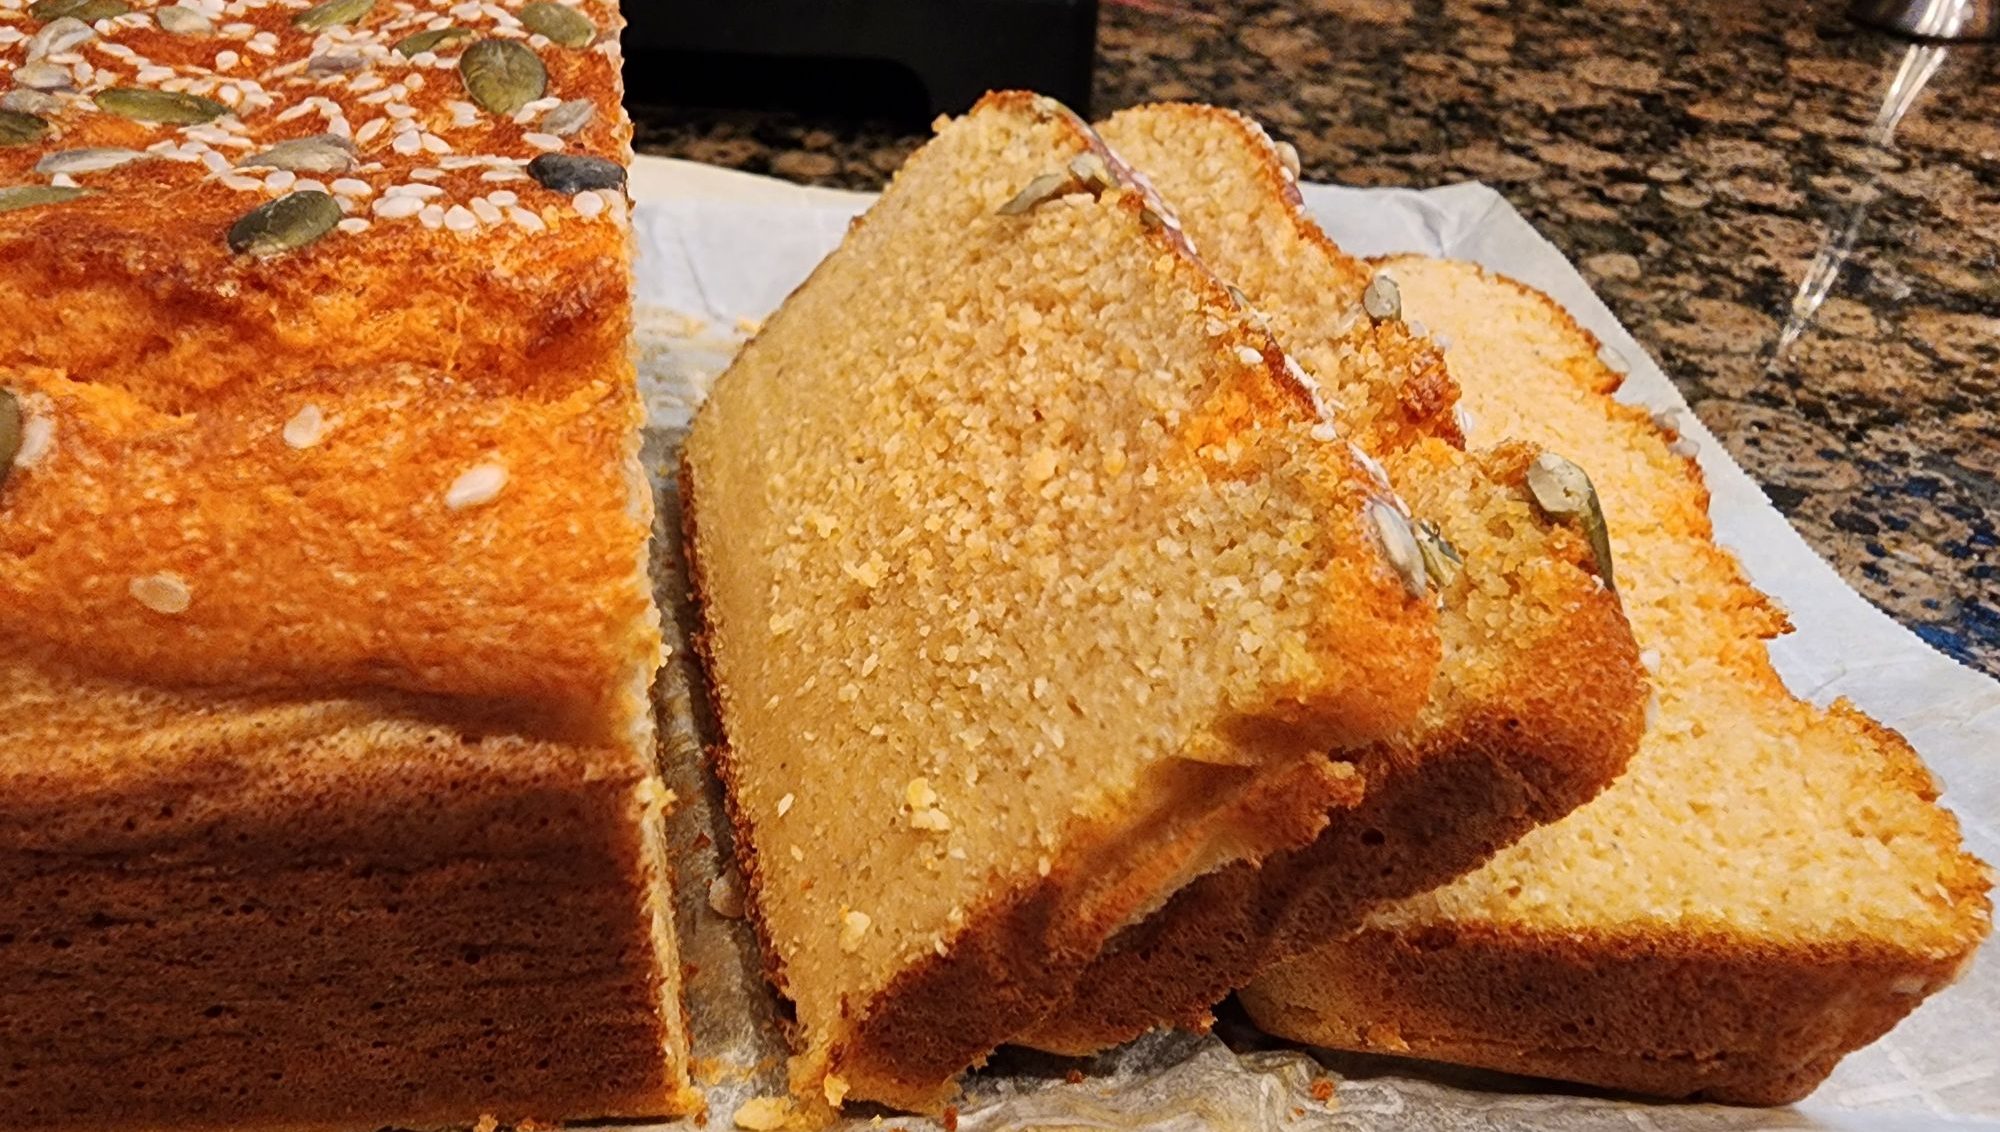
PS: My husband willingly makes his own lunch with this bread, but his favorite is breakfast toast with vegan cream cheese and strawberry jam. He says it keeps him full until the next meal. Success!
Mother’s Sourdough Bread

20200128_104749

First of all, I want to give credit to my friend, Mary Anne Williams, who graciously shared this recipe with me. According to Mary Anne, her mother’s bread was locally famous with family and friends. A friend once told her mother that all she wanted for her birthday was her bread, and that’s exactly what she got! (We should all have such a friend!) It really is delicious, and I will share the recipe just as it is written.

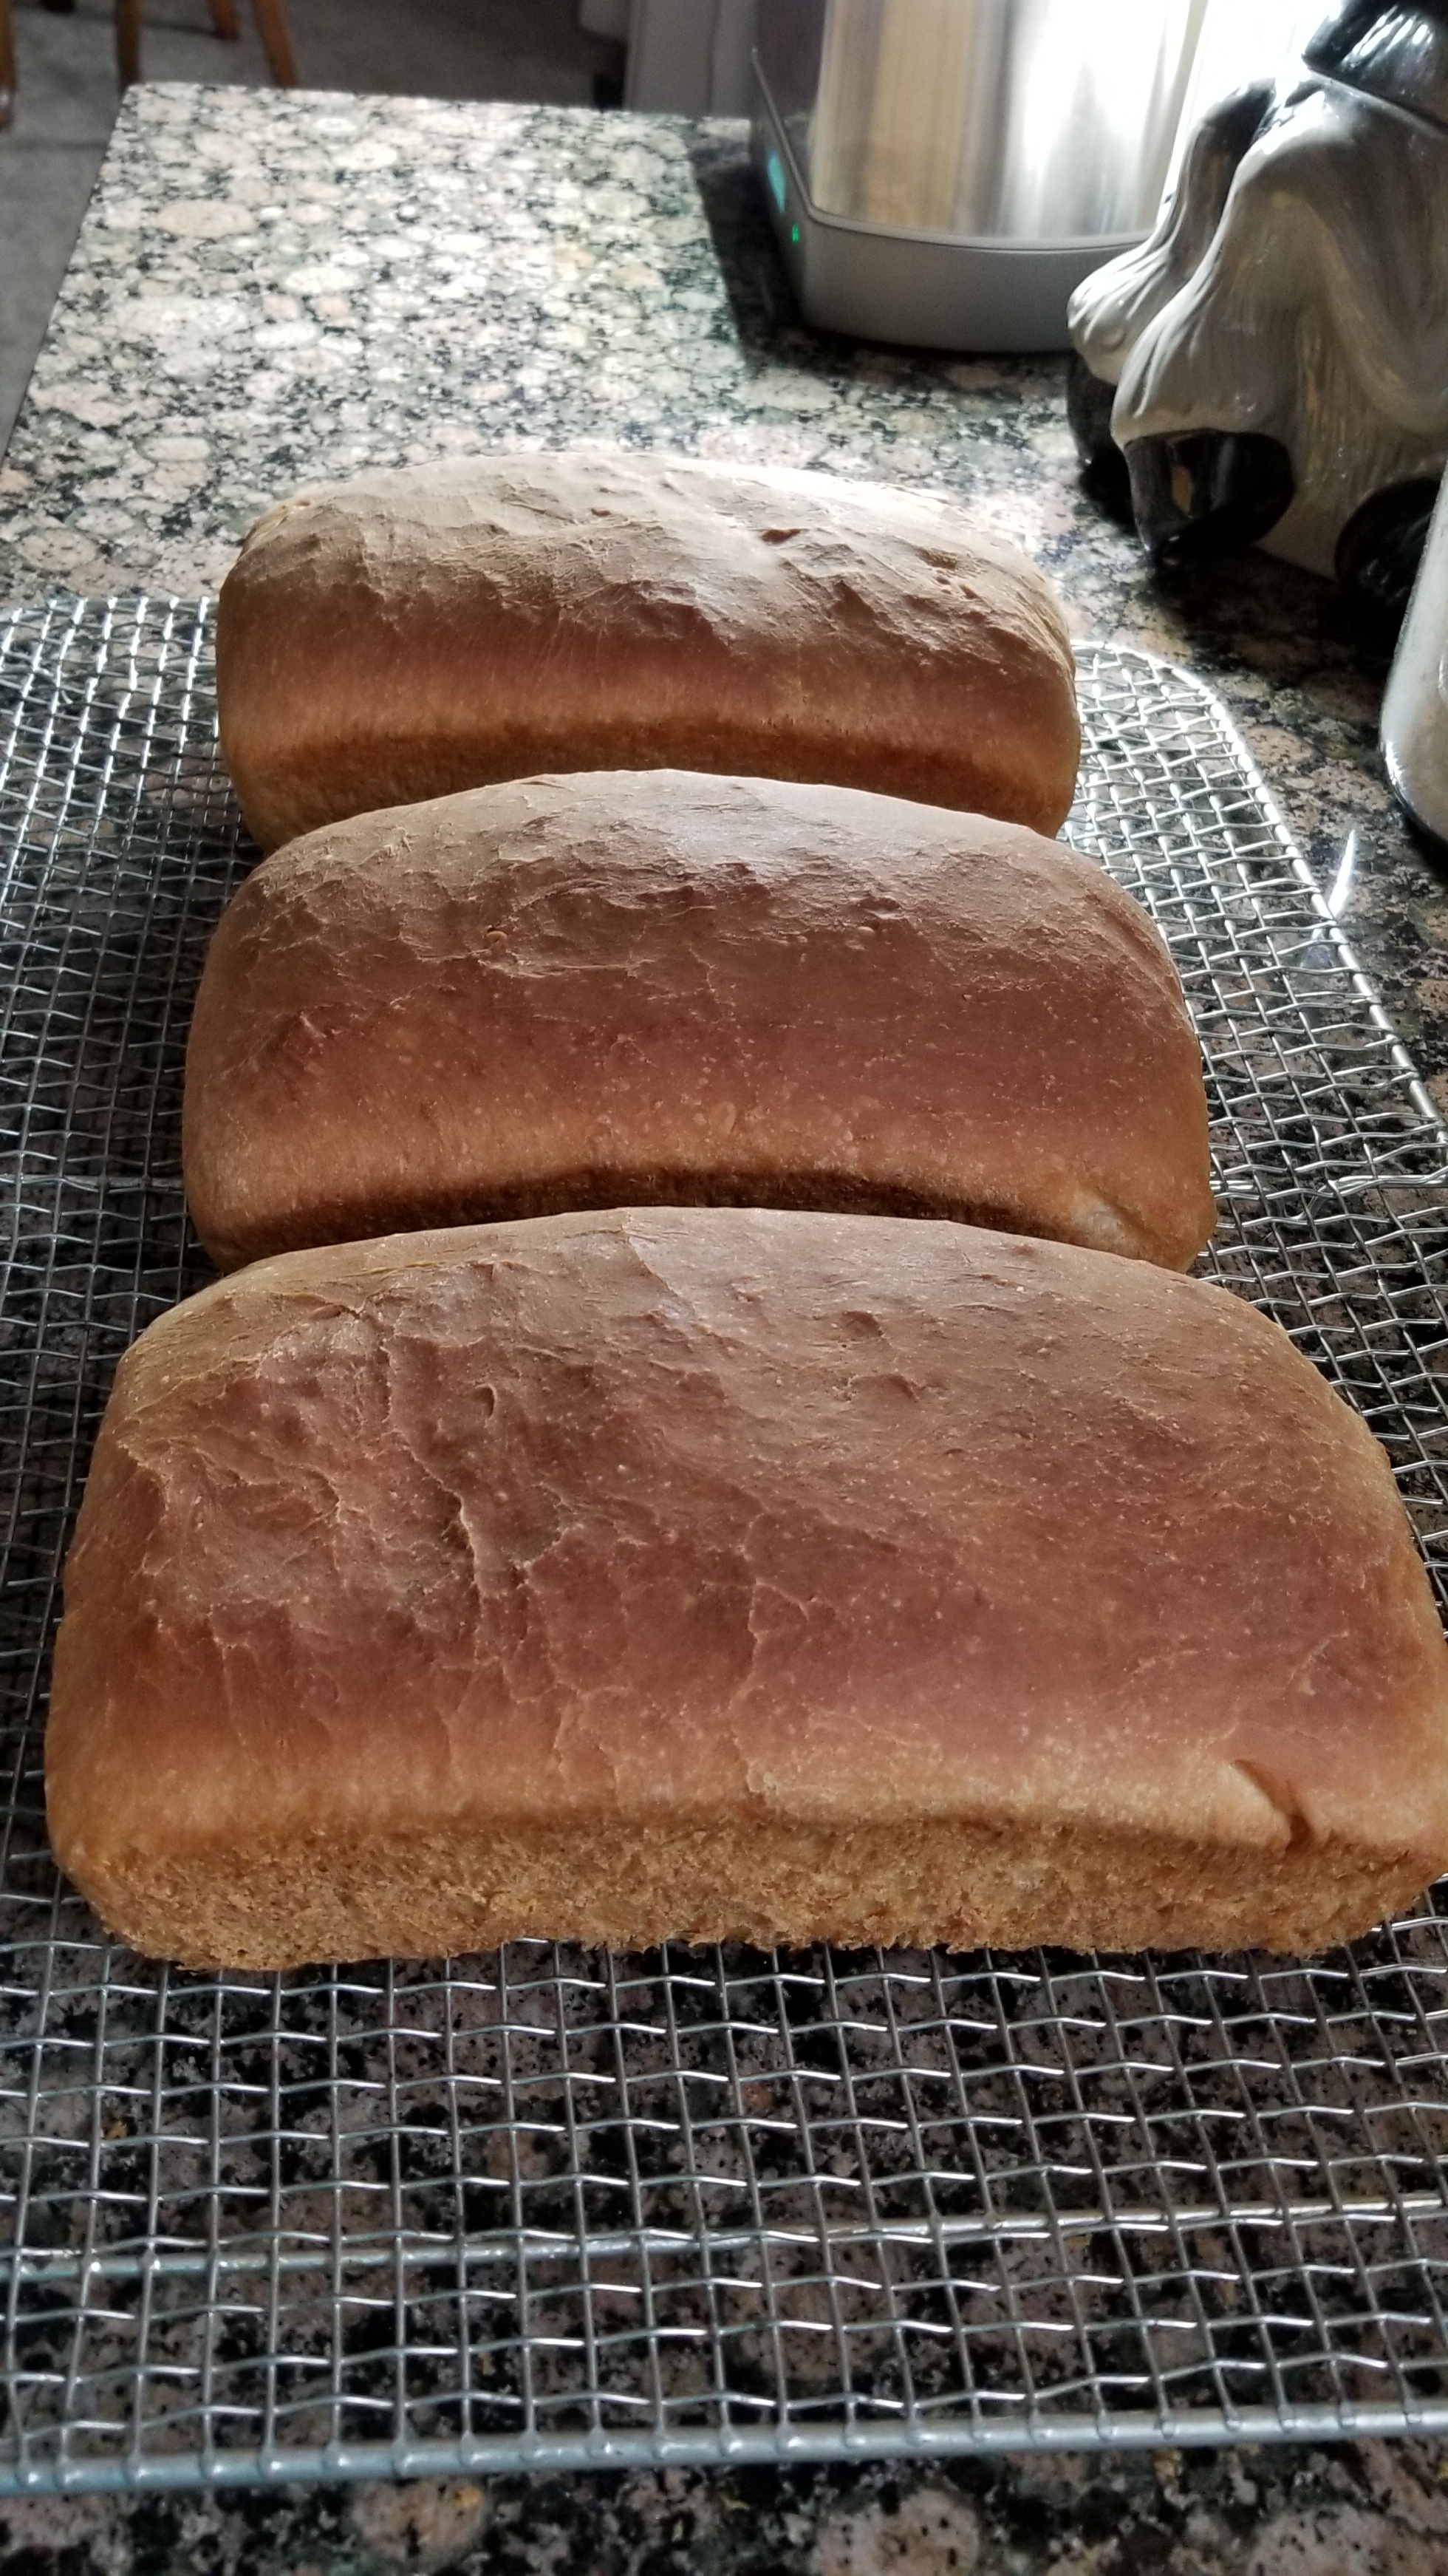
This recipe makes three full size loaves! It’s simple to make if you follow the directions exactly. The starter is alive, and keeping it that way is a bit tricky, so at least for your first attempt I would suggest not changing a thing. Be prepared to wait 3 – 5 days from start to finish, most of that time is for the dough to rise.

RECIPE*

— Hint: Use metal only for the baking pans. Yeast does not like metal and will die. That means wooden or plastic spoons, glass bowls, measuring cups, etc.

— Hint: Store in a bowl with a lid, but yeast must breath. The lid should have holes, or you can use plastic wrap and leave it partially uncovered.

— Hint: When you get too much starter, share some with a friend.

To make starter:

Ingredients:

1 package dry yeast

1/2 cup very warm water

2 cups lukewarm water

1 tablespoon sugar

1 tablespoon salt

2 cups flour

Dissolve yeast in 1/2 cup very warm water. Stir well

Add 2 cups lukewarm water, sugar and salt. Stir well.

Stir in flour and mix well.

Place mixture in a large container, cover with a cloth, and leave at room temperature until mixture begins to ferment. (It usually takes about 18 – 24 hours). When it foams and bubbles, it is ready to use.

It may be used immediately or stored in the refrigerator.

To make bread:

Ingredients:

1/4 cup sugar

1/2 cup vegetable oil

1 1/2 cup warm water

1 cup starter

1 1/2 teaspoon salt

Mix with a wooden spoon.

Add 6 cups bread flour and mix well with hands.

Put this in a larger greased bowl. Cover with a clean cloth and let stand in a warm place overnight.

Next morning, divide the dough into three parts. Knead each part on a floured board. It does not need to be worked much.

Put each loaf into a greased loaf pan. Brush with vegetable oil.

Let rise in a warm place 4 – 6 hours.

Bake at 325 for approximately 45 minutes.

Remove from oven, brush with butter. After a few minutes, remove bread from pans and allow to cool completely before wrapping to prevent sweating.

After removing starter to bake bread, add:

1 cup lukewarm water

1/2 cup flour

3 teaspoons sugar

Feed the starter every Tuesday and Friday. Add to starter:

3/4 cup sugar

3 Tablespoons instant potatoes

1 cup warm water

Stir with a wooden spoon.

Let sit at room temperature for 8 – 10 hours, then refrigerate until ready to use.

*My notes after trying this recipe:

Knowing a little bit about the chemistry of sourdough bread, I was surprised to see that this recipe includes yeast and sugar. The yeast helps reduce rising time and sugar feeds the yeast.  Traditional sourdough does not include either of these ingredients — only flour and water in the starter, but it takes much longer to get a good starter going, and your location is also a critical factor. San Francisco is famous for traditional sourdough bread because the location’s climate is perfect.

I would call this recipe Amish Sourdough Bread, sometimes known as Friendship Bread because you can and are encouraged to share the starter and recipe with a friend. (A variation of the Amish starter is sometimes called Herman which can be used to make sweet pastry).

Don’t be reluctant to add the sugar called for in this recipe. The yeast consumes most of the sugar, so you won’t.

The addition of instant potatoes surprised me, but it works here, so don’t leave it out.

Use only purified water or bottled spring water. Chlorine kills yeast, so regular tap water is not a good choice.

A good place for your bread dough to rise is on the middle rack in the oven with only the oven light on for heat. Place a bowl of warm water on the lower rack. Warmth and moisture are the perfect conditions for keeping yeast happy.

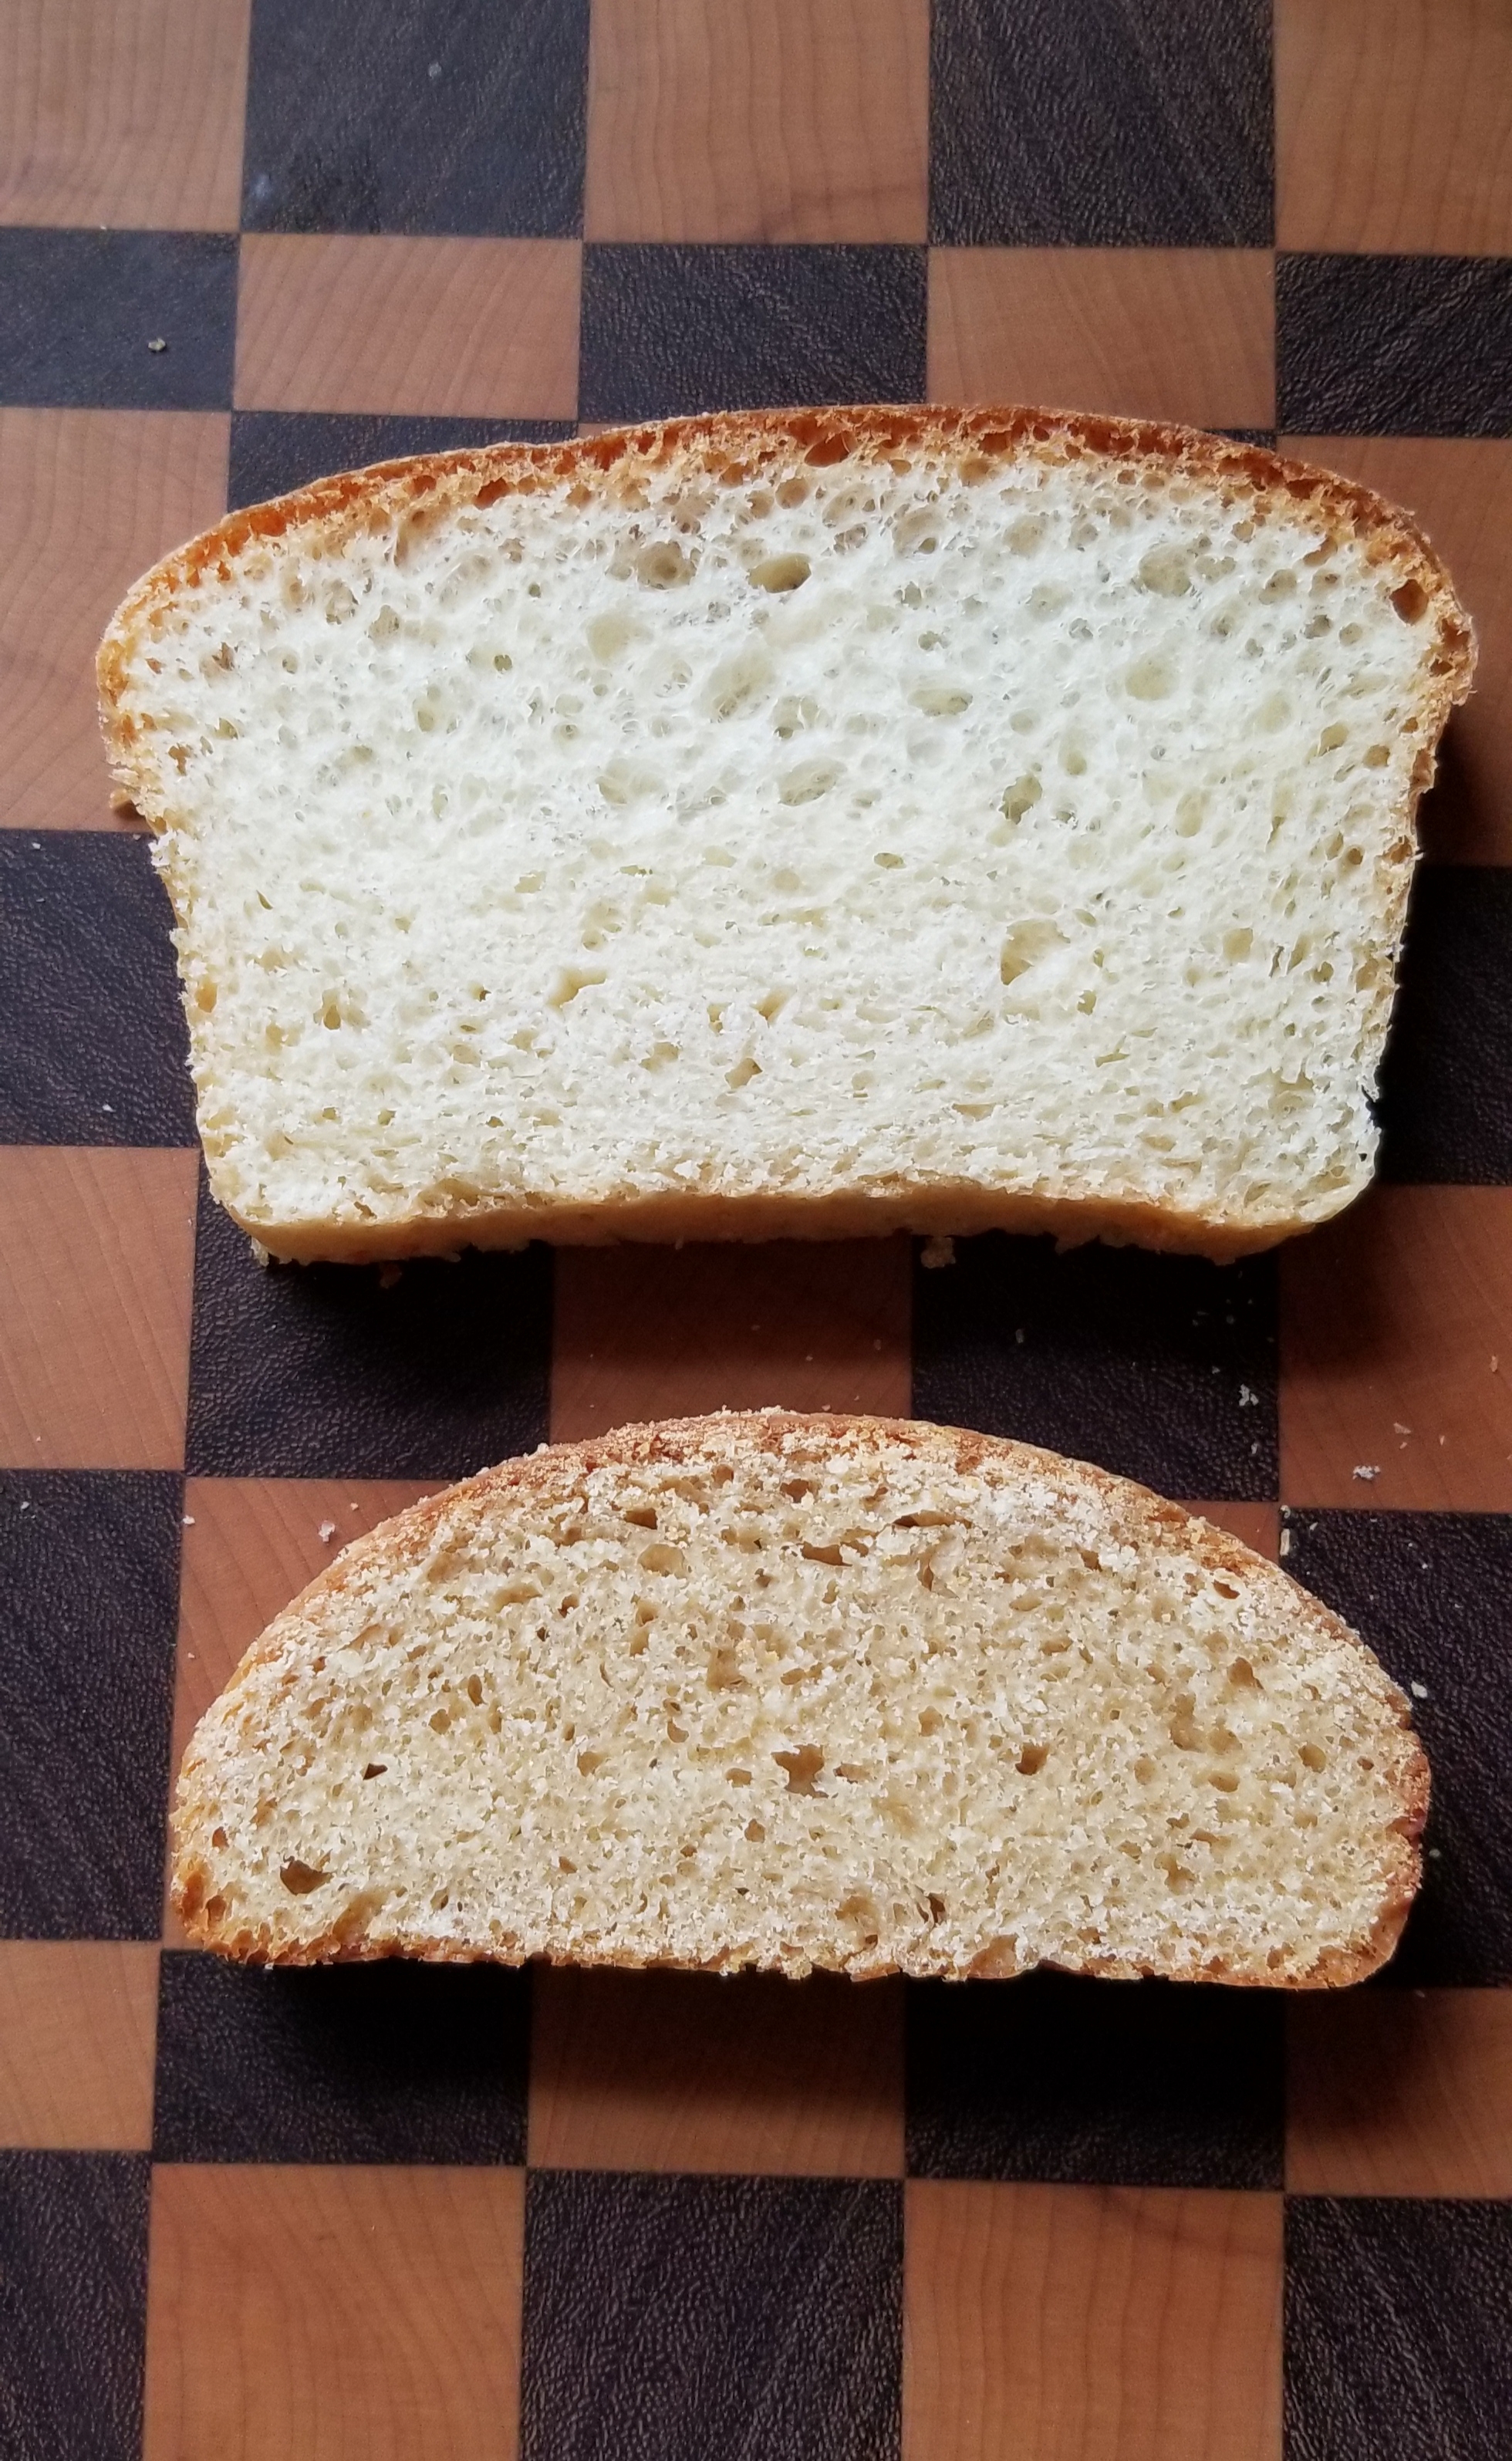
If you are thinking about substituting whole wheat pastry flour for half the bread flour, don’t. Whole wheat pastry flour is best suited for sweet baked goods that include baking powder or baking soda instead of yeast to produce rising. (I don’t know if regular whole wheat flour will work here, because I haven’t tried it… yet.) Here is a photo of my bread when I tried substituting half whole wheat pastry flour (pretty flat!) compared to the bread made according to the recipe. It still tastes great, but you’ll never make a sandwich with that one.

20200201_124536

If bread making seems intimidating to you, then try this recipe as a start. The results are yummy, and you will have such a sense of accomplishment. Your confidence will grow, and then you can experiment with other recipes.


Garlic Bread

 GARLIC BREAD

Warm garlic bread goes great with Miracle Fat Burner Stew or any other stew or pasta. This is how I make a low-calorie garlic bread (you won’t miss the butter!)

Take one large garlic bulb(do not peel) and slice off the top one third (you want to expose the top of each clove). Wrap the entire bulb in aluminum foil and bake at 400 degrees for 1/2 hour. When done each clove will be creamy and can be spread, just like butter, on a slice of warm wholegrain bread. Yum!