
There are many lentil bread recipes floating around the Internet right now, and I have tried several of them. None of those met my expectations. I’m not being picky; I don’t expect lentil bread to look and taste like normal bread, but besides being gluten-free, high in protein and low in carbs, I do have a few non-negotiables that any bread recipe must meet:
First of all, the recipe must be easy. The bread must be able to be sliced without falling apart. It must be firm enough to use in a sandwich without being dense and hard. It must be toastable. It must look appetizing (not grayish green). And it must taste so good that my husband, who is wary of any new recipe, will eat it. I knew that this recipe was a winner when he toasted it for his breakfast morning after morning and then asked when I’d be making it again. Winner!

Ingredients:
2 cups dry red lentils, soaked
1 cup real yogurt, unsweetened. (Greek or Bulgarian work well)
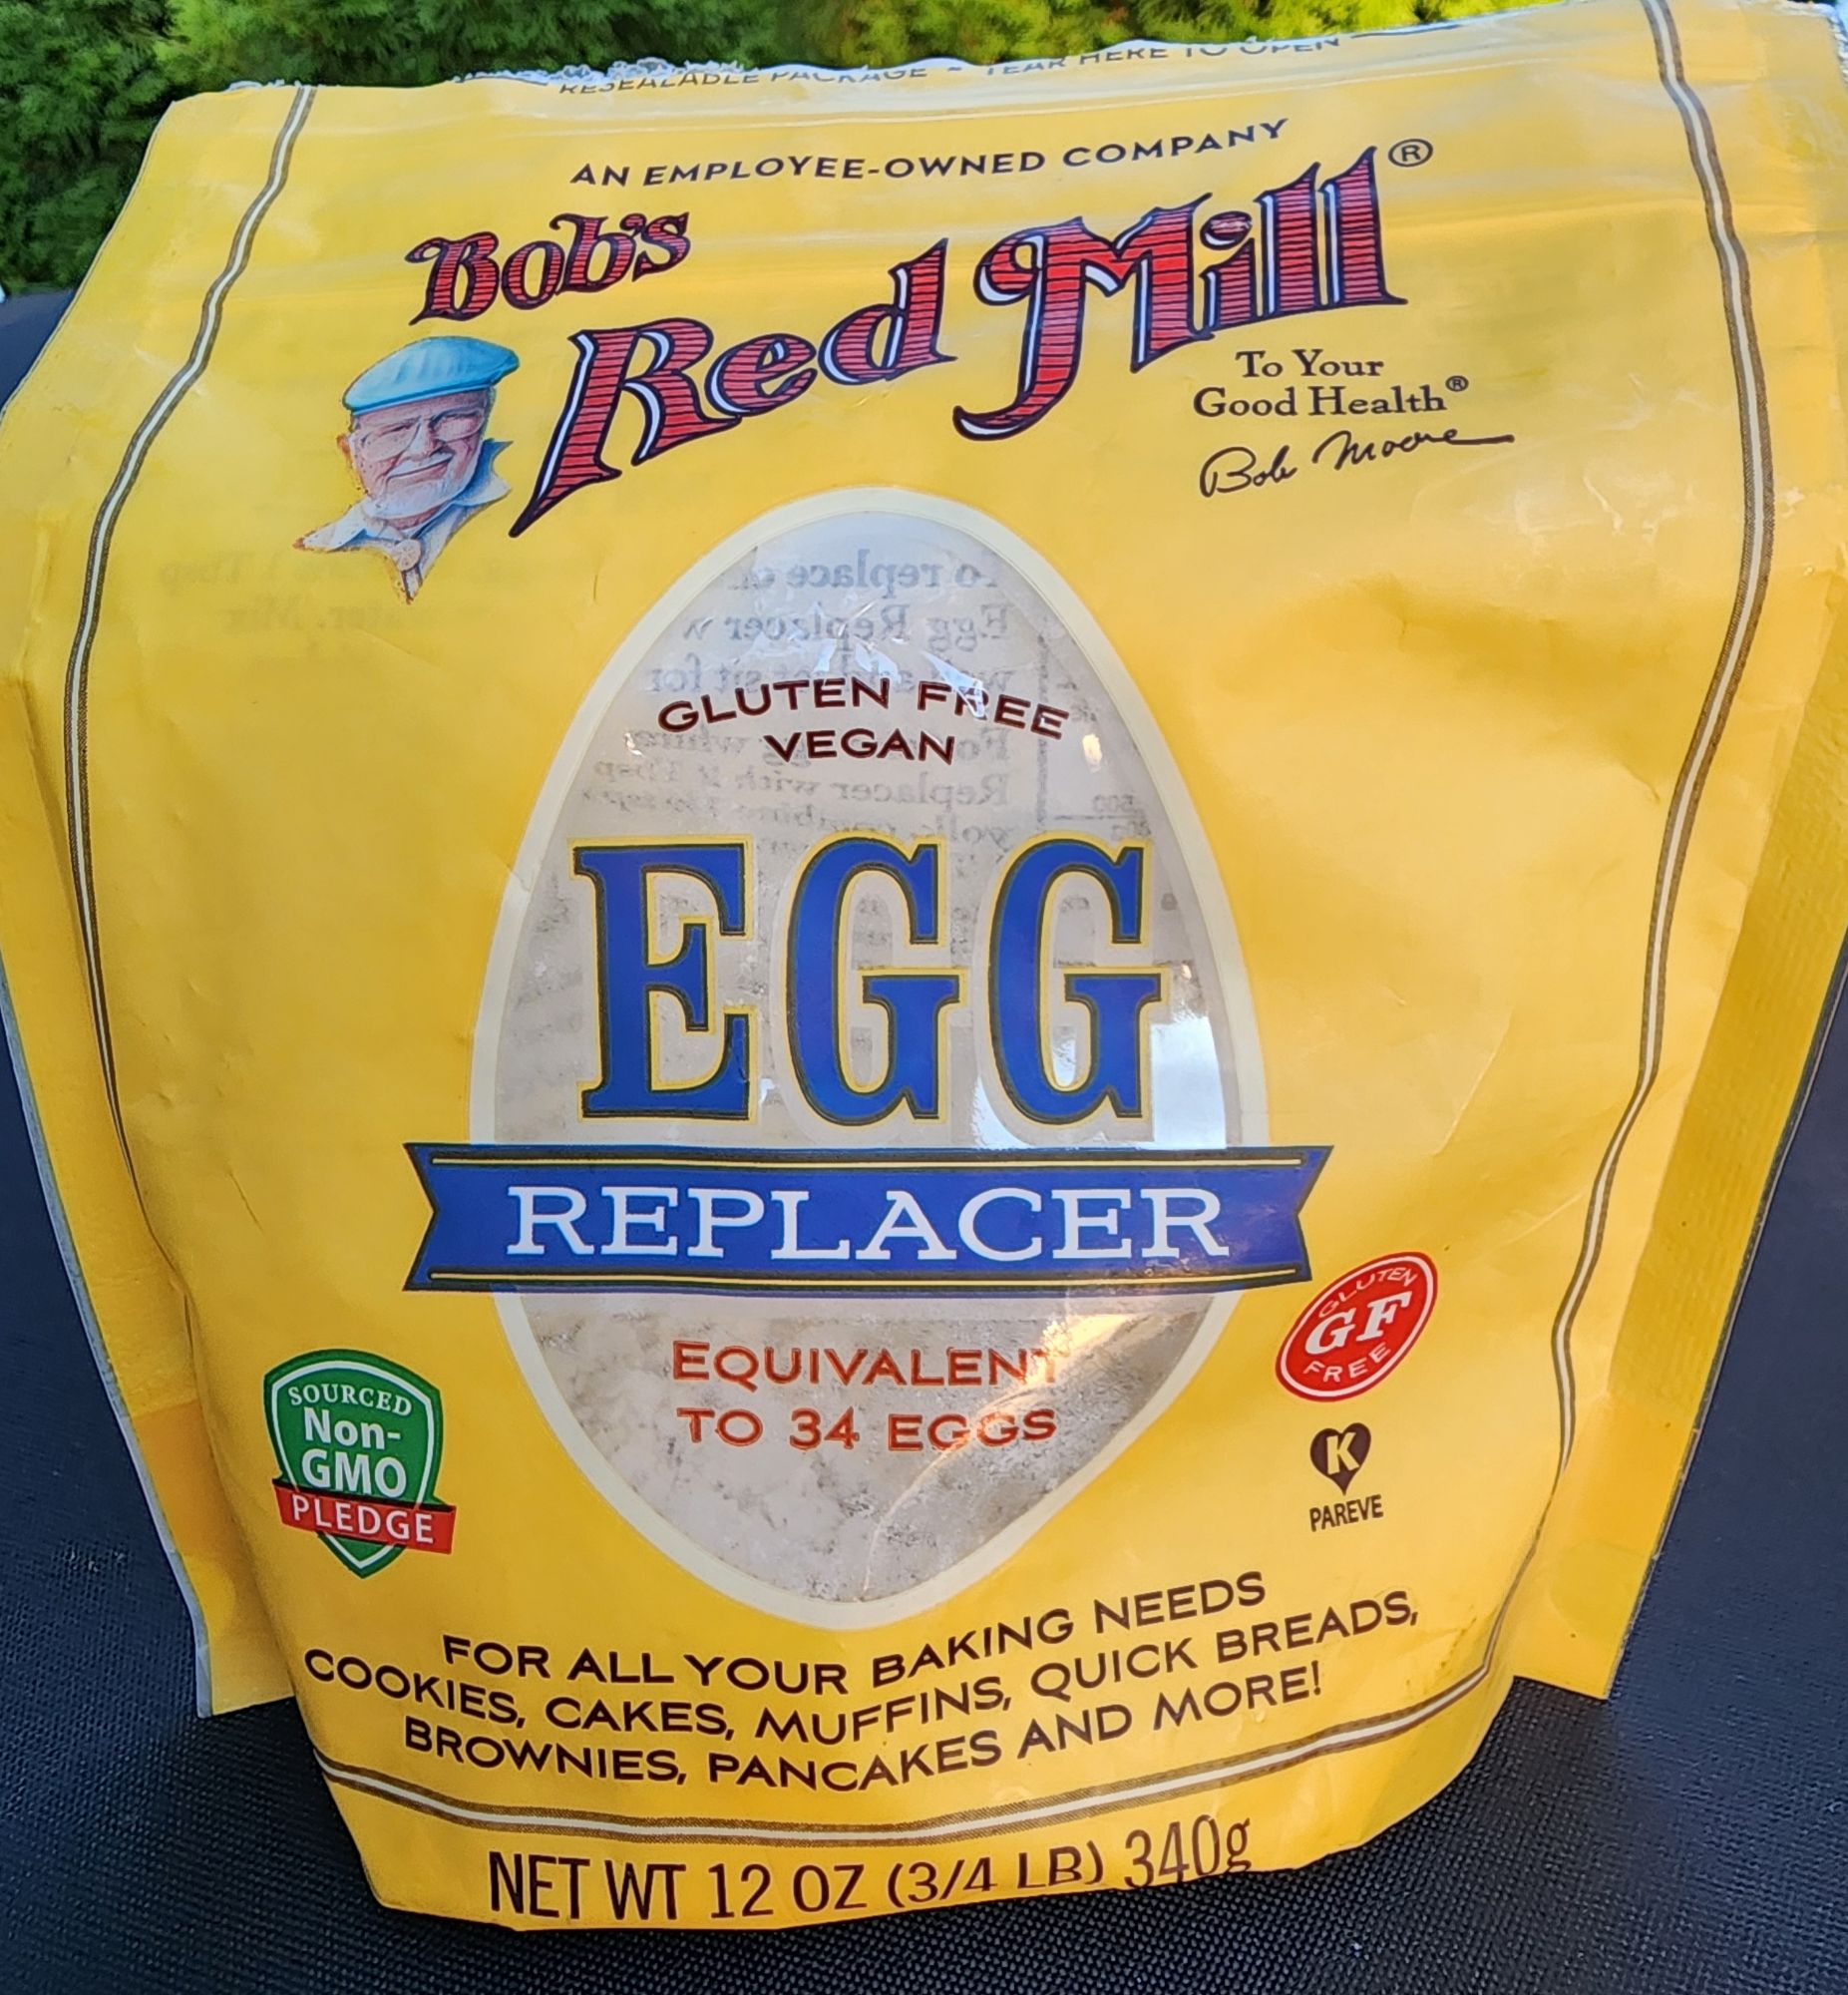
Egg Replacer equal to 4 eggs (I used Bob’s Red Mill brand)
1/4 cup organic grapeseed oil
1 1/2 tsp. sea salt
1 1/2 tsp honey (to balance out all the salt)
1 Tbsp. baking powder
A handfull of assorted seeds of your choice to sprinkle on top (pumpkin seeds, sesame, poppy, sunflower, etc.)
Method:
To soak the lentils: First rinse them well and place them in a large mixing bowl, cover with purified water about 2 inches above the lentils. Place a cover or a large plate over the bowl and let them soak overnight or about 8 hours. They will soften and swell.
The next day drain the lentils and rinse well. Drain again.
Place the well drained lentils and all remaining ingredients in a food processor or a high-powered blender until a creamy batter forms.
Line a bread pan with parchment paper. Pour batter into the parchment lined pan and spread evenly.

Top the batter with seeds and gently press them down on the batter or they will fall off when you are slicing the bread.
Bake at 375 degrees for about 45 minutes. You want the top to be golden brown and springy to a light touch. I tested mine with a toothpick.
Cool the bread in the pan for at least 30 minutes, and then use the edges of the parchment paper to lift the loaf out of the pan. Cool completely before slicing. (Important- do not slice the bread while it is still warm or it will break apart).
When completely cool, I slice half the loaf into 1/2 inch slices and stack them with a small square of parchment paper between the slices. Store this container in the frig and remove slices as needed. The rest of the loaf can be sliced and stored just like that in a plastic container in the freezer or you can wrap it tightly in the same parchment paper you used for baking and cover that with an layer of aluminum foil. It will stay fresh to use whenever you want, just take out a slice at a time as desired.
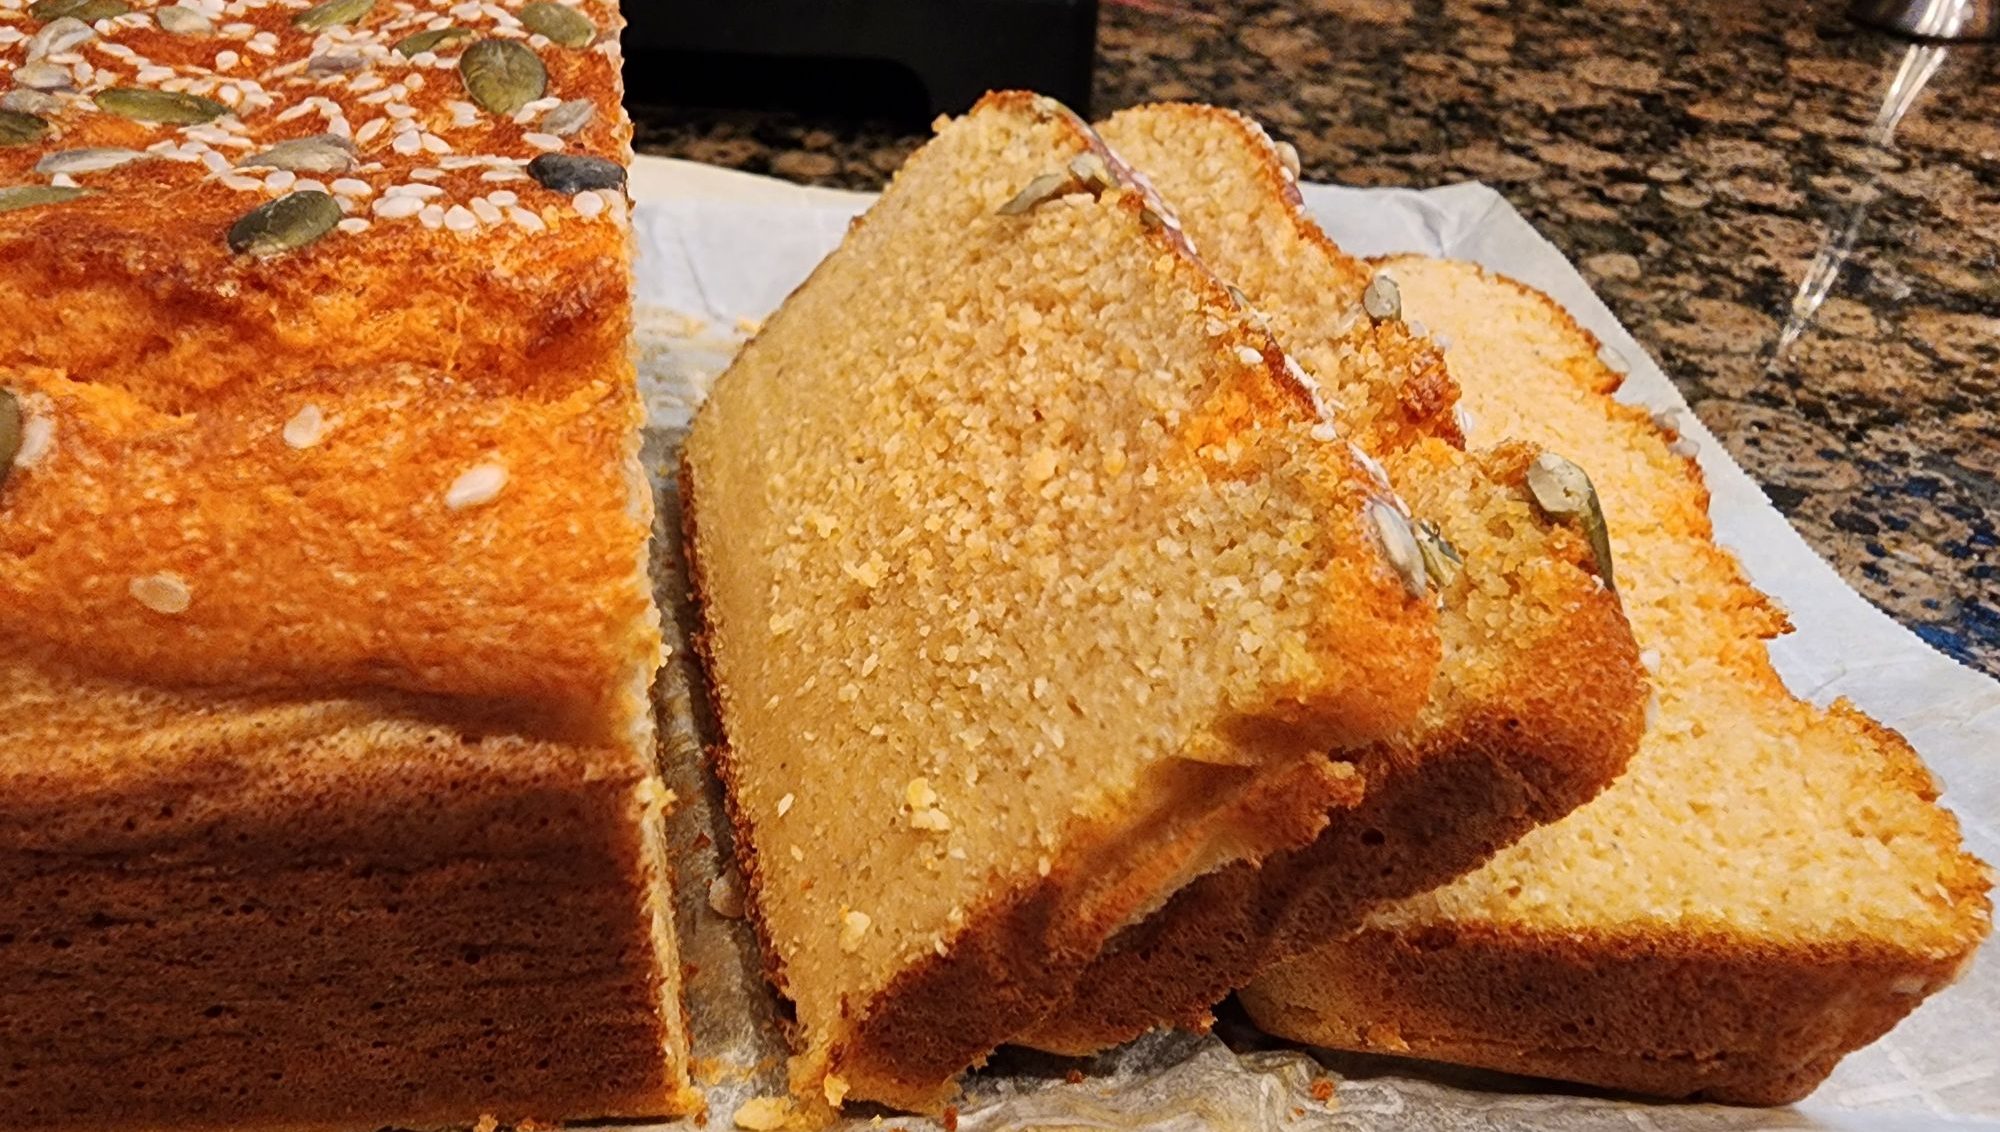
PS: My husband willingly makes his own lunch with this bread, but his favorite is breakfast toast with vegan cream cheese and strawberry jam. He says it keeps him full until the next meal. Success!

