Book Review: “Alaska Sourdough, The Real Stuff by a Real Alaskan,” revised edition, by Ruth Allman (forward by Addie Studebaker)

If you have ever thought about making your own sourdough bread, but were intimidated by the online instructions and videos detailing the complicated method involved in creating and keeping a living starter, then this is the book for you. I admit the whole process seemed daunting and mysterious to me. I really didn’t want my life to revolve around feeding a sourdough starter morning and evening for a whole month before even trying to bake bread. If you do some research you will discover that there are dozens of ways to create, and kill, a sourdough starter, and I wasn’t willing to take any chances after that investment of time and effort. This book is perfect for people like me — like you?

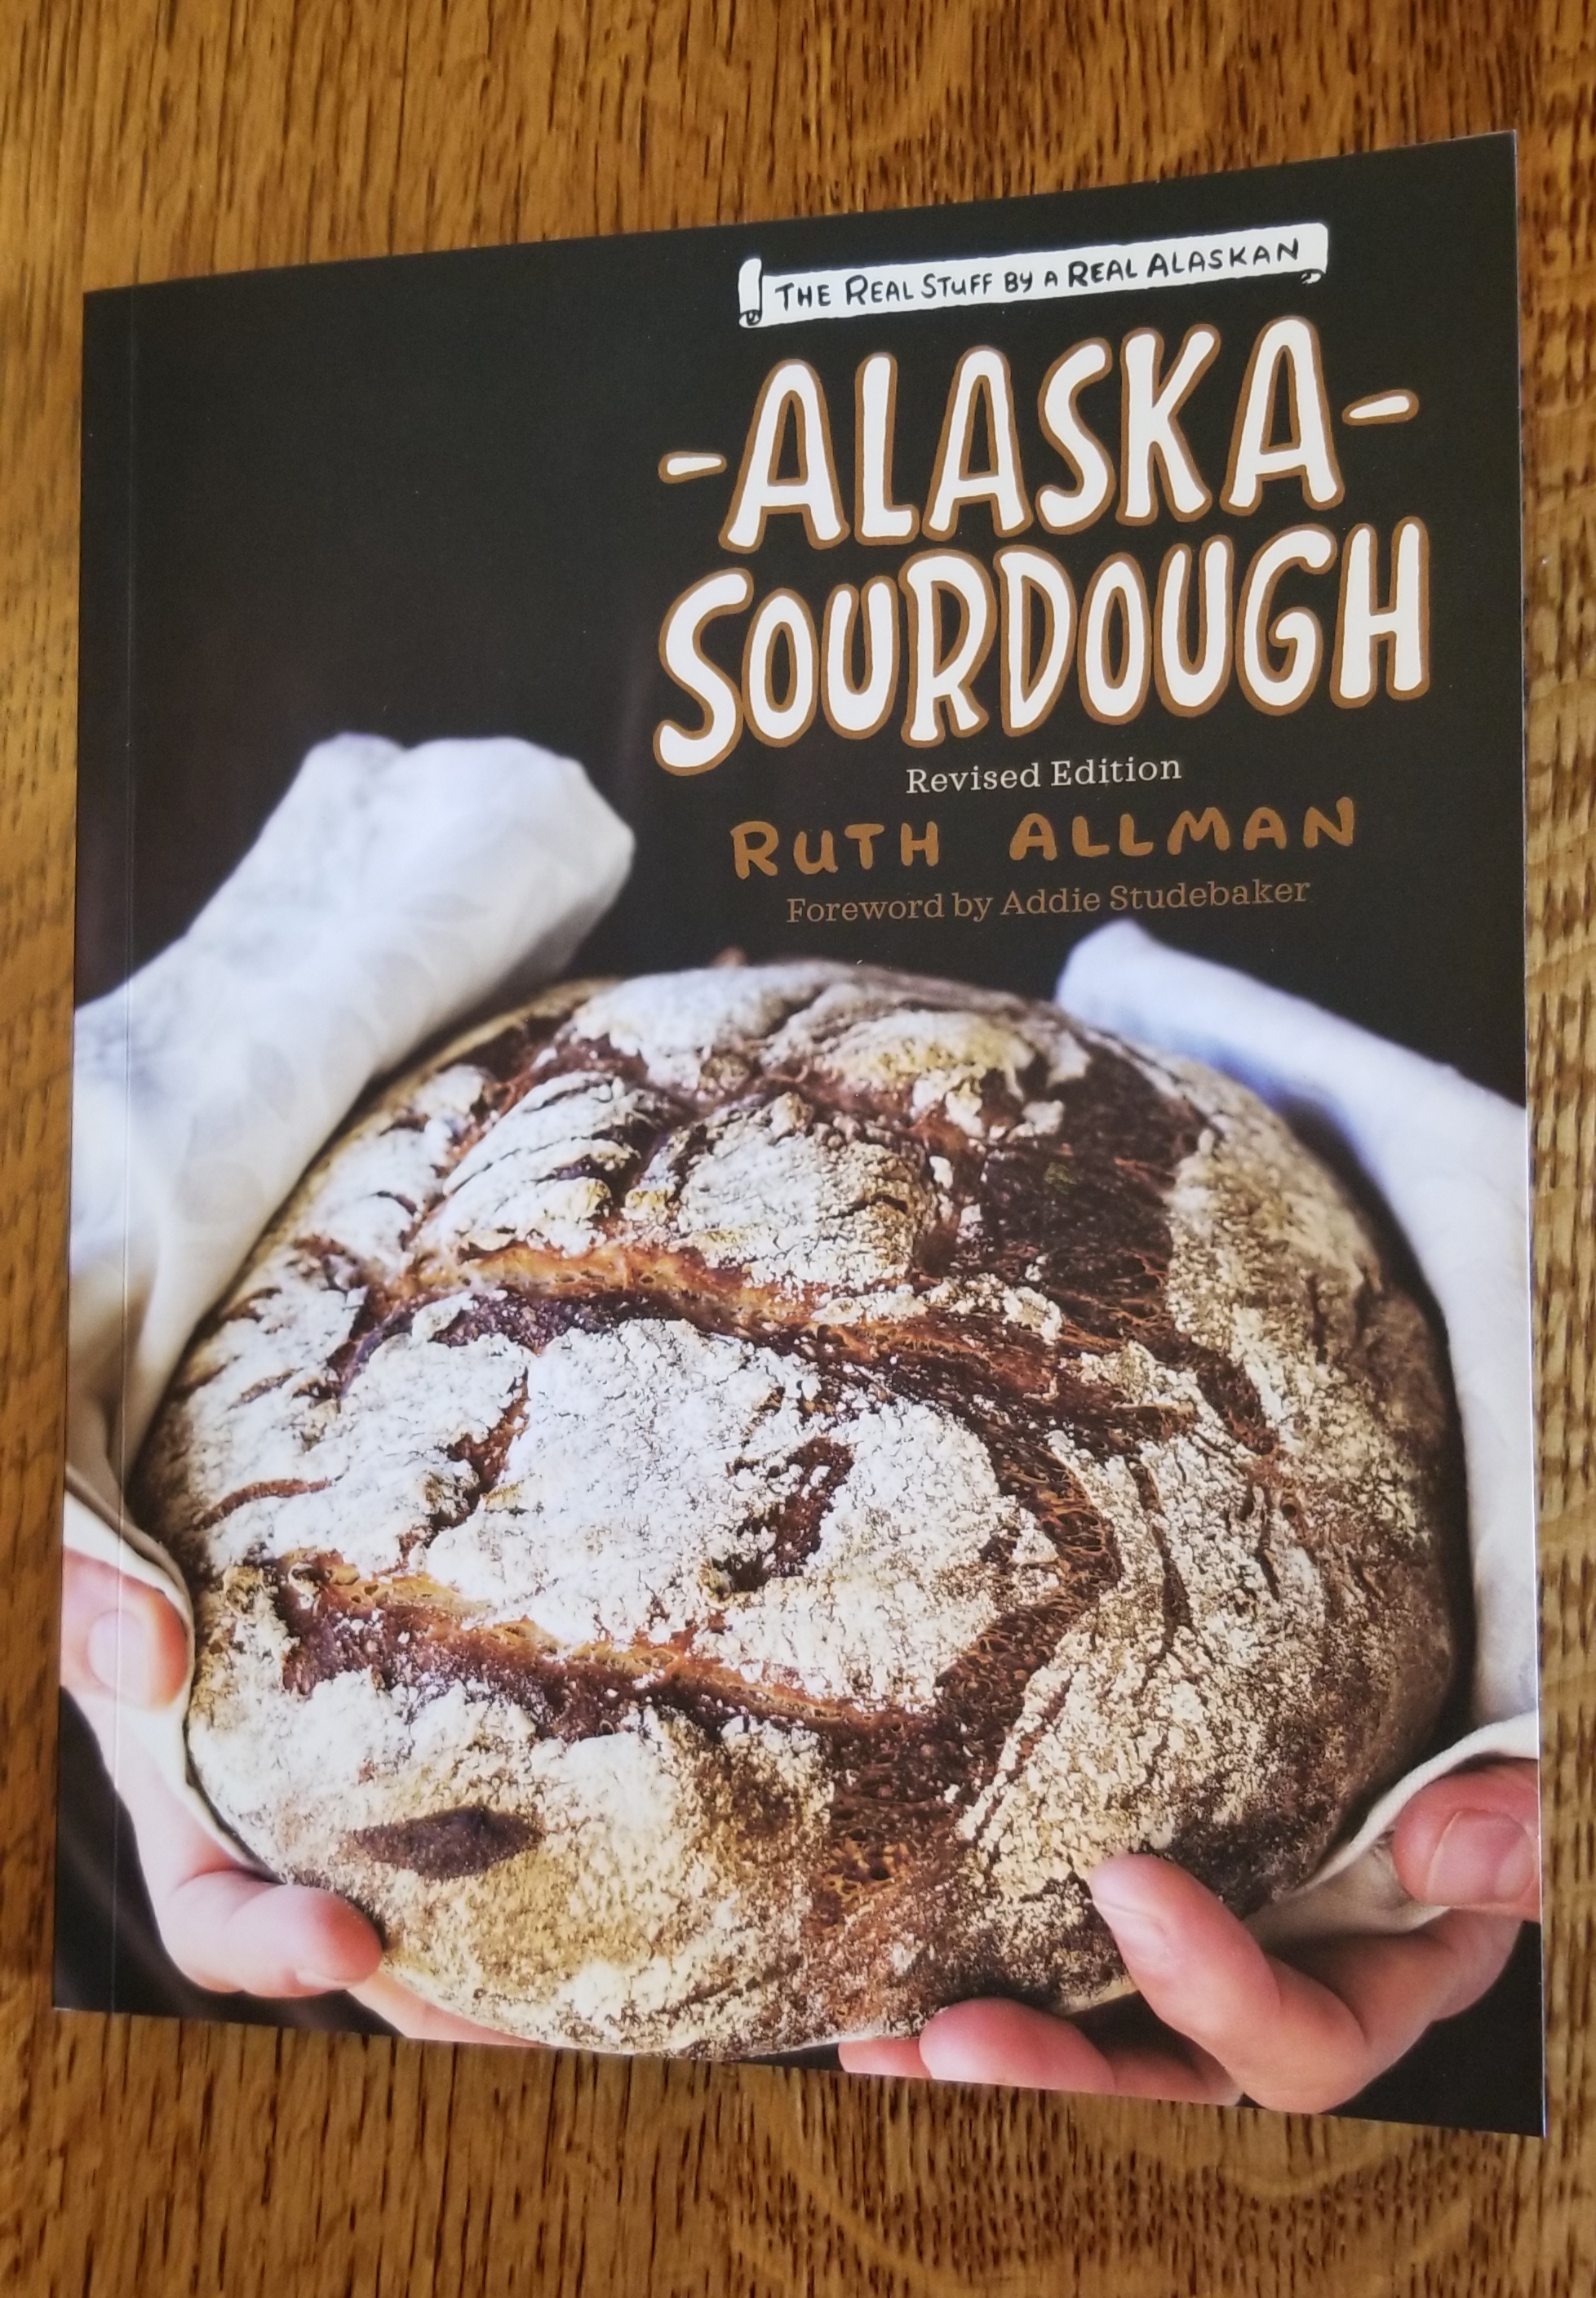
Alaska Sourdough, the Real Stuff by a Real Alaskan was first printed in 1976, but has recently been revised for the modern reader. I love the wisdom and charm of Ruth Allman’s notes and advice. She makes everything seem simple, and her common sense style of writing will convince you that yes, even you can bake your own sourdough bread. Throughout this book she intersperses the history of early Alaskan pioneers who depended on their sourdough starter to keep them alive through bone-chilling winters on the frozen tundra. These early pioneers were not expert chefs or bakers. They were in Alaska to homestead, find adventure, and hopefully strike it rich. They did not have the luxury of allowing their sourdough efforts to fail. Their very lives depended on the success of their sourdough, and the author is generous in sharing their many no-nonsense tips and tricks for success.

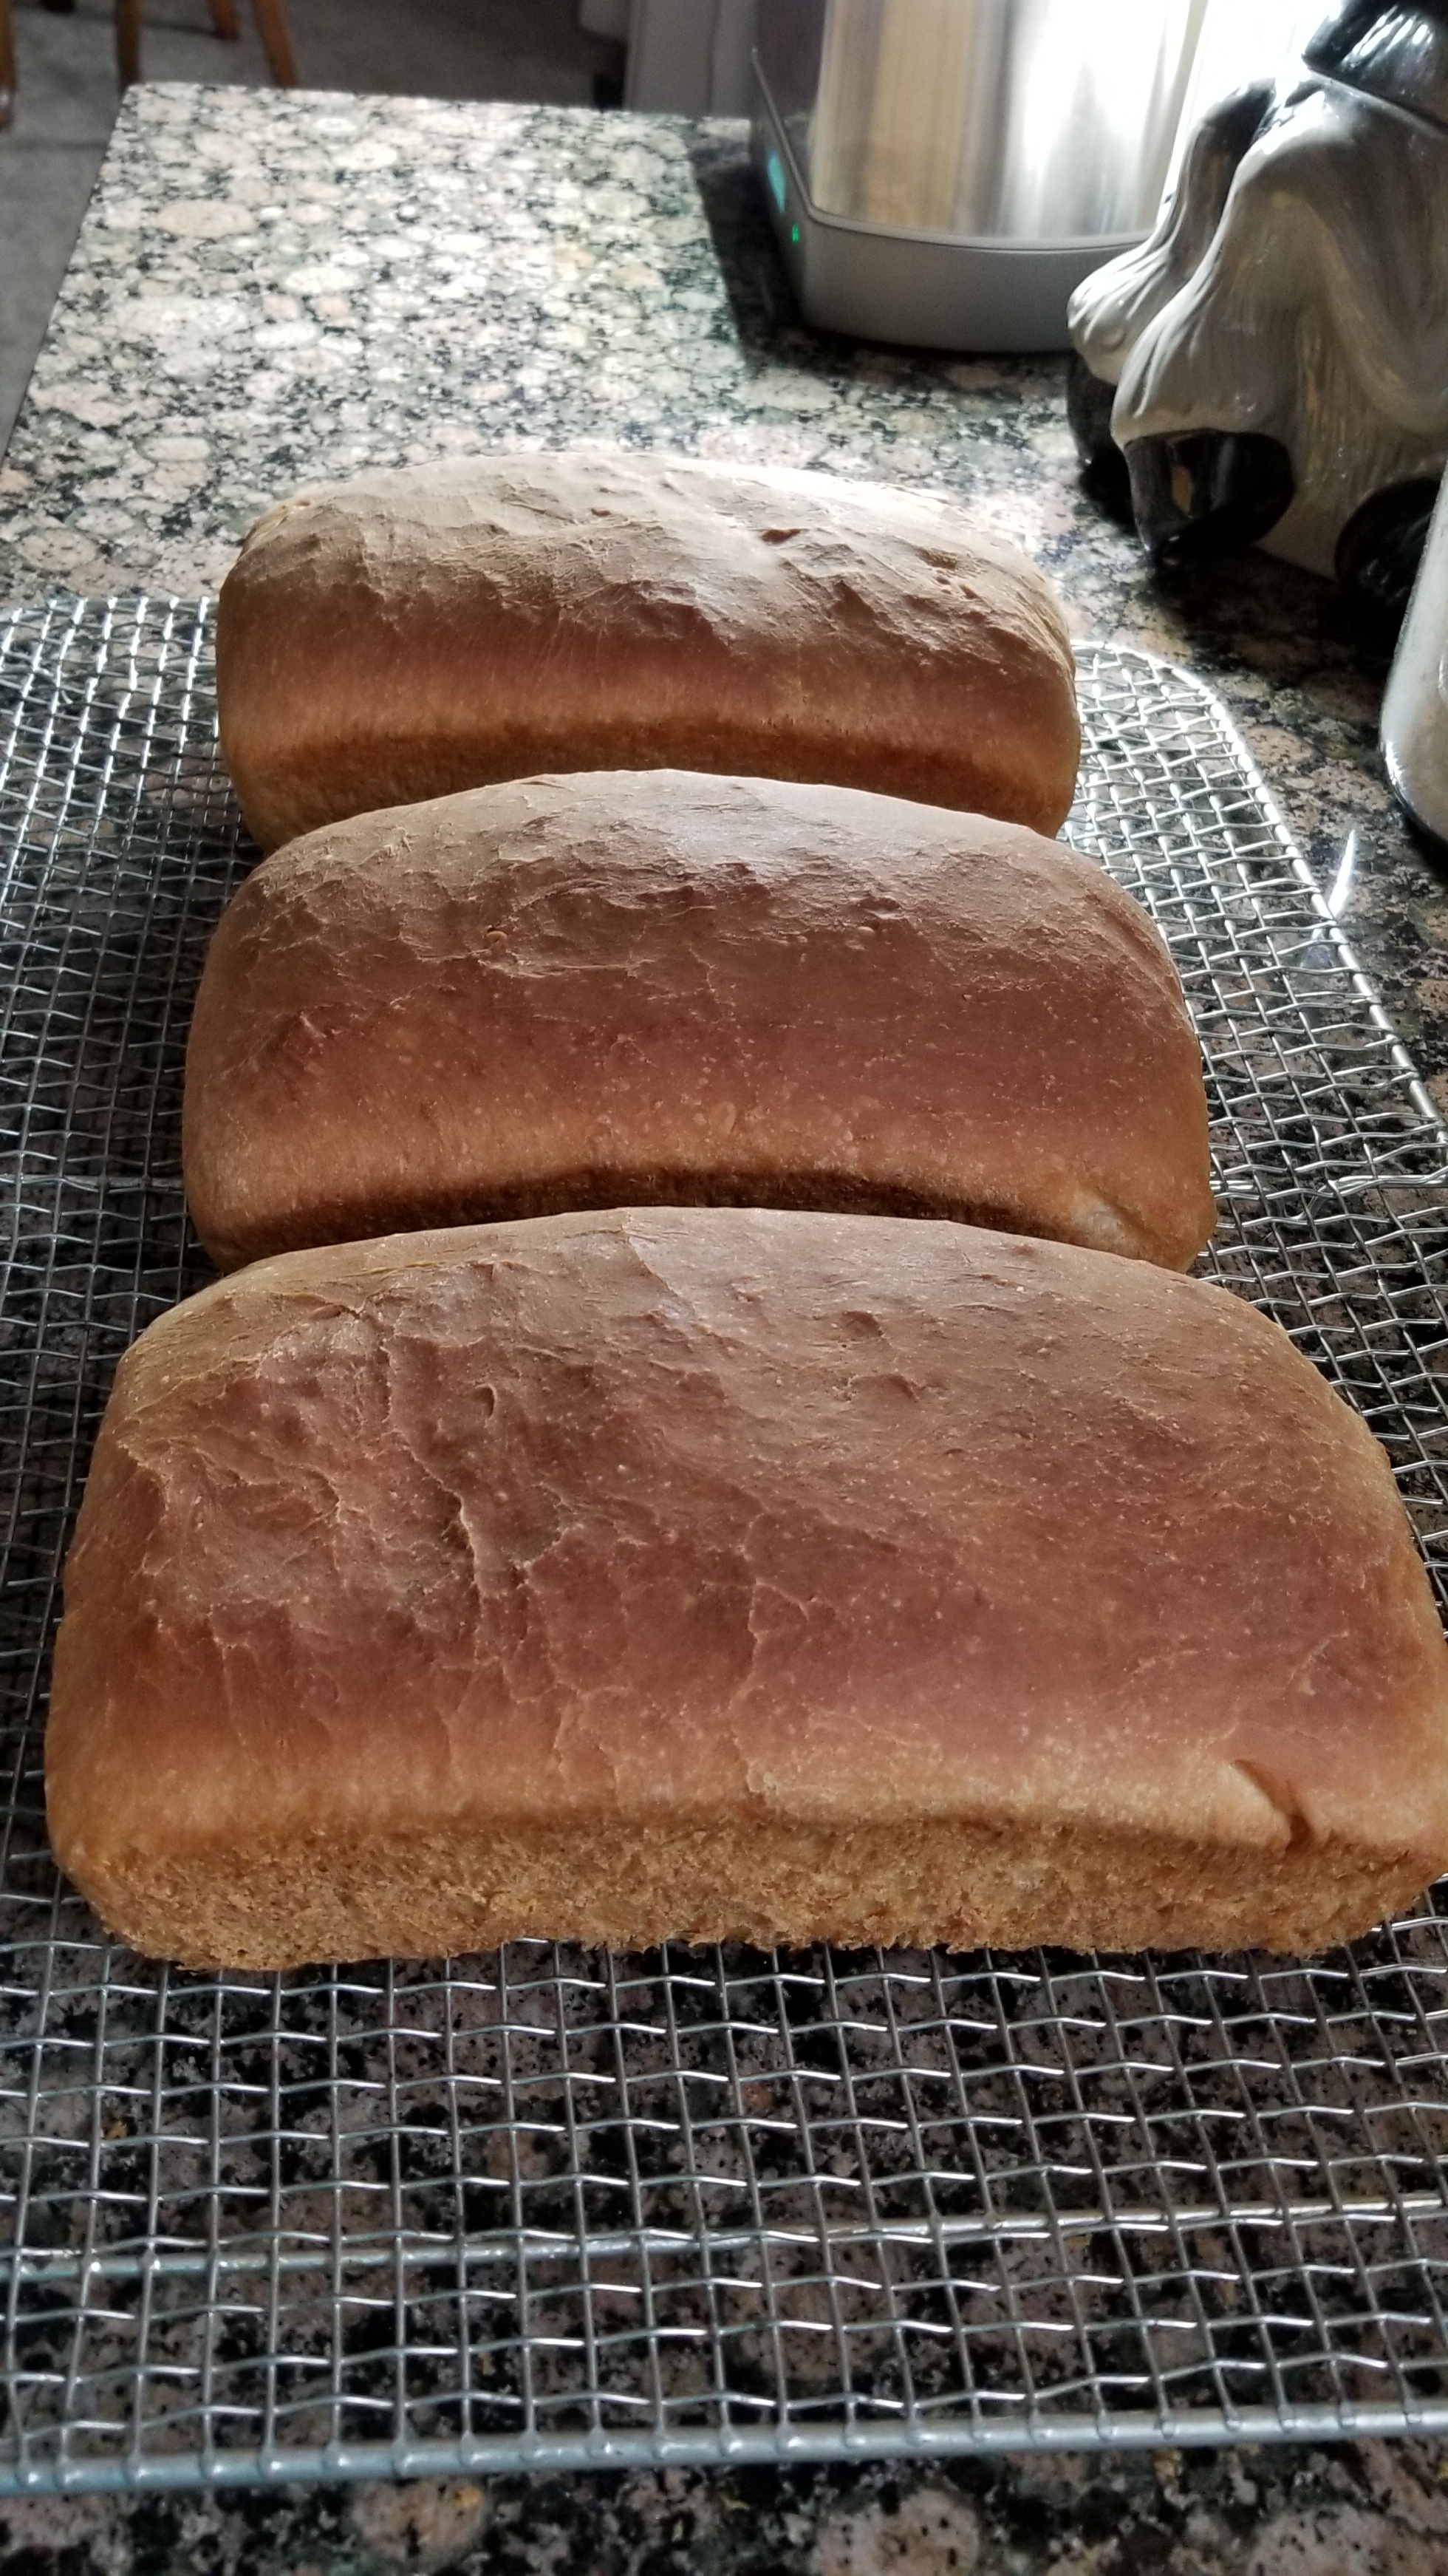
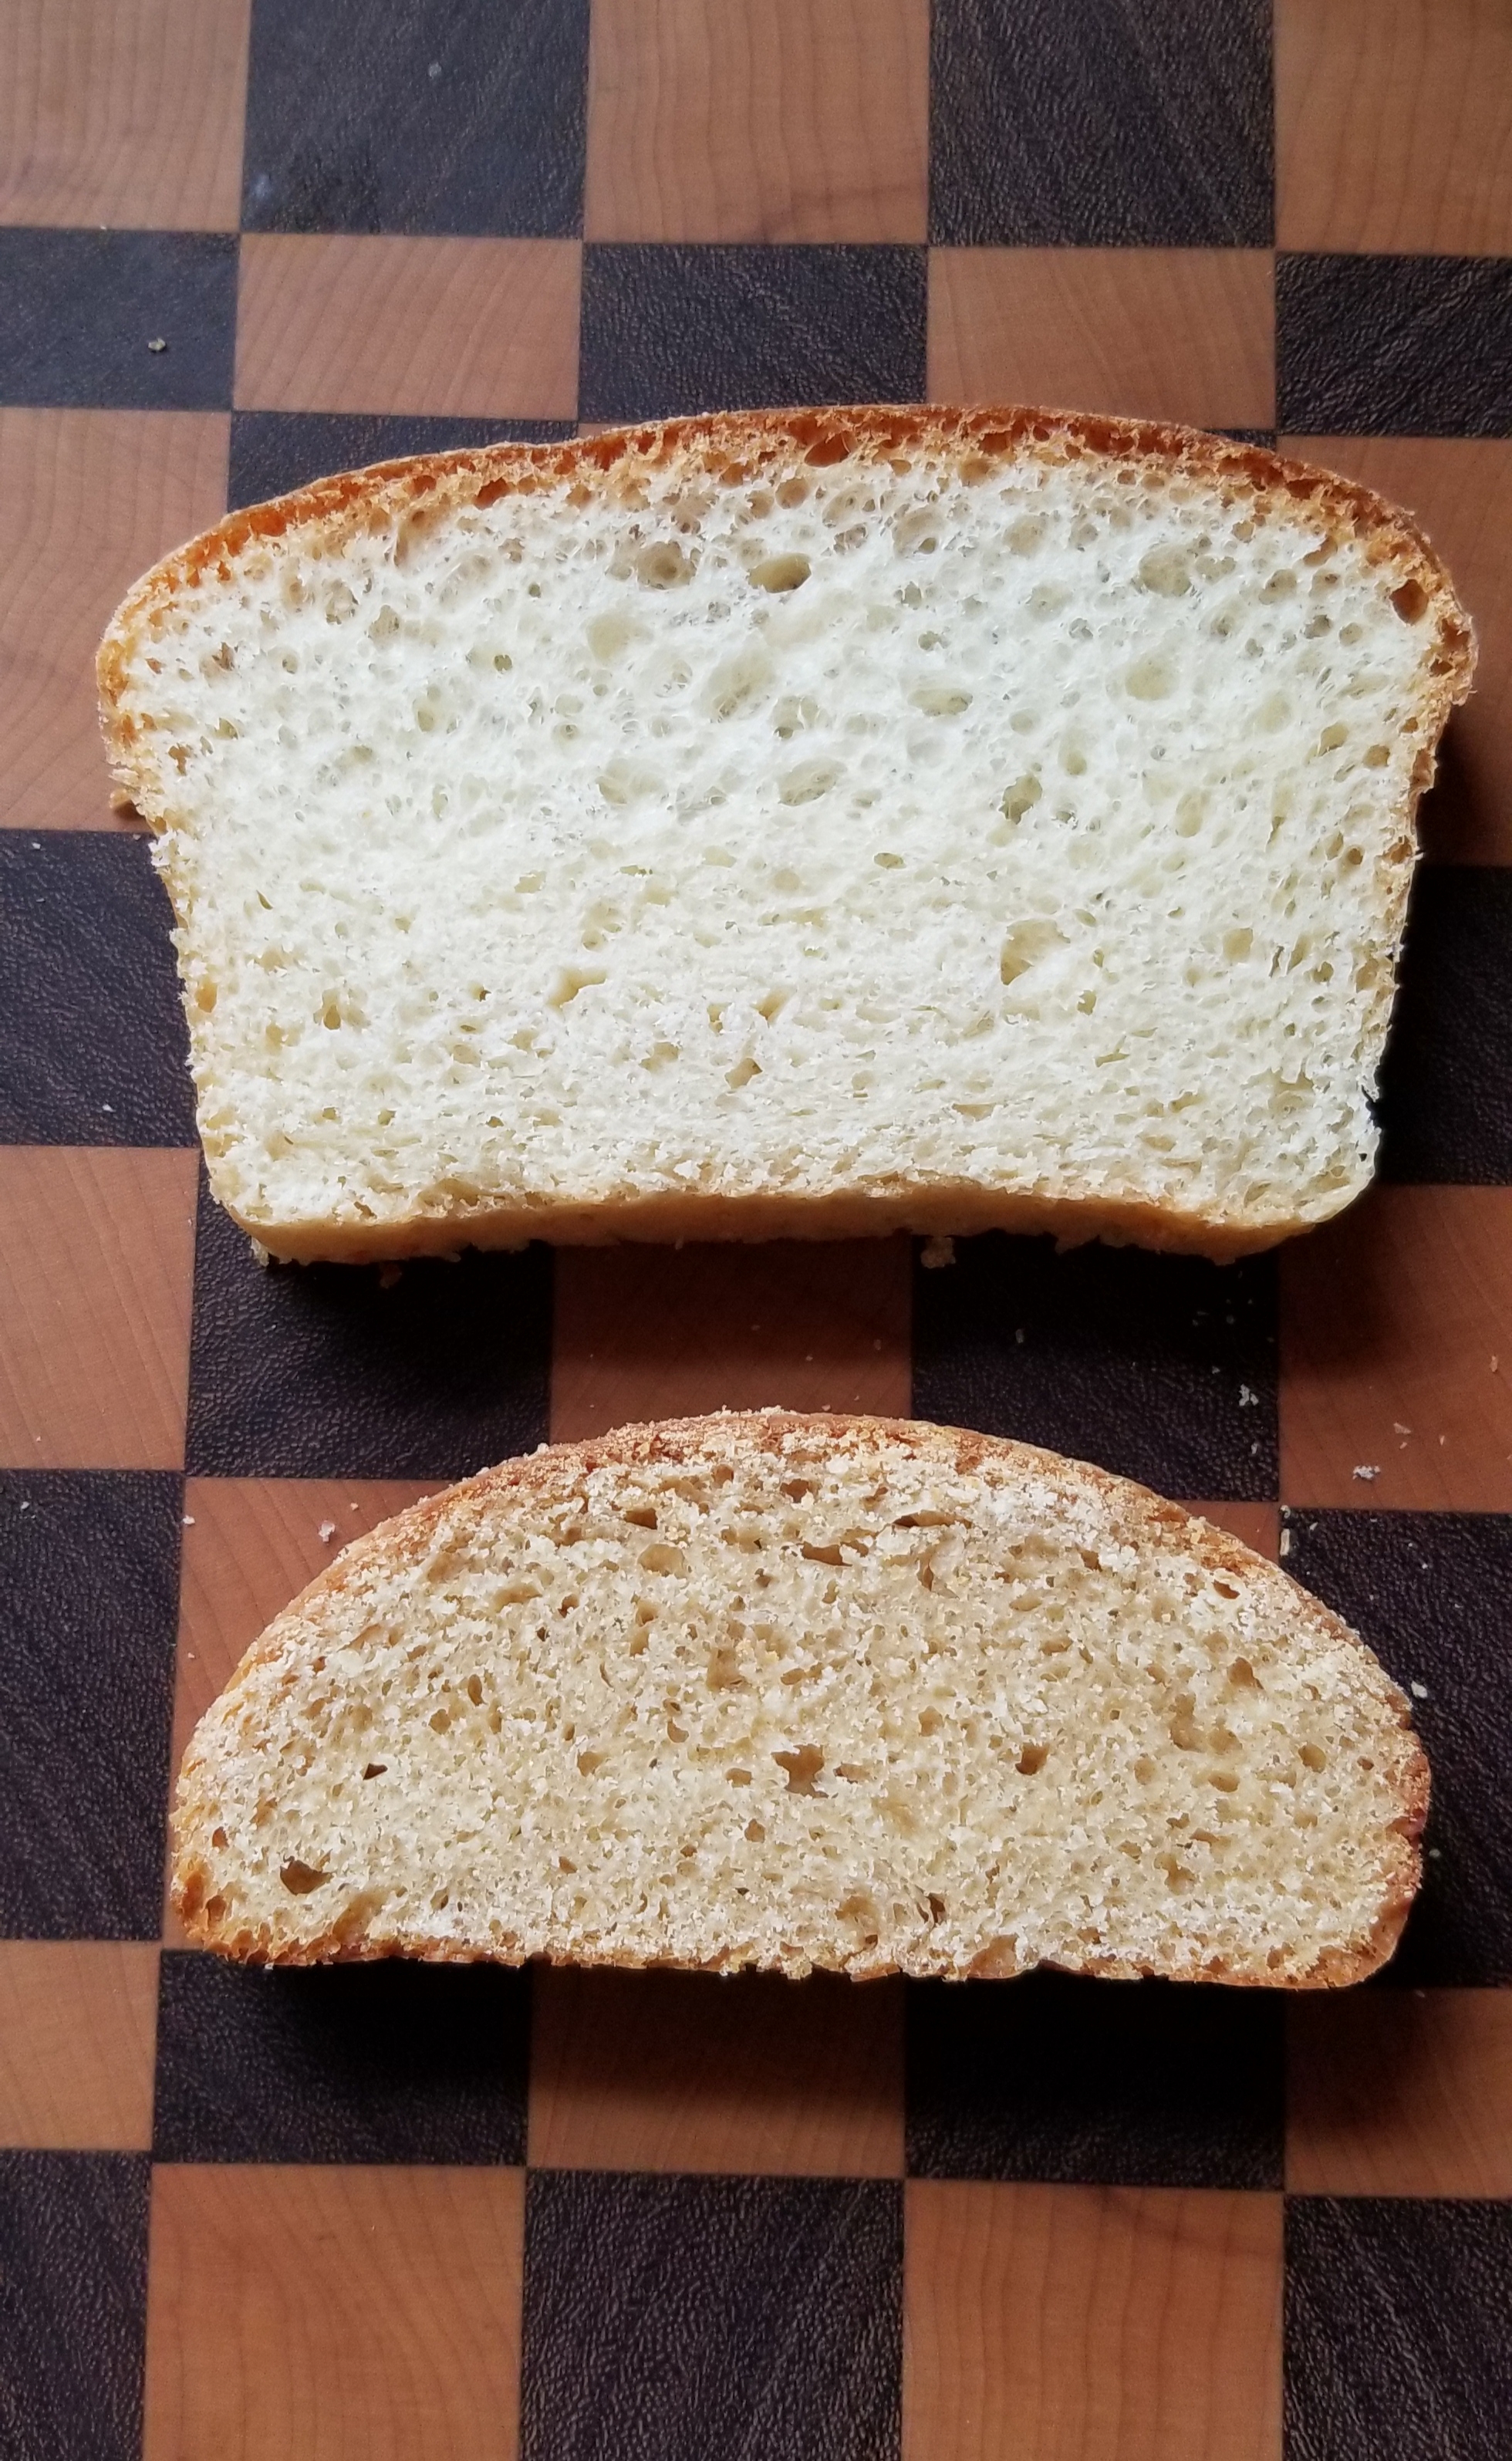
So, encouraged by their efforts, I dove in and made the starter using her potato water recipe. I expected to wait and feed the starter daily for at least one week before baking. Well, by the second day my starter had nearly doubled in size, and by the third day I had to bake, or it would have overflowed the quart jar where it was bubbling and brewing like a witch’s cauldron. The two loaves of bread I made on the third day came out great! I continued to feed the starter following the author’s simple instructions, and two days later used some to make delicious sourdough hotcakes for three hungry adults. All this in less than one week! I have plans for more bread and sourdough pretzels in the near future. If I can do this, you can, too. I highly recommend Alaska Sourdough, the Real Stuff by a Real Alaskan, by Ruth Allman, and wish you much success on your bread baking adventure!

My sourdough starter on day 2. (The rubberband marks the starting point on day 1). On day 3 it was definitely time to bake!

Mother’s Sourdough Bread

20200128_104749

First of all, I want to give credit to my friend, Mary Anne Williams, who graciously shared this recipe with me. According to Mary Anne, her mother’s bread was locally famous with family and friends. A friend once told her mother that all she wanted for her birthday was her bread, and that’s exactly what she got! (We should all have such a friend!) It really is delicious, and I will share the recipe just as it is written.

This recipe makes three full size loaves! It’s simple to make if you follow the directions exactly. The starter is alive, and keeping it that way is a bit tricky, so at least for your first attempt I would suggest not changing a thing. Be prepared to wait 3 – 5 days from start to finish, most of that time is for the dough to rise.

RECIPE*

— Hint: Use metal only for the baking pans. Yeast does not like metal and will die. That means wooden or plastic spoons, glass bowls, measuring cups, etc.

— Hint: Store in a bowl with a lid, but yeast must breath. The lid should have holes, or you can use plastic wrap and leave it partially uncovered.

— Hint: When you get too much starter, share some with a friend.

To make starter:

Ingredients:

1 package dry yeast

1/2 cup very warm water

2 cups lukewarm water

1 tablespoon sugar

1 tablespoon salt

2 cups flour

Dissolve yeast in 1/2 cup very warm water. Stir well

Add 2 cups lukewarm water, sugar and salt. Stir well.

Stir in flour and mix well.

Place mixture in a large container, cover with a cloth, and leave at room temperature until mixture begins to ferment. (It usually takes about 18 – 24 hours). When it foams and bubbles, it is ready to use.

It may be used immediately or stored in the refrigerator.

To make bread:

Ingredients:

1/4 cup sugar

1/2 cup vegetable oil

1 1/2 cup warm water

1 cup starter

1 1/2 teaspoon salt

Mix with a wooden spoon.

Add 6 cups bread flour and mix well with hands.

Put this in a larger greased bowl. Cover with a clean cloth and let stand in a warm place overnight.

Next morning, divide the dough into three parts. Knead each part on a floured board. It does not need to be worked much.

Put each loaf into a greased loaf pan. Brush with vegetable oil.

Let rise in a warm place 4 – 6 hours.

Bake at 325 for approximately 45 minutes.

Remove from oven, brush with butter. After a few minutes, remove bread from pans and allow to cool completely before wrapping to prevent sweating.

After removing starter to bake bread, add:

1 cup lukewarm water

1/2 cup flour

3 teaspoons sugar

Feed the starter every Tuesday and Friday. Add to starter:

3/4 cup sugar

3 Tablespoons instant potatoes

1 cup warm water

Stir with a wooden spoon.

Let sit at room temperature for 8 – 10 hours, then refrigerate until ready to use.

*My notes after trying this recipe:

Knowing a little bit about the chemistry of sourdough bread, I was surprised to see that this recipe includes yeast and sugar. The yeast helps reduce rising time and sugar feeds the yeast.  Traditional sourdough does not include either of these ingredients — only flour and water in the starter, but it takes much longer to get a good starter going, and your location is also a critical factor. San Francisco is famous for traditional sourdough bread because the location’s climate is perfect.

I would call this recipe Amish Sourdough Bread, sometimes known as Friendship Bread because you can and are encouraged to share the starter and recipe with a friend. (A variation of the Amish starter is sometimes called Herman which can be used to make sweet pastry).

Don’t be reluctant to add the sugar called for in this recipe. The yeast consumes most of the sugar, so you won’t.

The addition of instant potatoes surprised me, but it works here, so don’t leave it out.

Use only purified water or bottled spring water. Chlorine kills yeast, so regular tap water is not a good choice.

A good place for your bread dough to rise is on the middle rack in the oven with only the oven light on for heat. Place a bowl of warm water on the lower rack. Warmth and moisture are the perfect conditions for keeping yeast happy.

If you are thinking about substituting whole wheat pastry flour for half the bread flour, don’t. Whole wheat pastry flour is best suited for sweet baked goods that include baking powder or baking soda instead of yeast to produce rising. (I don’t know if regular whole wheat flour will work here, because I haven’t tried it… yet.) Here is a photo of my bread when I tried substituting half whole wheat pastry flour (pretty flat!) compared to the bread made according to the recipe. It still tastes great, but you’ll never make a sandwich with that one.

20200201_124536

If bread making seems intimidating to you, then try this recipe as a start. The results are yummy, and you will have such a sense of accomplishment. Your confidence will grow, and then you can experiment with other recipes.