Red Lentil Bread

There are many lentil bread recipes floating around the Internet right now, and I have tried several of them. None of those met my expectations. I’m not being picky; I don’t expect lentil bread to look and taste like normal bread, but besides being gluten-free, high in protein and low in carbs, I do have a few non-negotiables that any bread recipe must meet:

First of all, the recipe must be easy. The bread must be able to be sliced without falling apart. It must be firm enough to use in a sandwich without being dense and hard. It must be toastable. It must look appetizing (not grayish green). And it must taste so good that my husband, who is wary of any new recipe, will eat it. I knew that this recipe was a winner when he toasted it for his breakfast morning after morning and then asked when I’d be making it again. Winner!

Ingredients:

2 cups dry red lentils, soaked

1 cup real yogurt, unsweetened. (Greek or Bulgarian work well)

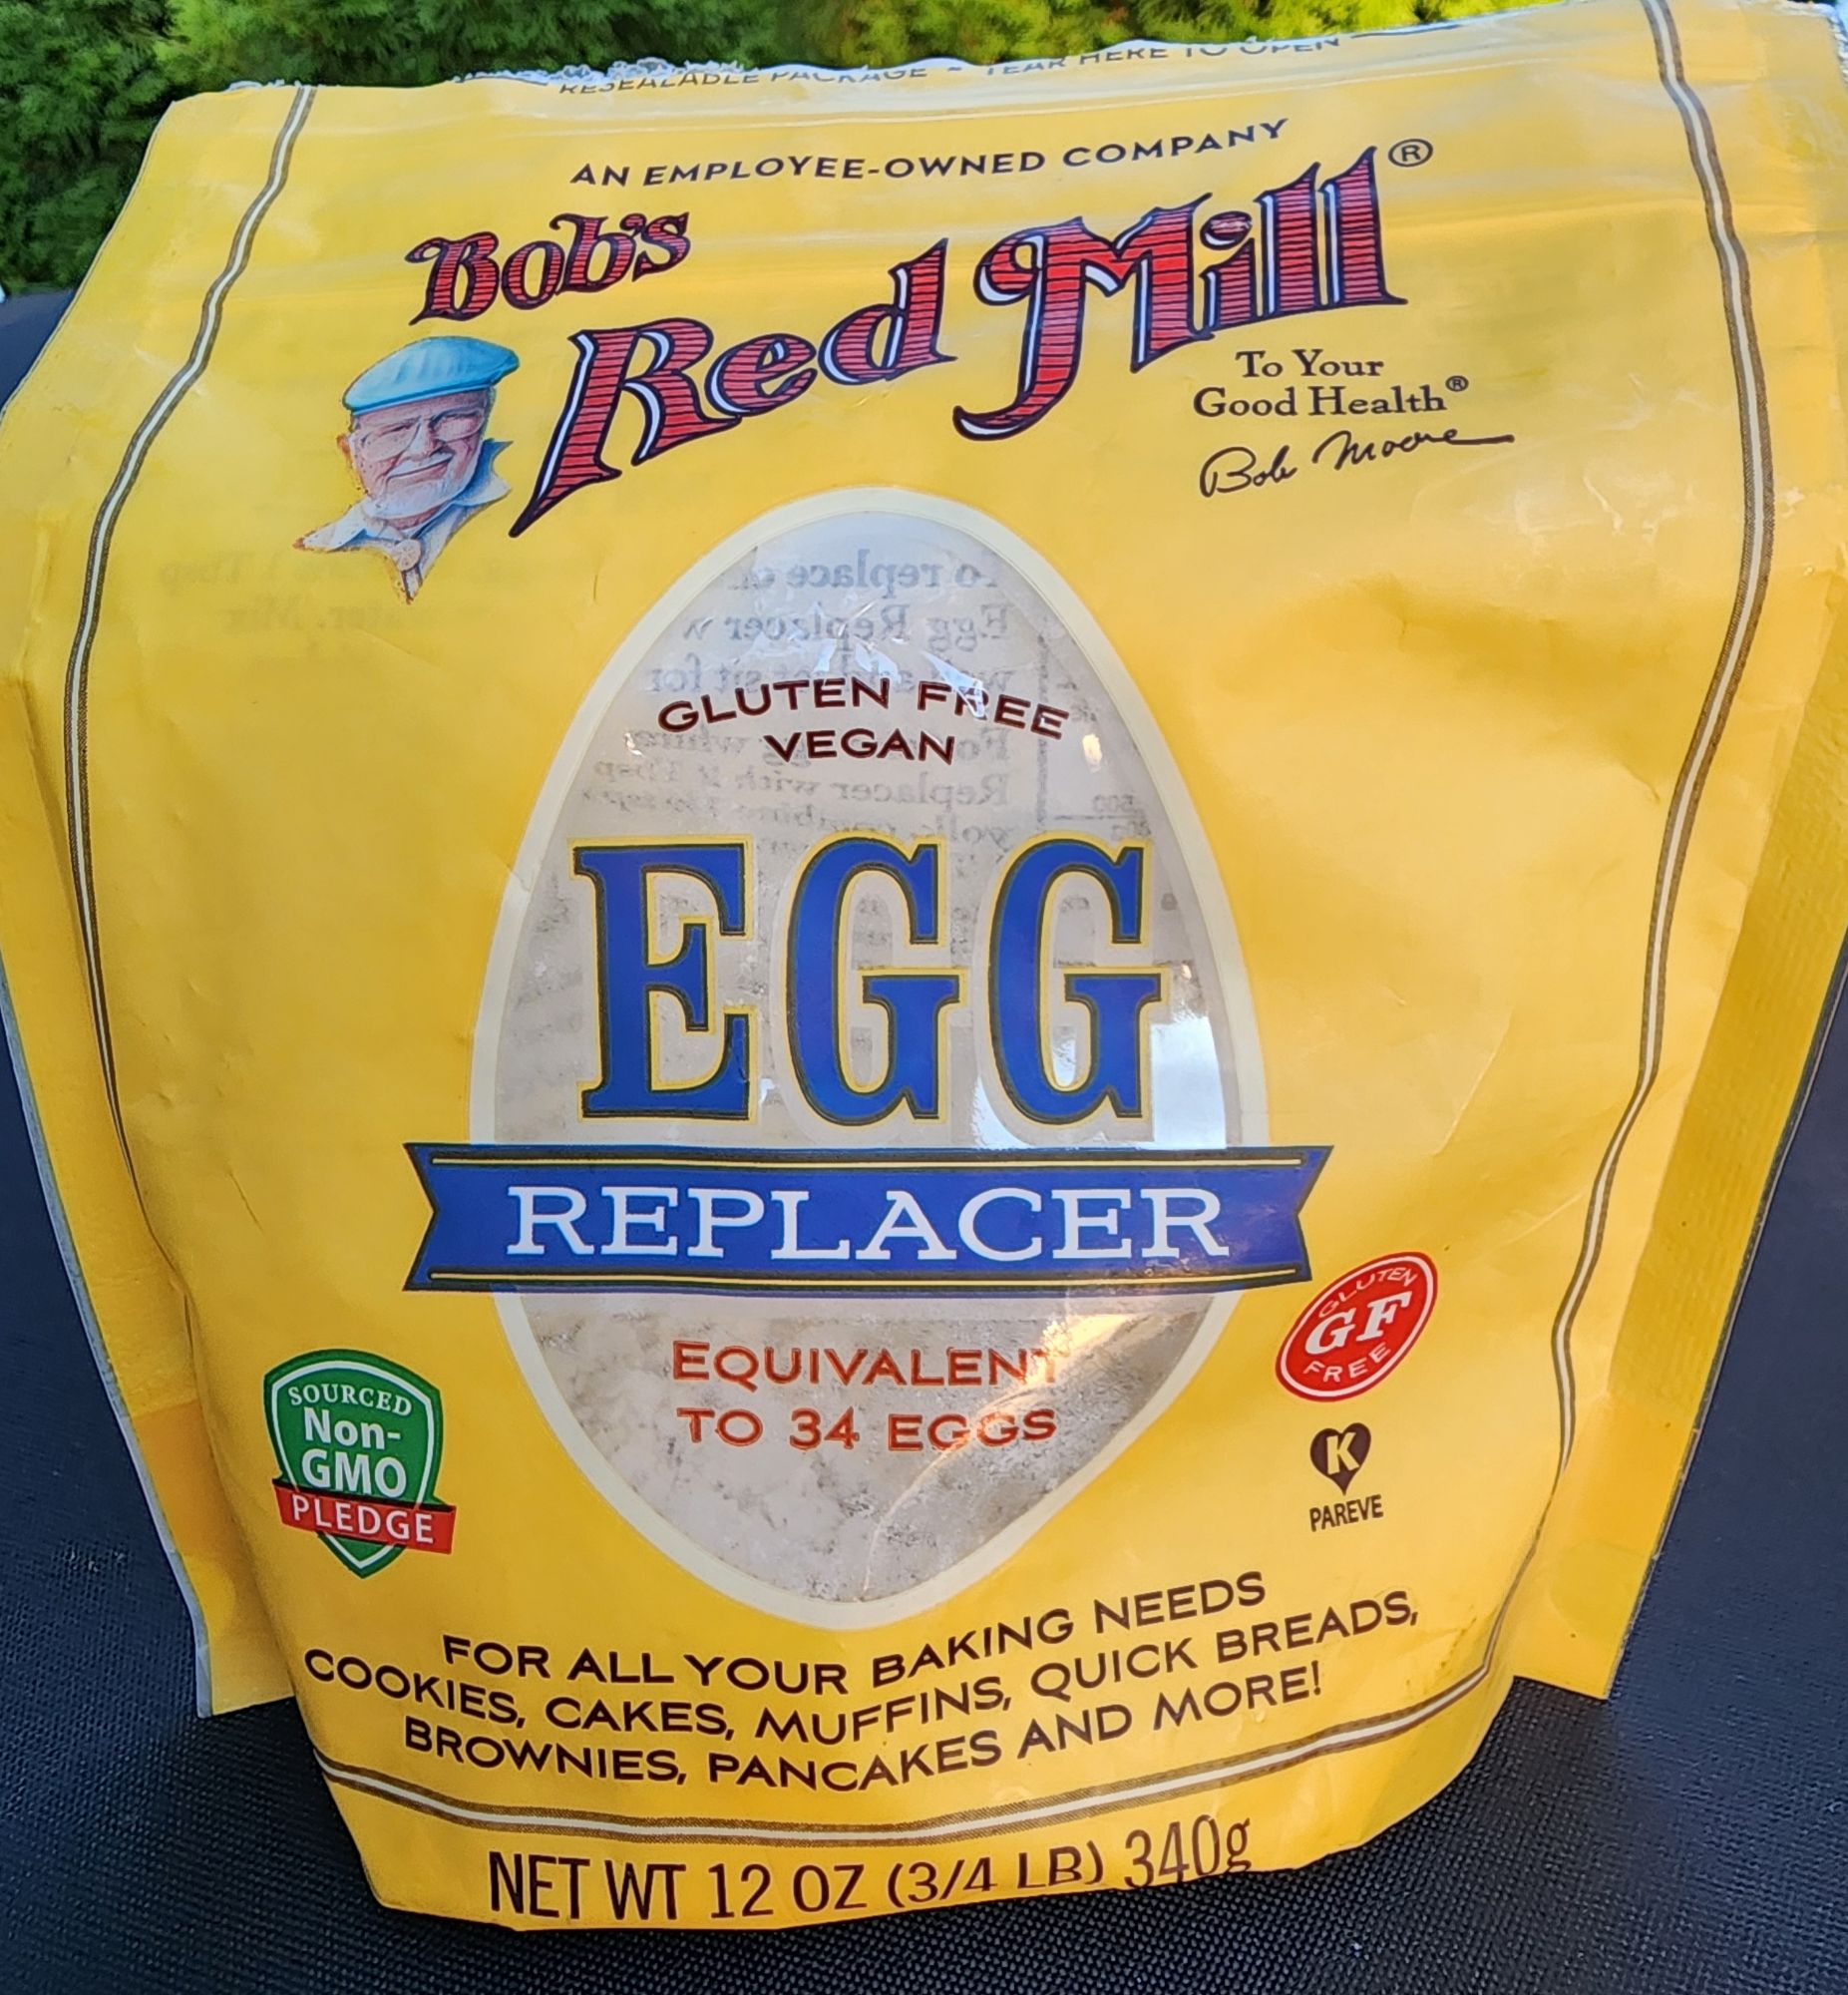
Egg Replacer equal to 4 eggs (I used Bob’s Red Mill brand)
1/4 cup organic grapeseed oil

1 1/2 tsp. sea salt

1 1/2 tsp honey (to balance out all the salt)

1 Tbsp. baking powder

A handfull of assorted seeds of your choice to sprinkle on top (pumpkin seeds, sesame, poppy, sunflower, etc.)

Method:

To soak the lentils: First rinse them well and place them in a large mixing bowl, cover with purified water about 2 inches above the lentils. Place a cover or a large plate over the bowl and let them soak overnight or about 8 hours. They will soften and swell.

The next day drain the lentils and rinse well. Drain again.

Place the well drained lentils and all remaining ingredients in a food processor or a high-powered blender until a creamy batter forms.

Line a bread pan with parchment paper. Pour batter into the parchment lined pan and spread evenly.

Top the batter with seeds and gently press them down on the batter or they will fall off when you are slicing the bread.

Bake at 375 degrees for about 45 minutes. You want the top to be golden brown and springy to a light touch. I tested mine with a toothpick.

Cool the bread in the pan for at least 30 minutes, and then use the edges of the parchment paper to lift the loaf out of the pan. Cool completely before slicing. (Important- do not slice the bread while it is still warm or it will break apart).

When completely cool, I slice half the loaf into 1/2 inch slices and stack them with a small square of parchment paper between the slices. Store this container in the frig and remove slices as needed. The rest of the loaf can be sliced and stored just like that in a plastic container in the freezer or you can wrap it tightly in the same parchment paper you used for baking and cover that with an layer of aluminum foil. It will stay fresh to use whenever you want, just take out a slice at a time as desired.
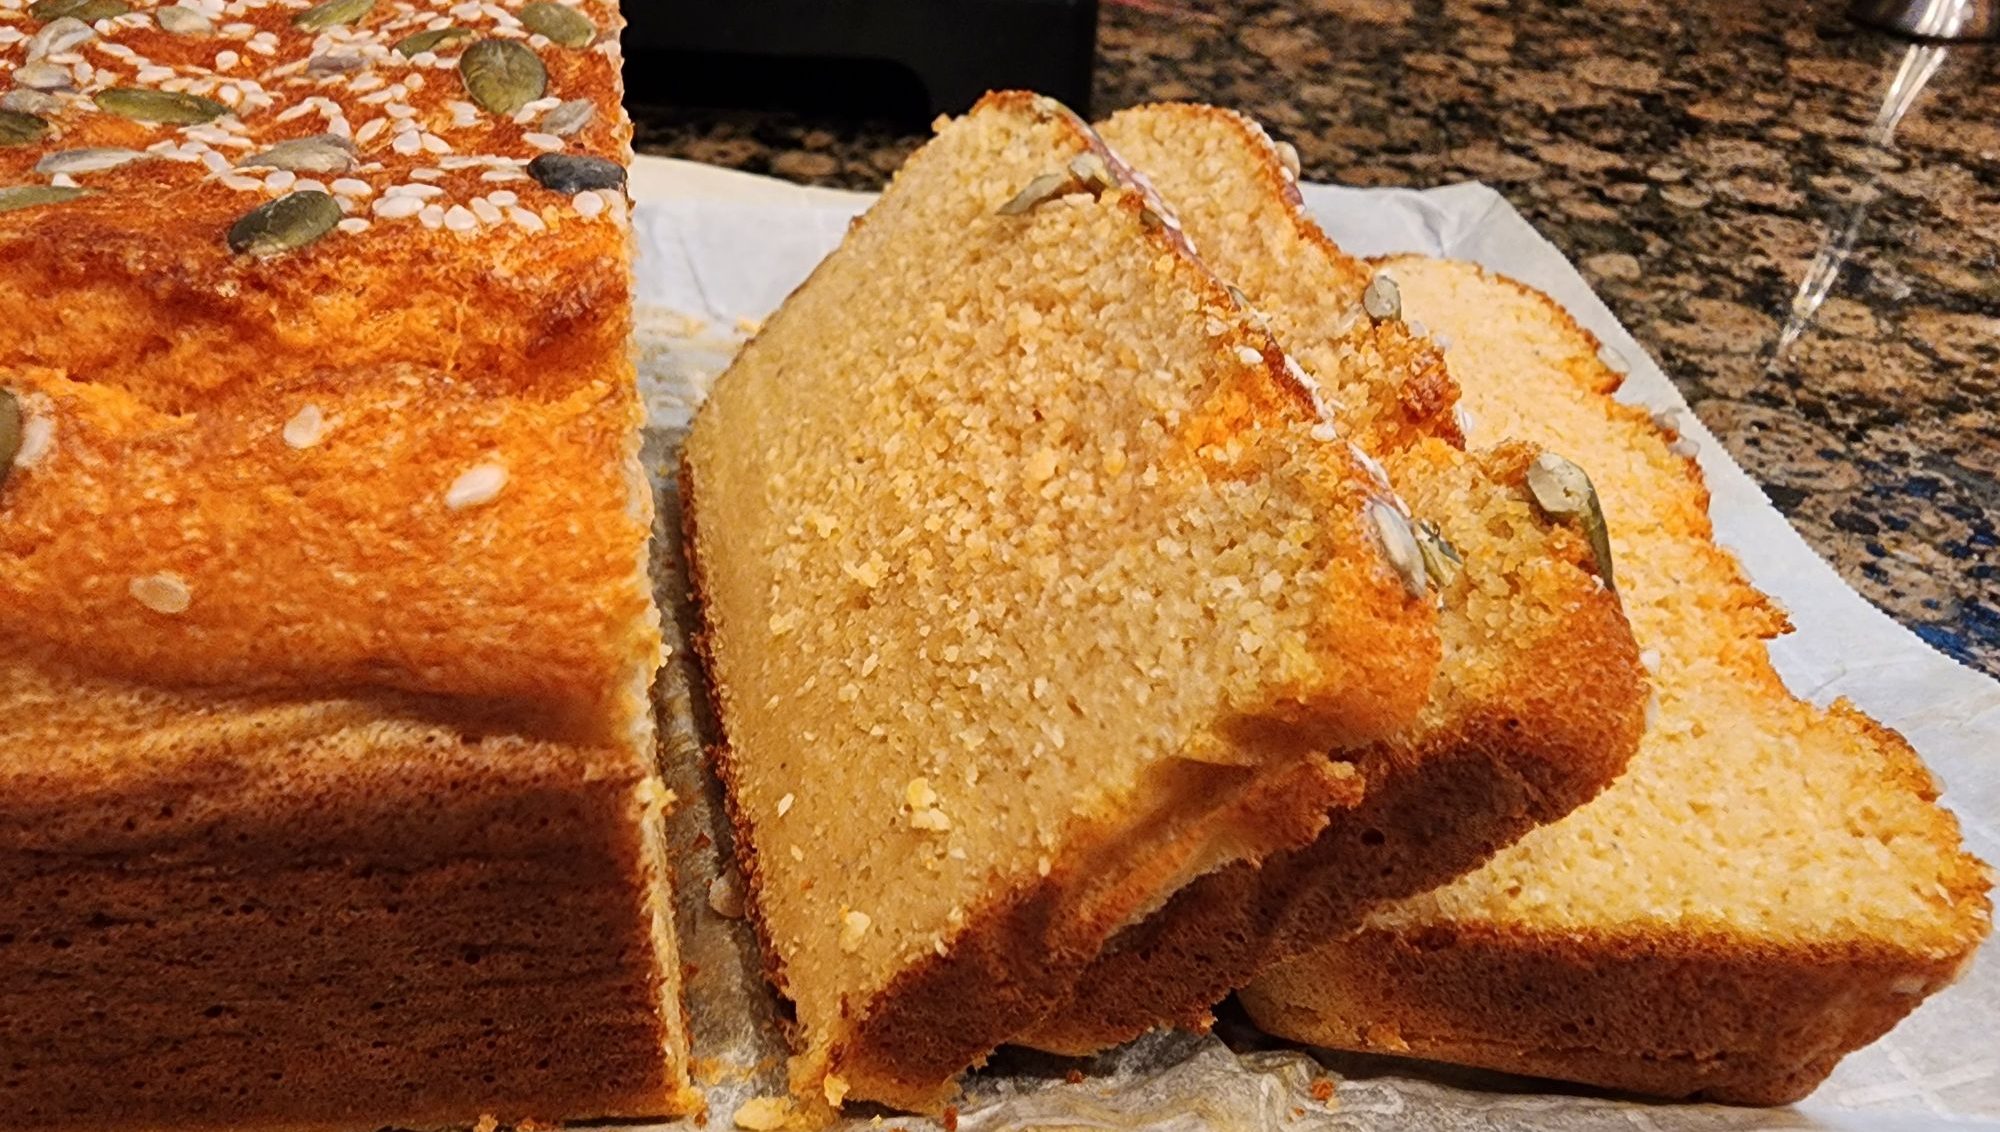
PS: My husband willingly makes his own lunch with this bread, but his favorite is breakfast toast with vegan cream cheese and strawberry jam. He says it keeps him full until the next meal. Success!
Vegan Deli Sandwich “Meat” Recipe

There are several vegan sandwich meat recipes online, and I have been trying a few of them. I was so happy to find a more affordable option than the expensive commercial varieties available at our supermarket. In addition to price, I like to know what ingredients are in everything I serve, and I can say that this recipe passes my fussy standards.

Ingredients:

Note: Make the marinade first to allow flavors to blend while you slice the tofu.

A 1Ib block of super-firm tofu (squeeze out the excess water before you begin. There won’t be much with this variety of tofu, but any excess water will dull the flavor of the marinade).

1 cup warm water

2 tsp. “Better Than Bouillon” vegetable seasoning

1 tsp dried thyme

1 Tbsp nutritional yeast

1/4 tsp. garlic powder

1/8 tsp ground pepper

2 tsp Bragg’s Liquid Aminos

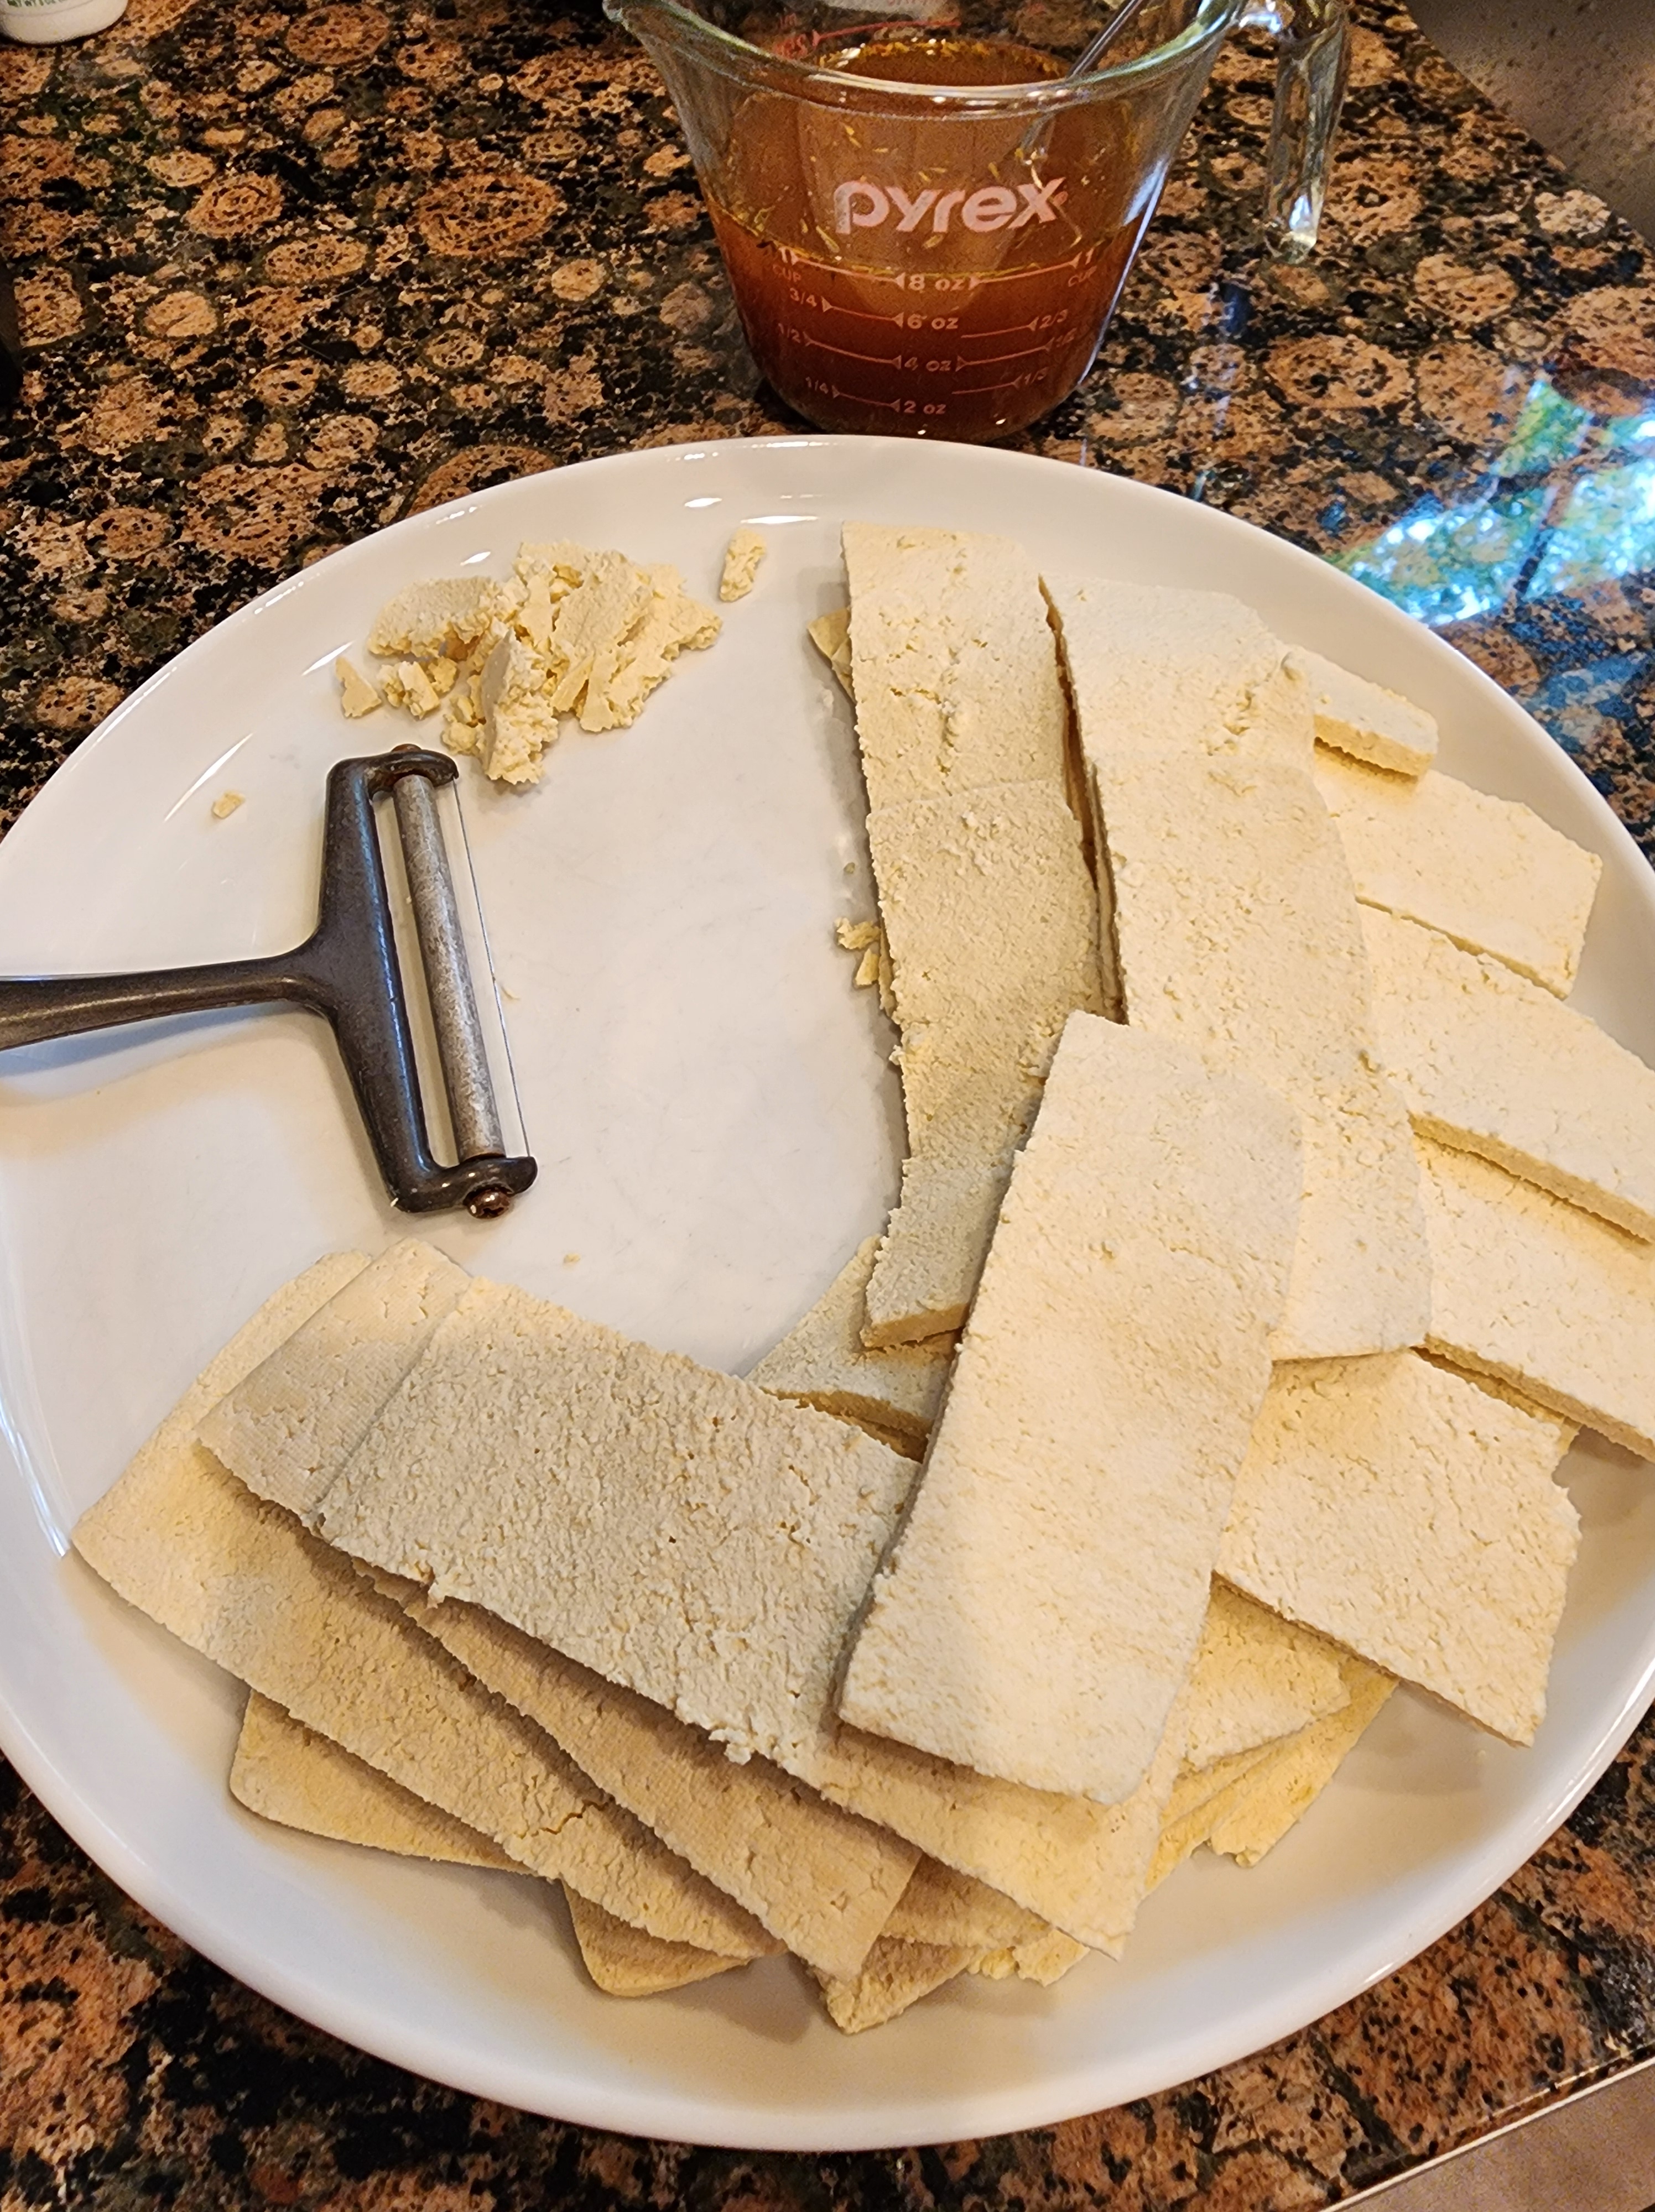
Set marinade aside and slice the drained tofu very thin. I used a cheese slicer to do this, but you could use a thin sharp knife instead.

In a large skillet, spoon in enough marinade to cover the bottom of the pan. Layer the slices and spoon a portion of the marinade over each layer. Top with any leftover marinade.

Turn heat on LOW and allow tofu to simmer gently for about 30 minutes. Do not let it boil, and do not stir. Tofu is very delicate and will easily break apart. I used a turkey baster to occasionally drip marinade over the top layer and a silicone spatula to lift slices to get some extra marinade between the layers of tofu as it cooked.

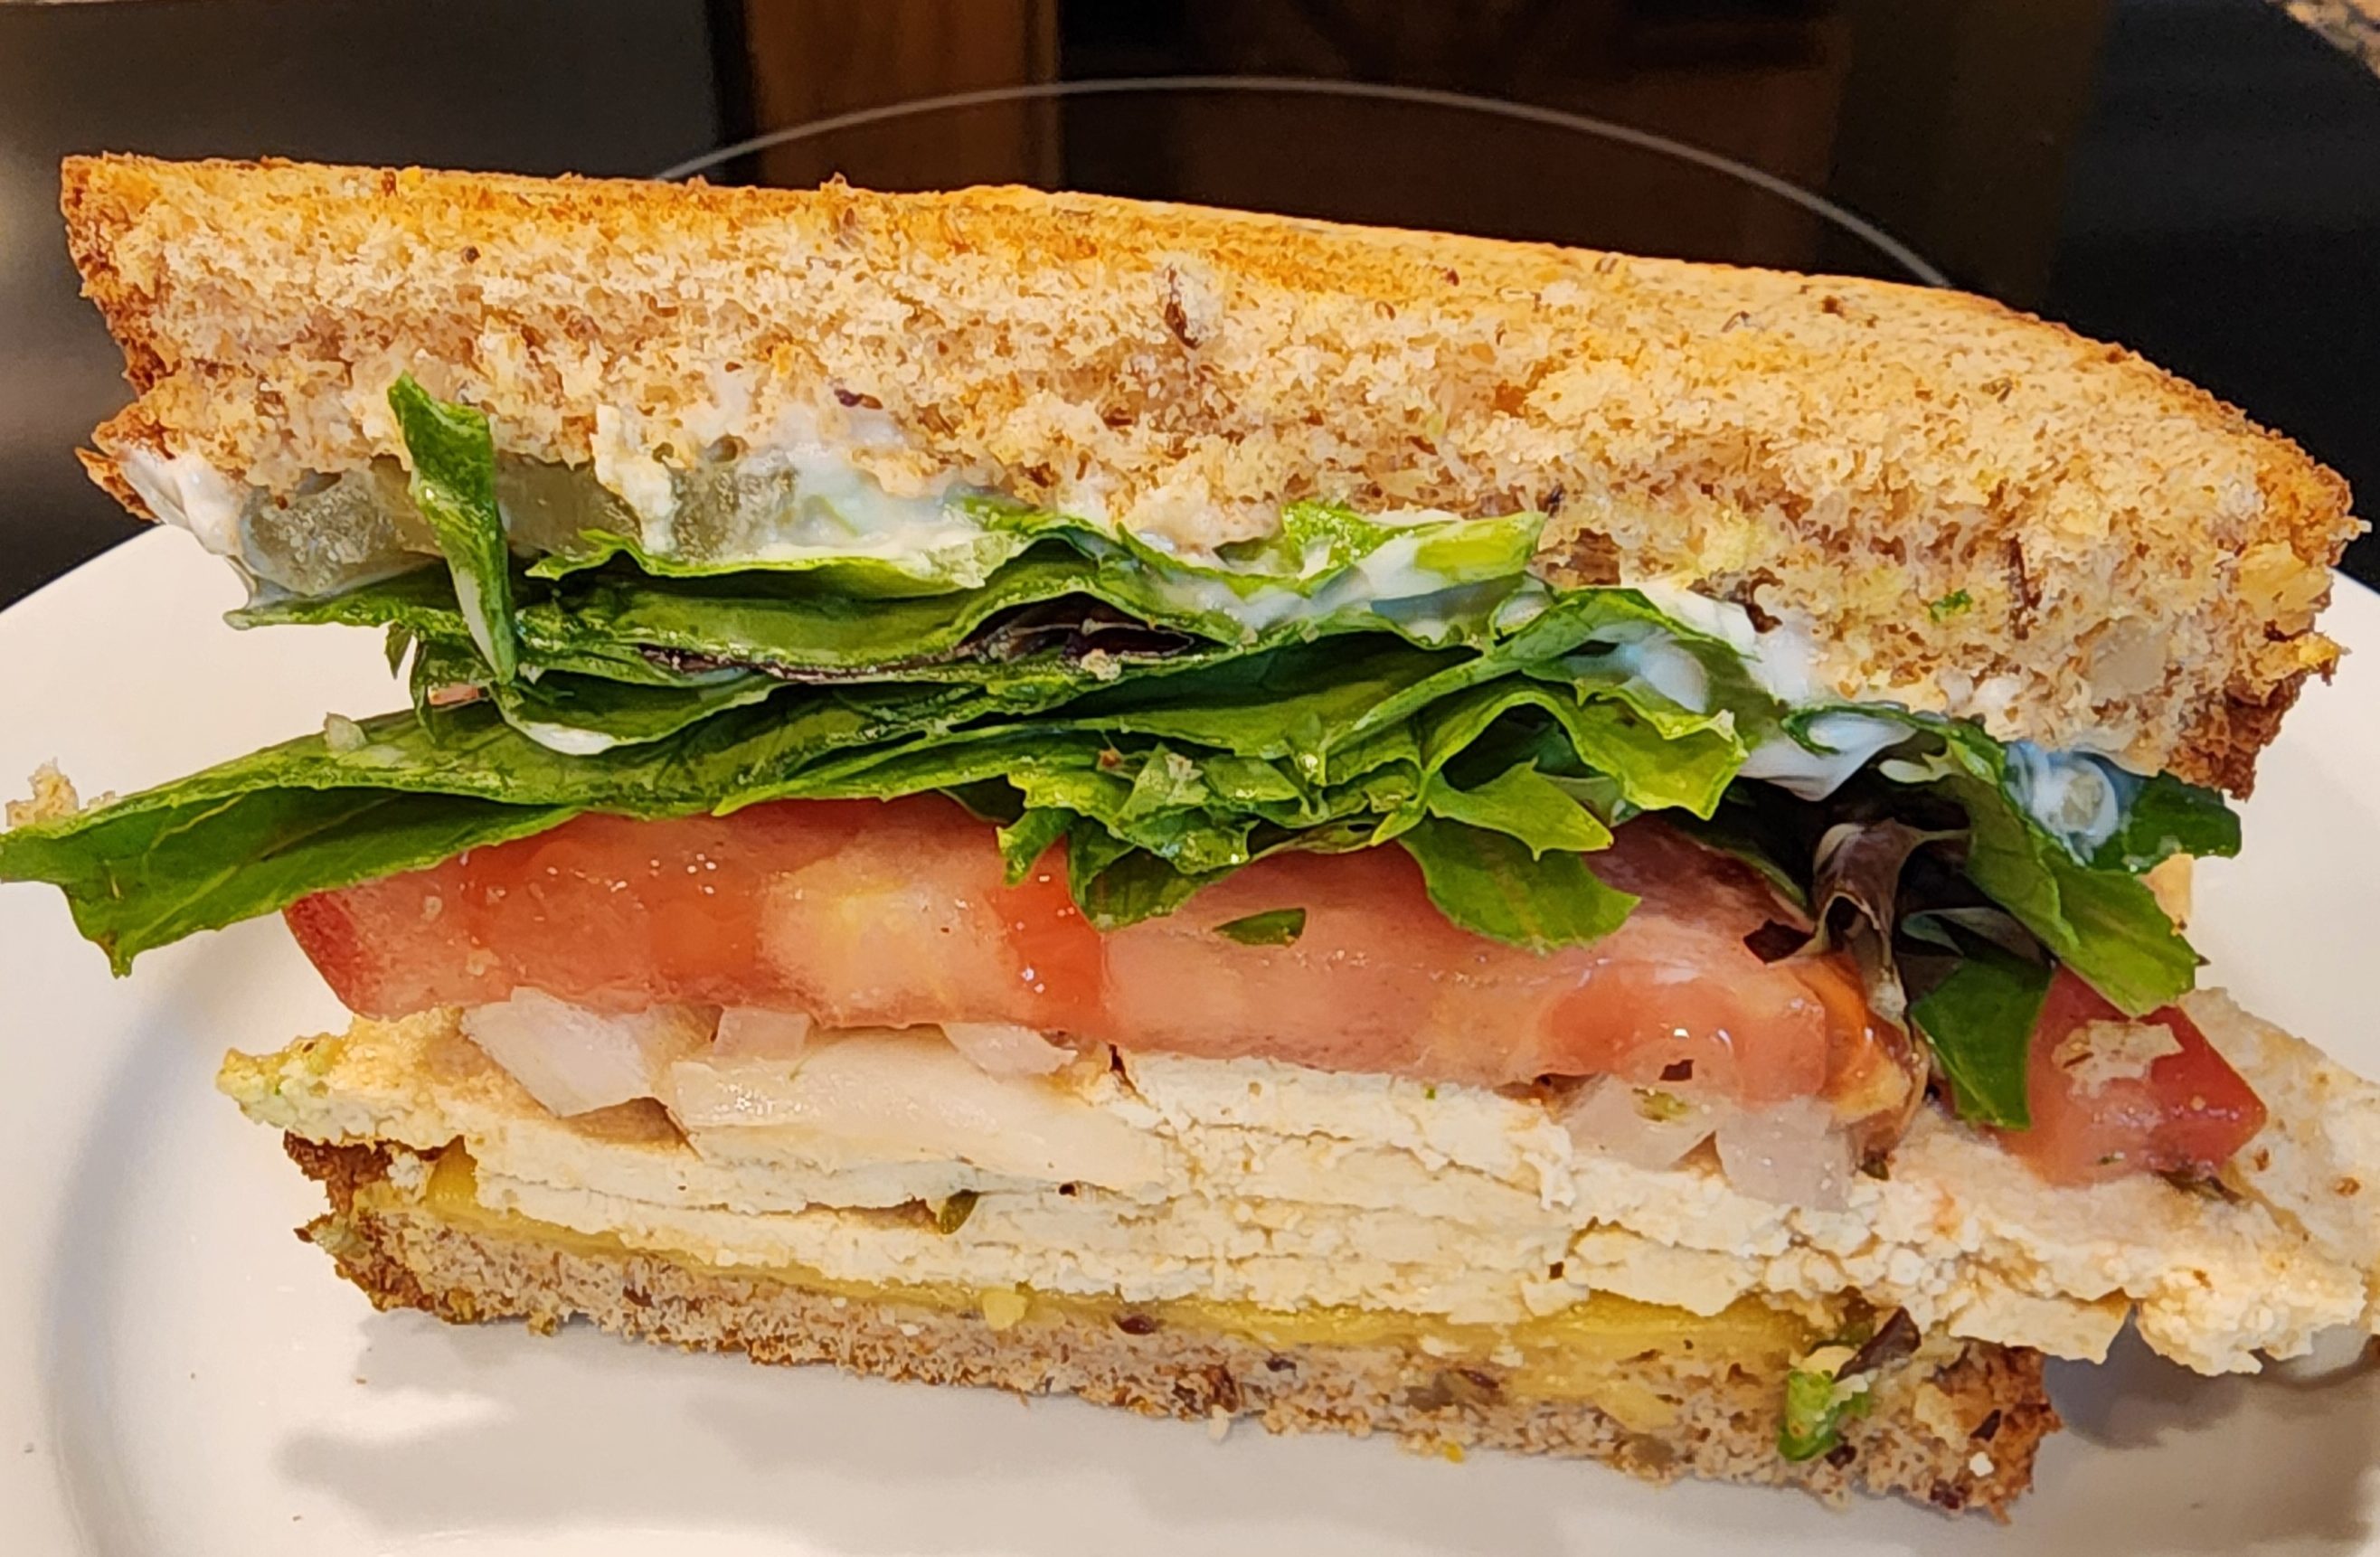
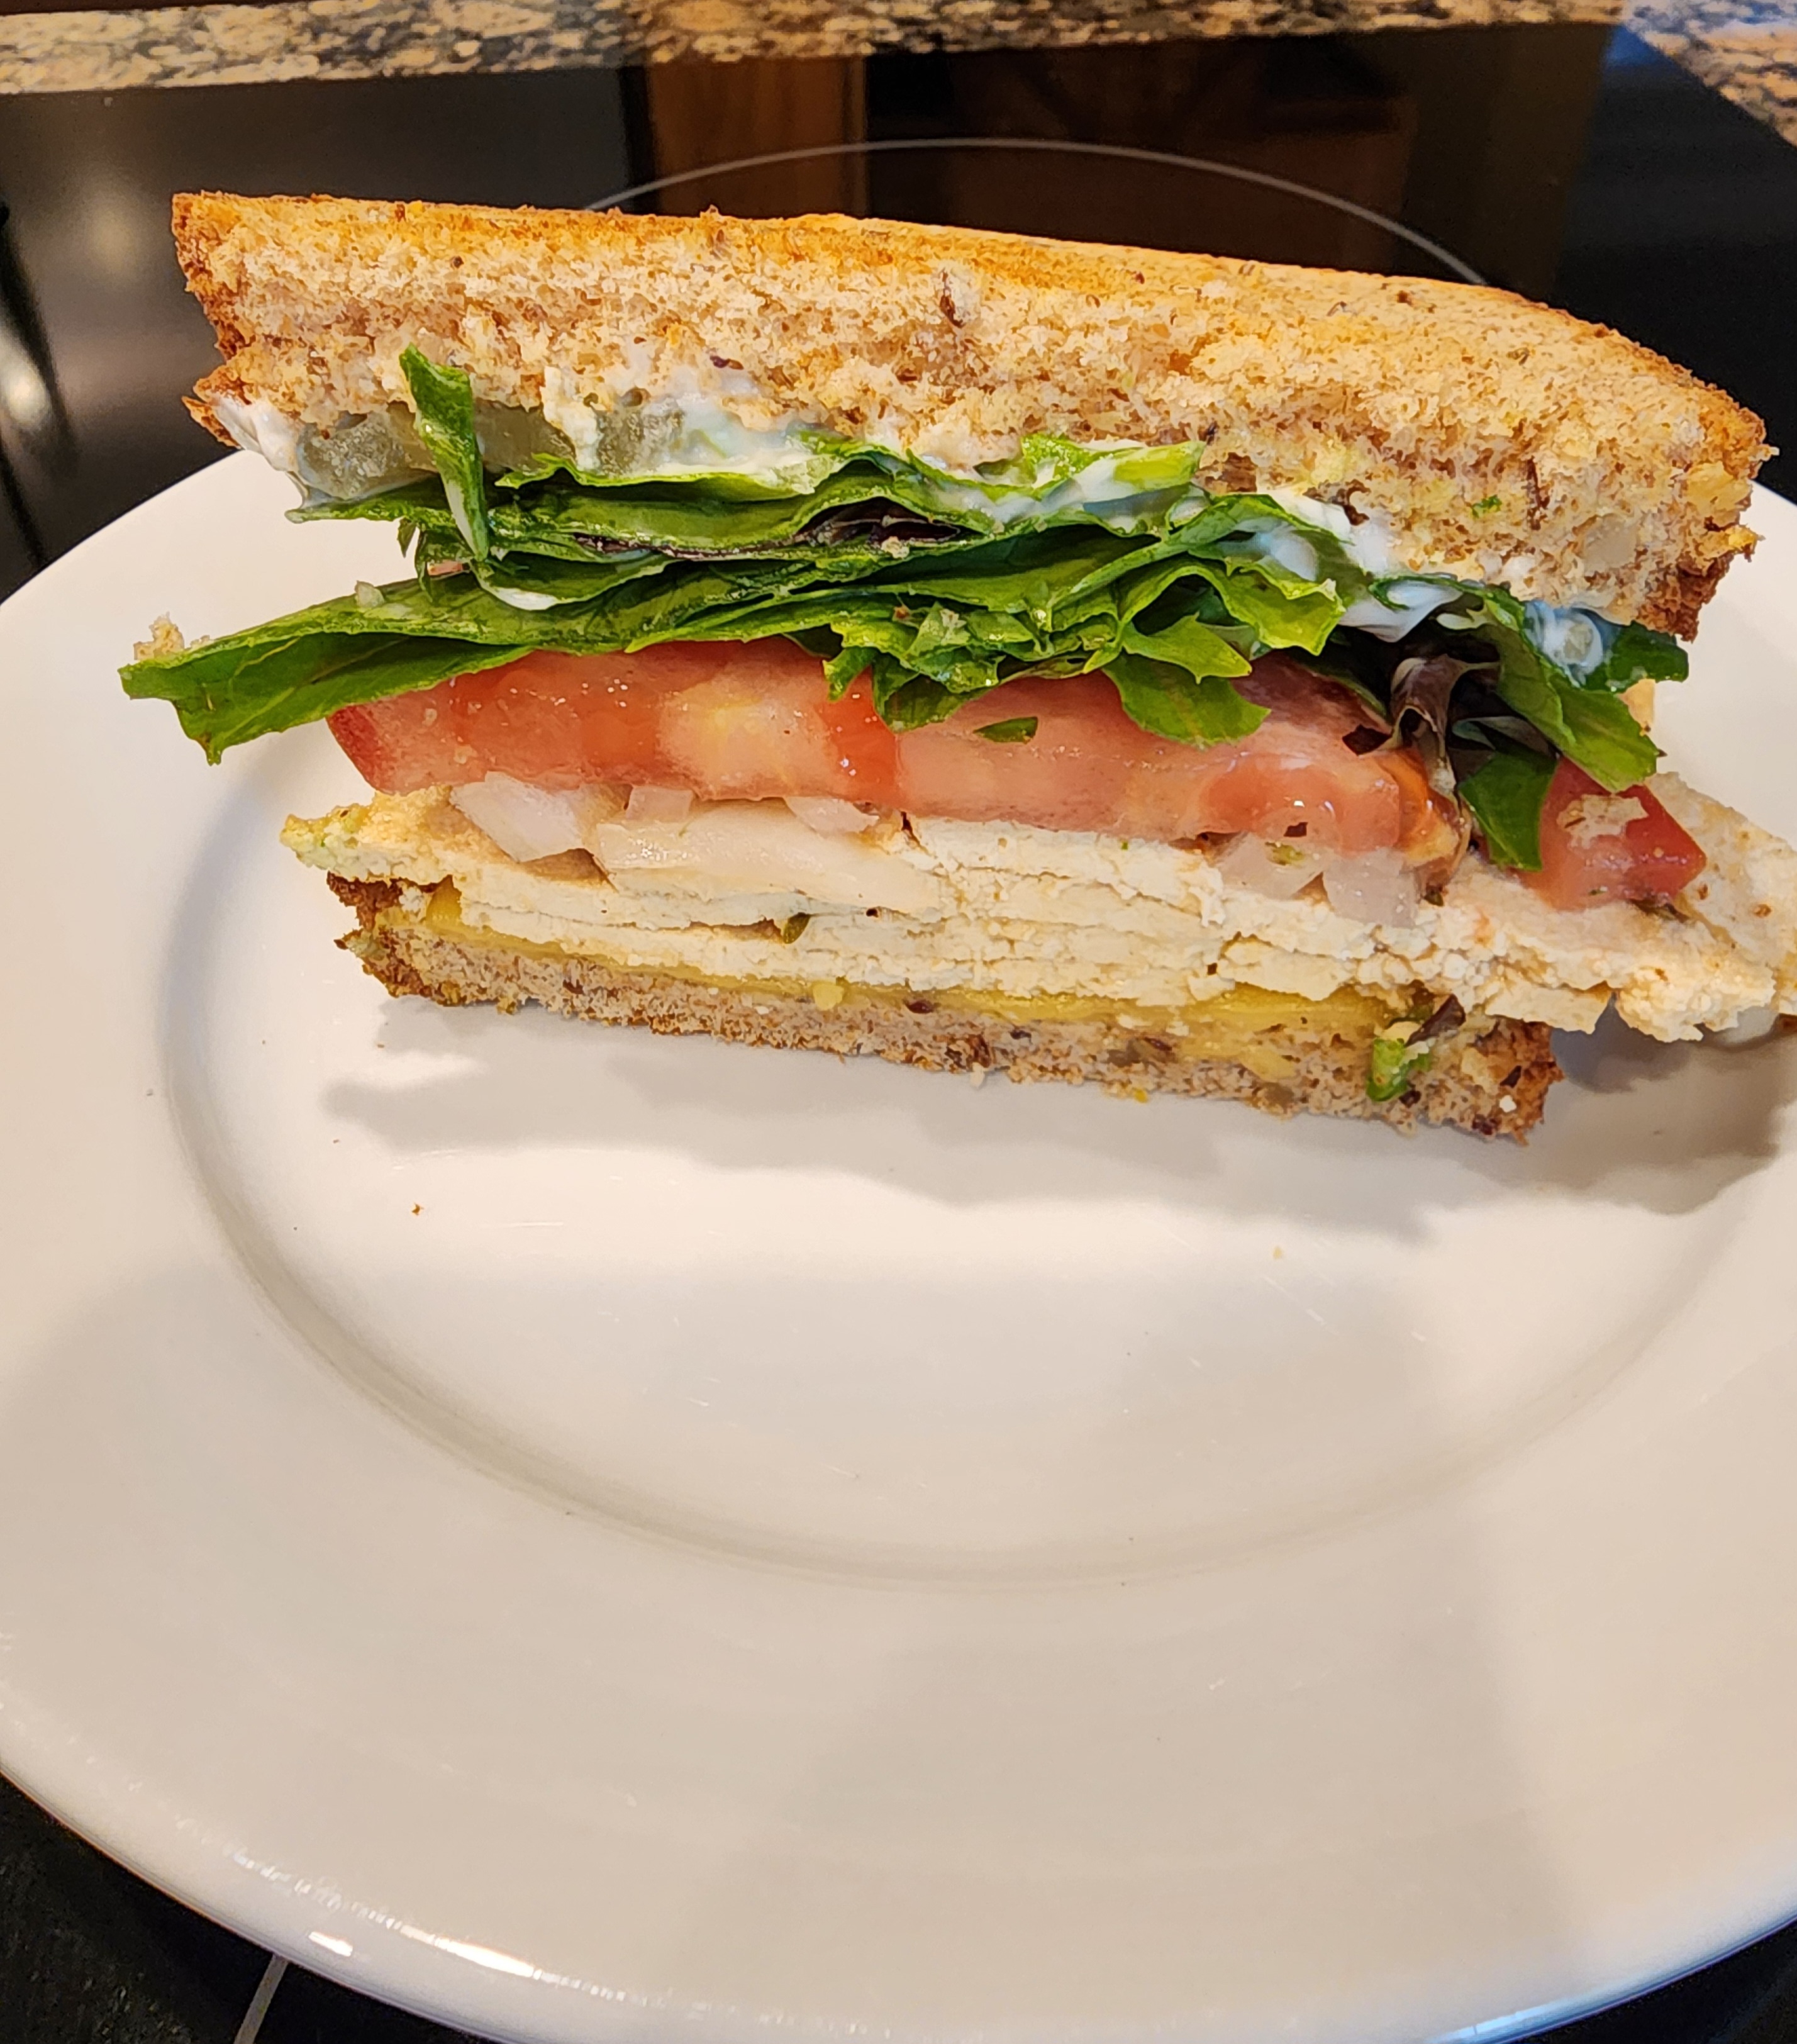
When done, remove from heat, but allow the tofu to cool in the pan to absorb as much flavor as possible. Tofu will suck up that marinade like a sponge. When ready, create your sandwich. Pile the deli “meat” on as thick as you desire. Makes a hearty, savory vegan sandwich, toasted with a slice of your favorite vegan cheese (we like smoked provolone). Add toppings: tomato, lettuce, onion, pickles, and your favorite condiments. Tofu deli meat will keep in the frig for several days. Enjoy!

For more recipes and plant-based tips visit https://www.vegtutor.com

Zip-zap Crockpot Stew for Those Extra-busy Days

Crockpot Stew

Some days are just so jam-packed that if you don’t make dinner in the morning it’s not going to happen at all. I hate the four o’clock feeling of not having an answer when people start asking “What’s for dinner?”. . . especially when I still have two more hours of work ahead before I can even think about dinner. When you are facing one of those busy days, then your crockpot (slow-cooker) can be your best friend.

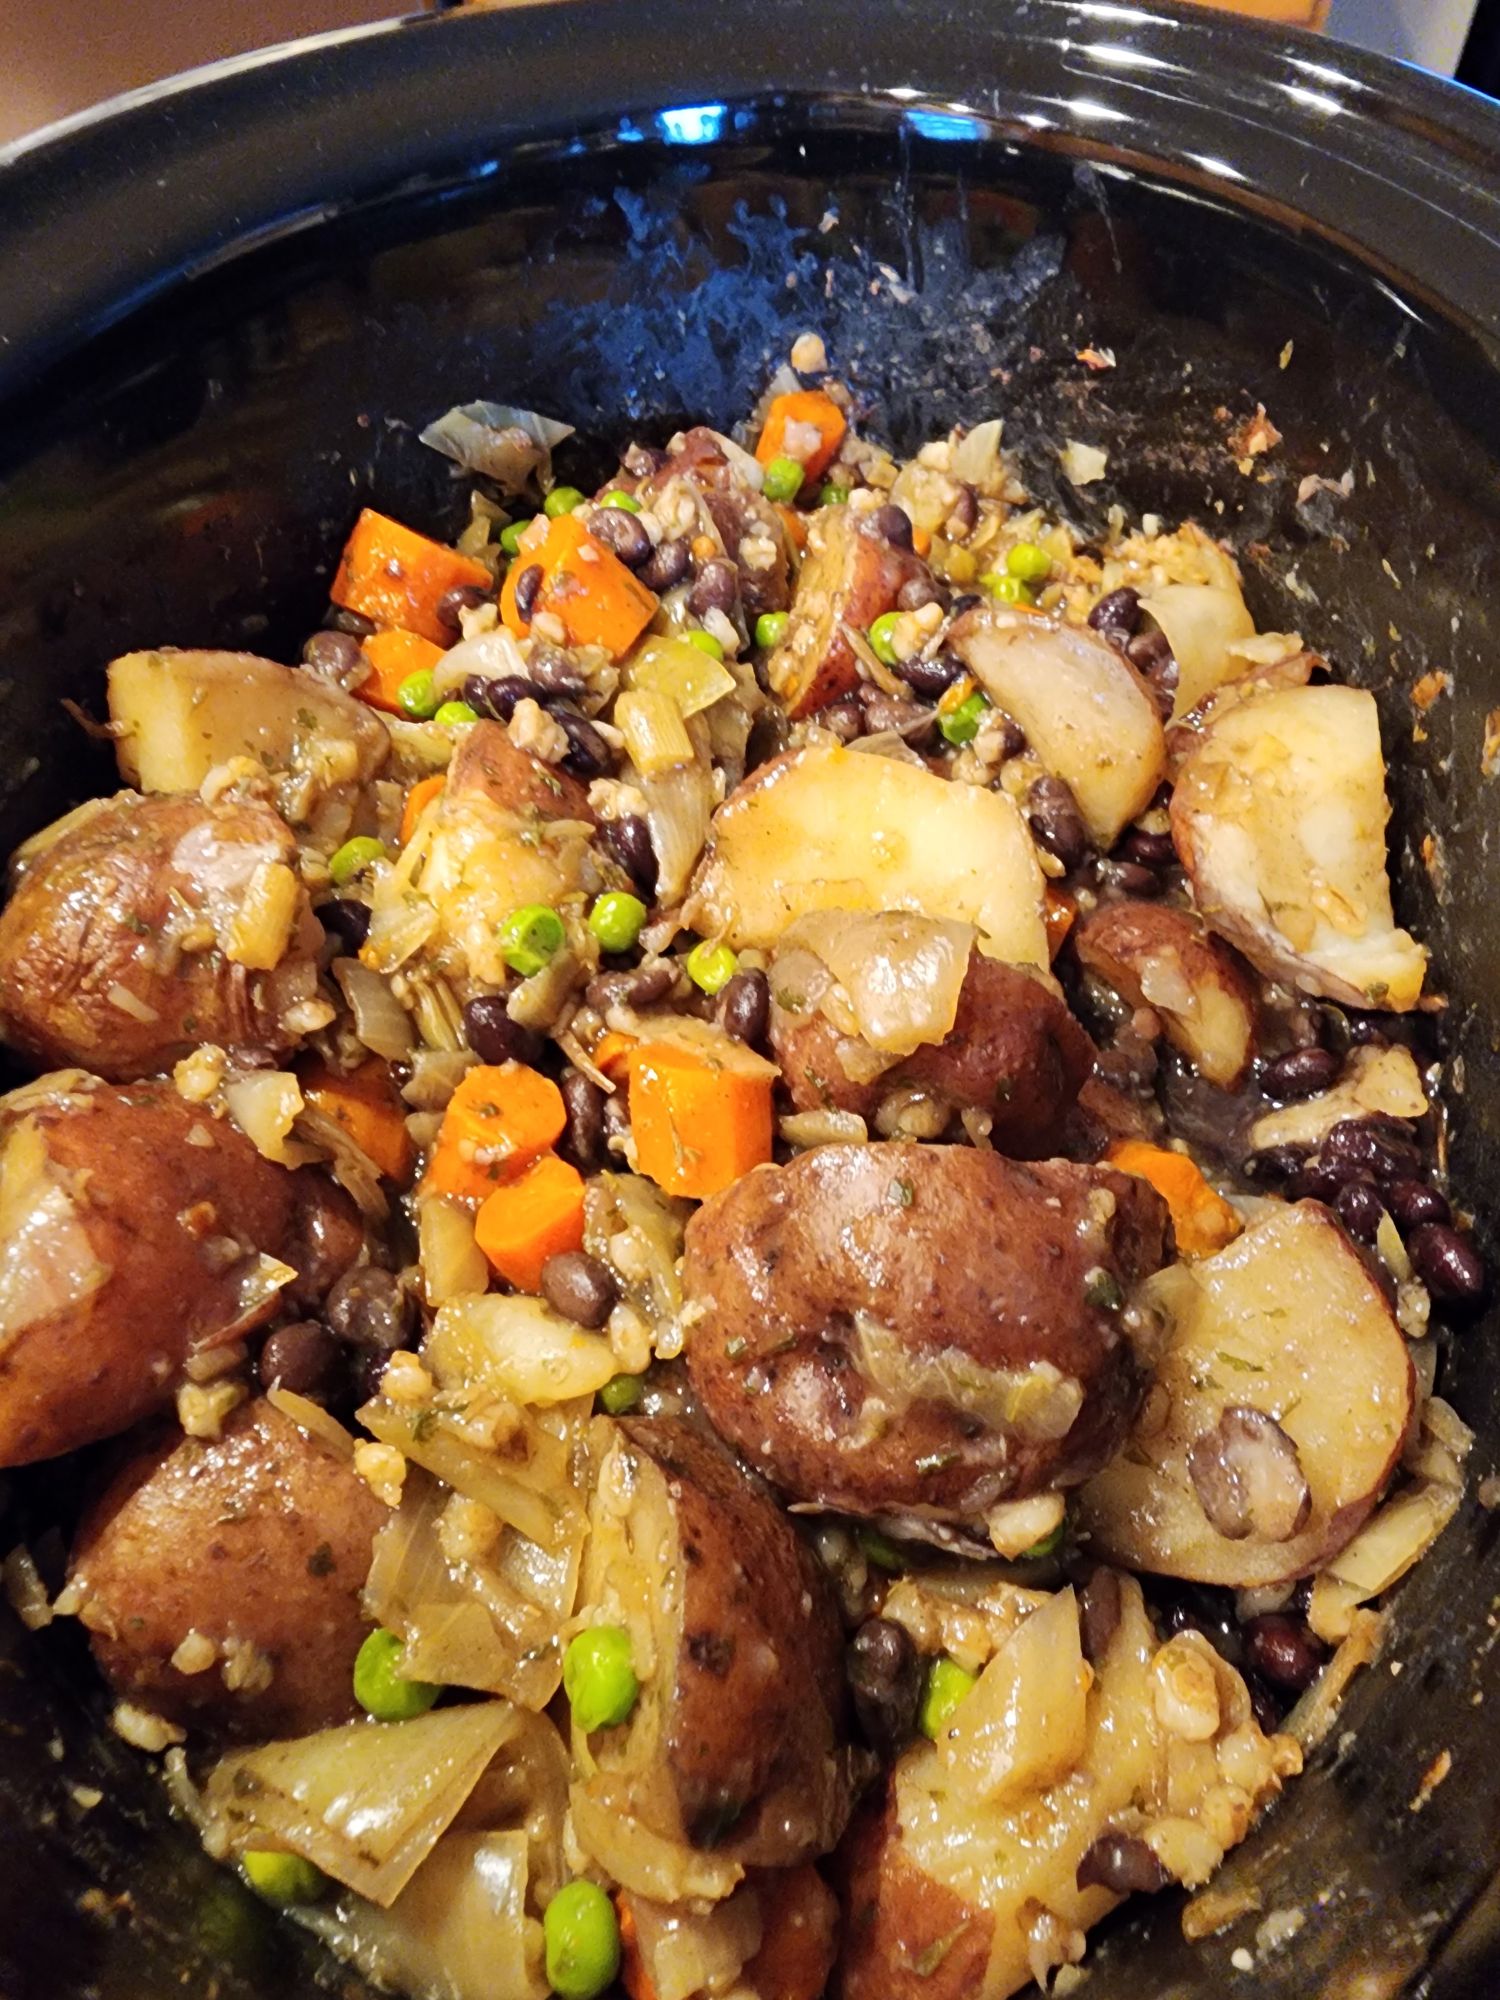
I confess that this recipe, at the start of one of those hectic days, was also the result of discovering that I had mistakenly bought a big bag of potatoes when I already had one at home. . . oops! So right after breakfast (If I had been planning ahead I could have cleaned and chopped all the vegetable the night before) I began scrubbing potatoes and peeling carrots and onions (because those are the primary ingredients in any good stew). Then I chopped a wedge of raw leftover cabbage, 1 cup of chopped celery, and put everything in the crockpot with 6 cups of water and a packet of onion soup mix, 3 cloves of minced garlic, and some extra seasonings (You can be creative here).

For protein I added a can of seasoned black beans and about 8 ounces of frozen peas. To thicken, add 1/4 cup pearl barley. All these ingredients and the amounts are flexible as are the seasonings; I was flying by the seat of my pants and in a hurry, but it worked, so feel free use what you have on hand and experiment if you are adventurous.

INGREDIENTS:

4 – 5 medium potatoes, scrubbed and quartered

4 large carrots, peeled and sliced 1-inch

I large onion, peeled and chopped 1-inch

1 cup of fresh cabbage, chopped 1-inch

1 cup celery, chopped

3 cloves minced garlic

6 cups water

1 packet onion soup mix

1/4 cup barley

1- 15 ounce can seasoned black beans

8 ounces frozen peas

(I would have added some dry red lentils also, if I had thought of it. They would have added more protein and creaminess to to stew)

Seasonings I used, but you can vary these if you prefer:

1 1/2 Tbsp. dry parsley, 1 tsp. ground thyme, 1 bay leaf

METHOD:

I did not pre-steam any of the ingredients because this recipe will slow cook for hours. Simply throw all ingredients into the crockpot, stir, cover, and set on low for 6 – 8 hours. Then dash off to your next project.

At the end of the day, you will be welcomed by the savory aroma of a healthy dinner already made (and an answer to everyone’s questions), and that is a satisfying feeling. You are on top of things — you can do this!

Sample the stew about 15 minutes before serving. Add salt or Braggs Amino Acids and pepper to your liking. (If you have any bits of leftover cooked vegetables in the frig, the perfect time to use them up is now. Add them, stir, and allow them to heat up and flavors to mingle for about 15 minutes).

Serve with a simple side salad and some rolls or breadsticks. It’s a no stress, no mess dinner and only one pot to wash!

Traditional Ukrainian Kutya (wheat berry porridge)

Have you read “Peeling Potatoes: Katie’s Story”? It is Book 1 in the Rocked in the Cradle of Coal series of historical fiction books for middle-grade children. The Rocked in the Cradle of Coal series follows the children of a poor Ukrainian immigrant family in the early 1900’s. Chapter 13 of the Book 1 tells of the simple yet meaningful ways this family celebrated Christmas in Pennsylvania coal country as Mama explains the spiritual significance of each tradition from the tablecloth to the 12 meatless dishes served for their Orthodox Christmas Eve dinner. Kutya, a sweet chewy wheat porridge, is one of the holiday dishes they would have enjoyed after sighting the first star in the winter sky. Oral tradition was the only way these illiterate immigrants could pass their beliefs and traditions on to their children, so they found spiritual significance in many everyday things and explained their faith in object lesson style.

Wheat berries are the main ingredient in kutya, and hearty wheat is an ancient symbol in the Ukrainian culture for life, prosperity, and health. One ritual observed by some families was tossing a spoonful of kutya up to the ceiling. If the grains stuck then the coming year would be prosperous, but if not bad luck was in their future. (I wonder who got to scrub the ceiling?)

Kutya is simple to make, but like most old made-from-scratch recipes, it is time-consuming. I adapted this recipe from one found in a very unique book titled “Beyond the North WInd” by Darra Goldstein (You can find it on Amazon). “Beyond the North Wind” is a delightful combination of Russian recipes and lore. It’s a great coffee table book to read for pleasure or as a reference when searching for delicious ethic recipes. Maybe you would like to make kutya for your holiday dinner, or serve it as a breakfast porridge on the big day.

See Notes*

Ingredients:

1 cup wheat berries

1/2 cup chopped blanched almonds

2 cups almond milk

Organic butter or substitute for greasing the casserole dish

1/2 tsp. salt

3 Tbsp. poppy seeds

3 – 4 Tbsp honey

Sour cherry preserves

How to:

Soak the wheat berriies overnight in cold water to cover.

The next day, preheat the oven to 325F and toast the chopped blanched almonds until golden (6 – 8 minutes). Set aside.

Raise the oven temperature to 350F. Grease a lidded 1 1/2 quart casserole. Drain the wheat berries, place them in the casserole, and add salt.

Bring the almond milk to a boil and pour it over the wheat berries. Cover and bake for 1 1/2 hours until most of the almond milk is absorbed and wheat berries are tender, but chewy.

Meanwhile soak the poppy seeds in warm water for 30 minutes to soften, drain, then finely grind in a mini food processor.

When tthe wheat berries are done, stir in the poppy seeds, add honey to taste, and transfer to a serving bowl.

Serve warm or room temperature, sprinkle with toasted almonds and sour cherry preserves, if desired.

*Notes:

  • Use fresh poppy seeds. Stale seeds can taste bitter and slightly rancid after grinding.
  • You can find the book “Beyond the North Wind” by Darra Goldstein on Amazon.
  • For the sour cherry preserves you could substitute raisins, dried cranberries, or apricots.

I’m sure that even picky-eater, Katie, didn’t complain about sweet nutty kutya on Christmas Eve. You can have it as part of the main meal, as a dessert, or for breakfast.

“Peeling Potatoes: Katie’s Story” would also be a sweet book to read with the children in your life this holiday season. To learn more about Katie, her big sisters, brother, and mother please follow this link:

https://amazon.com/author/jayne-m-booth

Exciting Announcement!

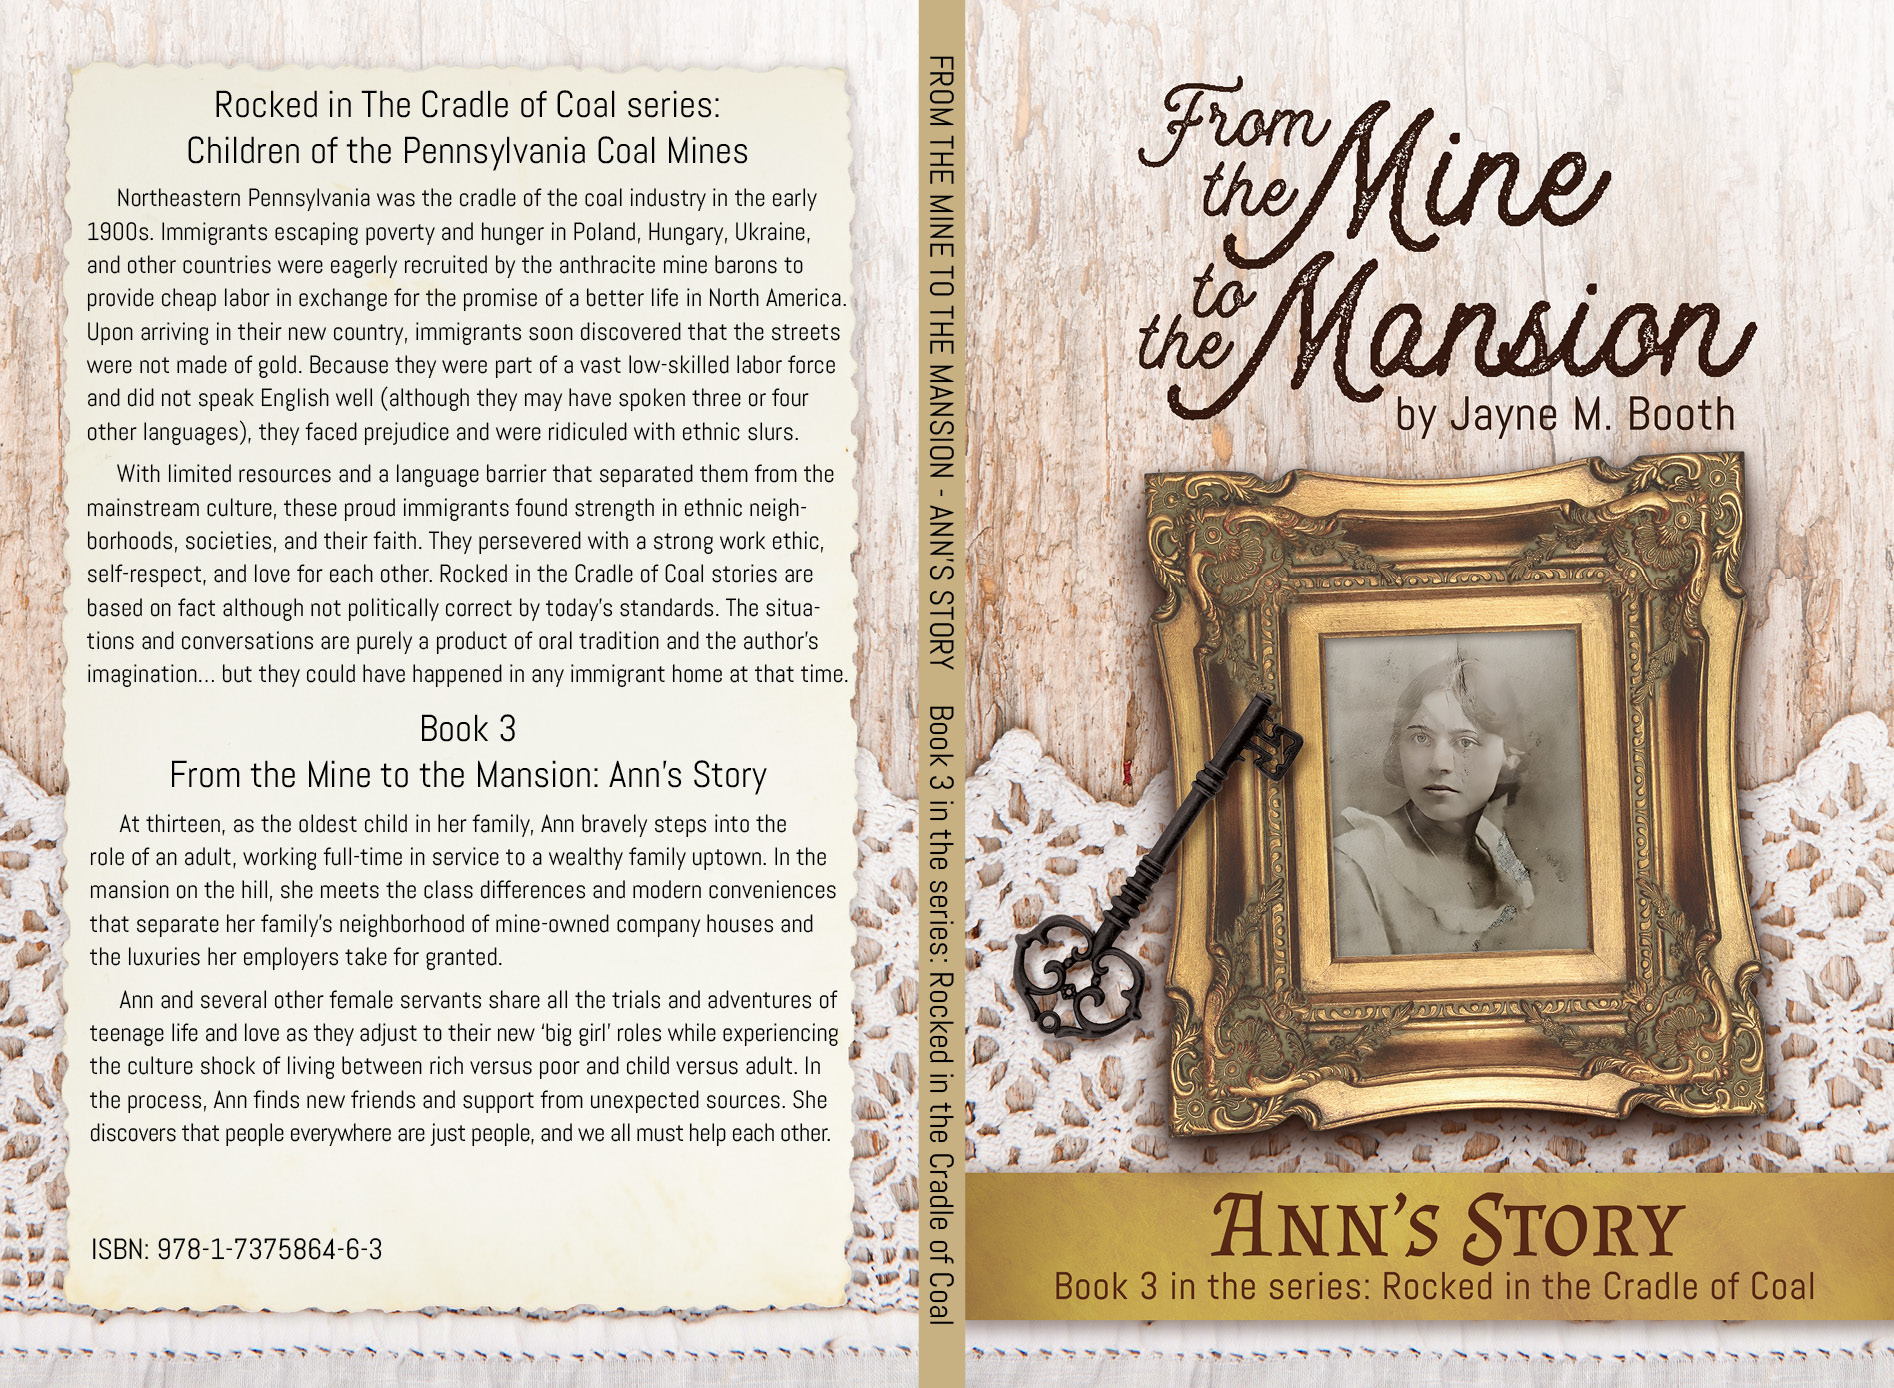
Coming in early November 2023… The long-awaited Book 3 in the Rocked in the Cradle of Coal series will be available on amazon.com!

For those of you who fell in love with little Katie in the Best Seller, Peeling Potatoes (Book 1), and shed a tear for nine-year-old Wasyl in Tell Me About My Father (Book 2), I hope you will enjoy From the Mine to the Mansion just as much.

Book 3 follows big sister, Ann, as she says good-bye to school and childhood at the age of thirteen to work for a wealthy family uptown. Quitting school to help support their family was a common practice for the children of immigrant miners. Coal mining in the early 1900’s has been called “slave labor.” It meant working long hours in dangerous conditions, low pay, and injury or death a looming possibility. Boys and girls were expected to contribute to the family’s survival.

Experience 1913 through Ann’s eyes as she navigates the divide between rich and poor while living in both worlds. “From the Mine to the Mansion” is a tale of class, courage, and unexpected alliances as Ann discovers that the power of friendship can be found anywhere.

Homemade Fruit Fly Trap

Fruit: Nature’s Candy

There is nothing more annoying than a couple of little fruit flies buzzing around the kitchen while you’re trying to prepare a meal. I must have picked up some hitchhikers at the farmers market, because those little demons have had me swatting the air all week.

In desperation I began searching for a safe low-cost solution to this invasion, and I found one that really works. It’s simple, cheap, and effective! Here is the recipe:

Ingredients:

1/3 cup raw apple cider vinegar

1/3 cup water

2 drops liquid dishwashing detergent (any kind)

Place all the ingredients in a small bowl and put the bowl near a location where you often see the fruit flies.

That’s it! See what I found in the bowl after only 3 hours… and I thought there were only a one or two annoying me. They were creating a tribe!

Good Luck!

Easy Vegan Polenta Pie

This recipe was inspired by one I saw on plantbasedonabudget.com (Easy Spinach Pie). I did a little substituting and greatly shortened the description (I believe it shouldn’t take longer to read a recipe than to prepare it), so you can get right to making this delicious pie. It would be the perfect savory vegan addition to any brunch or a covered-dish dinner. It’s so colorful, easy to prepare, requires only simple ingredients, and needs no baking! I topped each serving of my pie with deli-bought bruschetta which provided added color and flavor. Perfect!

Ingredients:

2 Tbsps. olive oil

2/3 cup diced onion

1 cup diced orange, red, and yellow sweet peppers (any combination)

8 oz. sliced mushrooms

2 packed cups chopped kale (ribs removed)

6 grape tomatoes, halved (optional)

1/4 tsp crushed red pepper

6 cloves pressed garlic

3 cups water

2 1/4 tsp. sea salt

1 tsp. tarragon or Italian seasoning

1/4 tsp. mustard powder

3/4 tsp. black pepper

2 cups cornmeal

To Prepare:

Grease a 9-inch pie dish

Heat olive oil in a frying pan over medium heat.

Add onion, mushrooms, and peppers. Cook stirring frequently for about 5 minutes. Add garlic, kale, tomatoes, and crushed red pepper, then cook for another 2 – 3 minutes until kale wilts. Remove from heat.

In a medium saucepan add the water and spices. Boil and slowly stir in the cornmeal. Stir constantly with a wooden spoon until the mixture boils and bubbles. Remove from heat. Pour the vegetable mixture into the cornmeal and stir with a wooden spoon until well blended.

Pour the entire mixture into the prepared pie pan and press down firmly and evenly. Allow the pie to cool and set for at least 10 minutes. Then slice and serve. Top each serving with deli-bought (or make your own) bruschetta.

One pie serves 8.

Ukrainian Halushki (Halusky)

This is a favorite dish of the early Polish, Ukrainian, and Slovak immigrants to North America that is still enjoyed today. You will probably find it on the menu if you attend a block party, church bazaar, or county fair in northeastern Pennsylvania coal country. This is authentic Russian comfort food that is so simple to make with everyday ingredients. I rarely go a month without making halushki, because if I do they will start asking for it. Even today, halushki evokes warm memories of our grandmother, my mother, and her sisters cooking, laughing, and feeding the hoards together. If my mother had a head of cabbage, she could feed an army!

Halushki served with vegan sausage and applesauce

Today we try to eat healthier than the original recipes that were handed down to me, but I still want the flavor and the memories. Originally butter was a big part of any Russian meal, but I swapped that out for grapeseed oil and steamed the cabbage and onion instead of frying for lower fat and calories. This recipe is not complicated at all.

Ingredients:

1 head of fresh green cabbage (chopped, not shredded). Discard the bitter core.

1 large onion, chopped

salt and pepper to taste

2 Tbsp. grapeseed oil

Place the grapeseed oil in the bottom of a very large pot. Add the chopped cabbage and onion, seasoning each layer with salt and pepper as you add more. You don’t need to add any water, because the cabbage and onion contain enough water to steam the vegetables. Steam and stir occasionally until the mixture cooks down to about half the original volume. (HINT: if you add a couple teaspoons of vinegar you will greatly reduce the cabbage smell that will surely fill your house if you don’t).

Cabbage and onions steaming.

Ingredients for Drop Noodles:

2 cups flour

1 tsp. salt (I used Himalayan pink salt)

2 large eggs

warm water: 1/2 – 3/4 cup

Bring a large pot of water to a boil.

Mix the flour and salt together in a large bowl

Make a well in the center and add the eggs. In the same bowl whip up the eggs with a fork, gradually incorporating the flour/salt mixture a little at a time until it looks crumbly. Add just enough warm water to make a soft sticky dough (approximately 1/2 – 3/4 cups water).

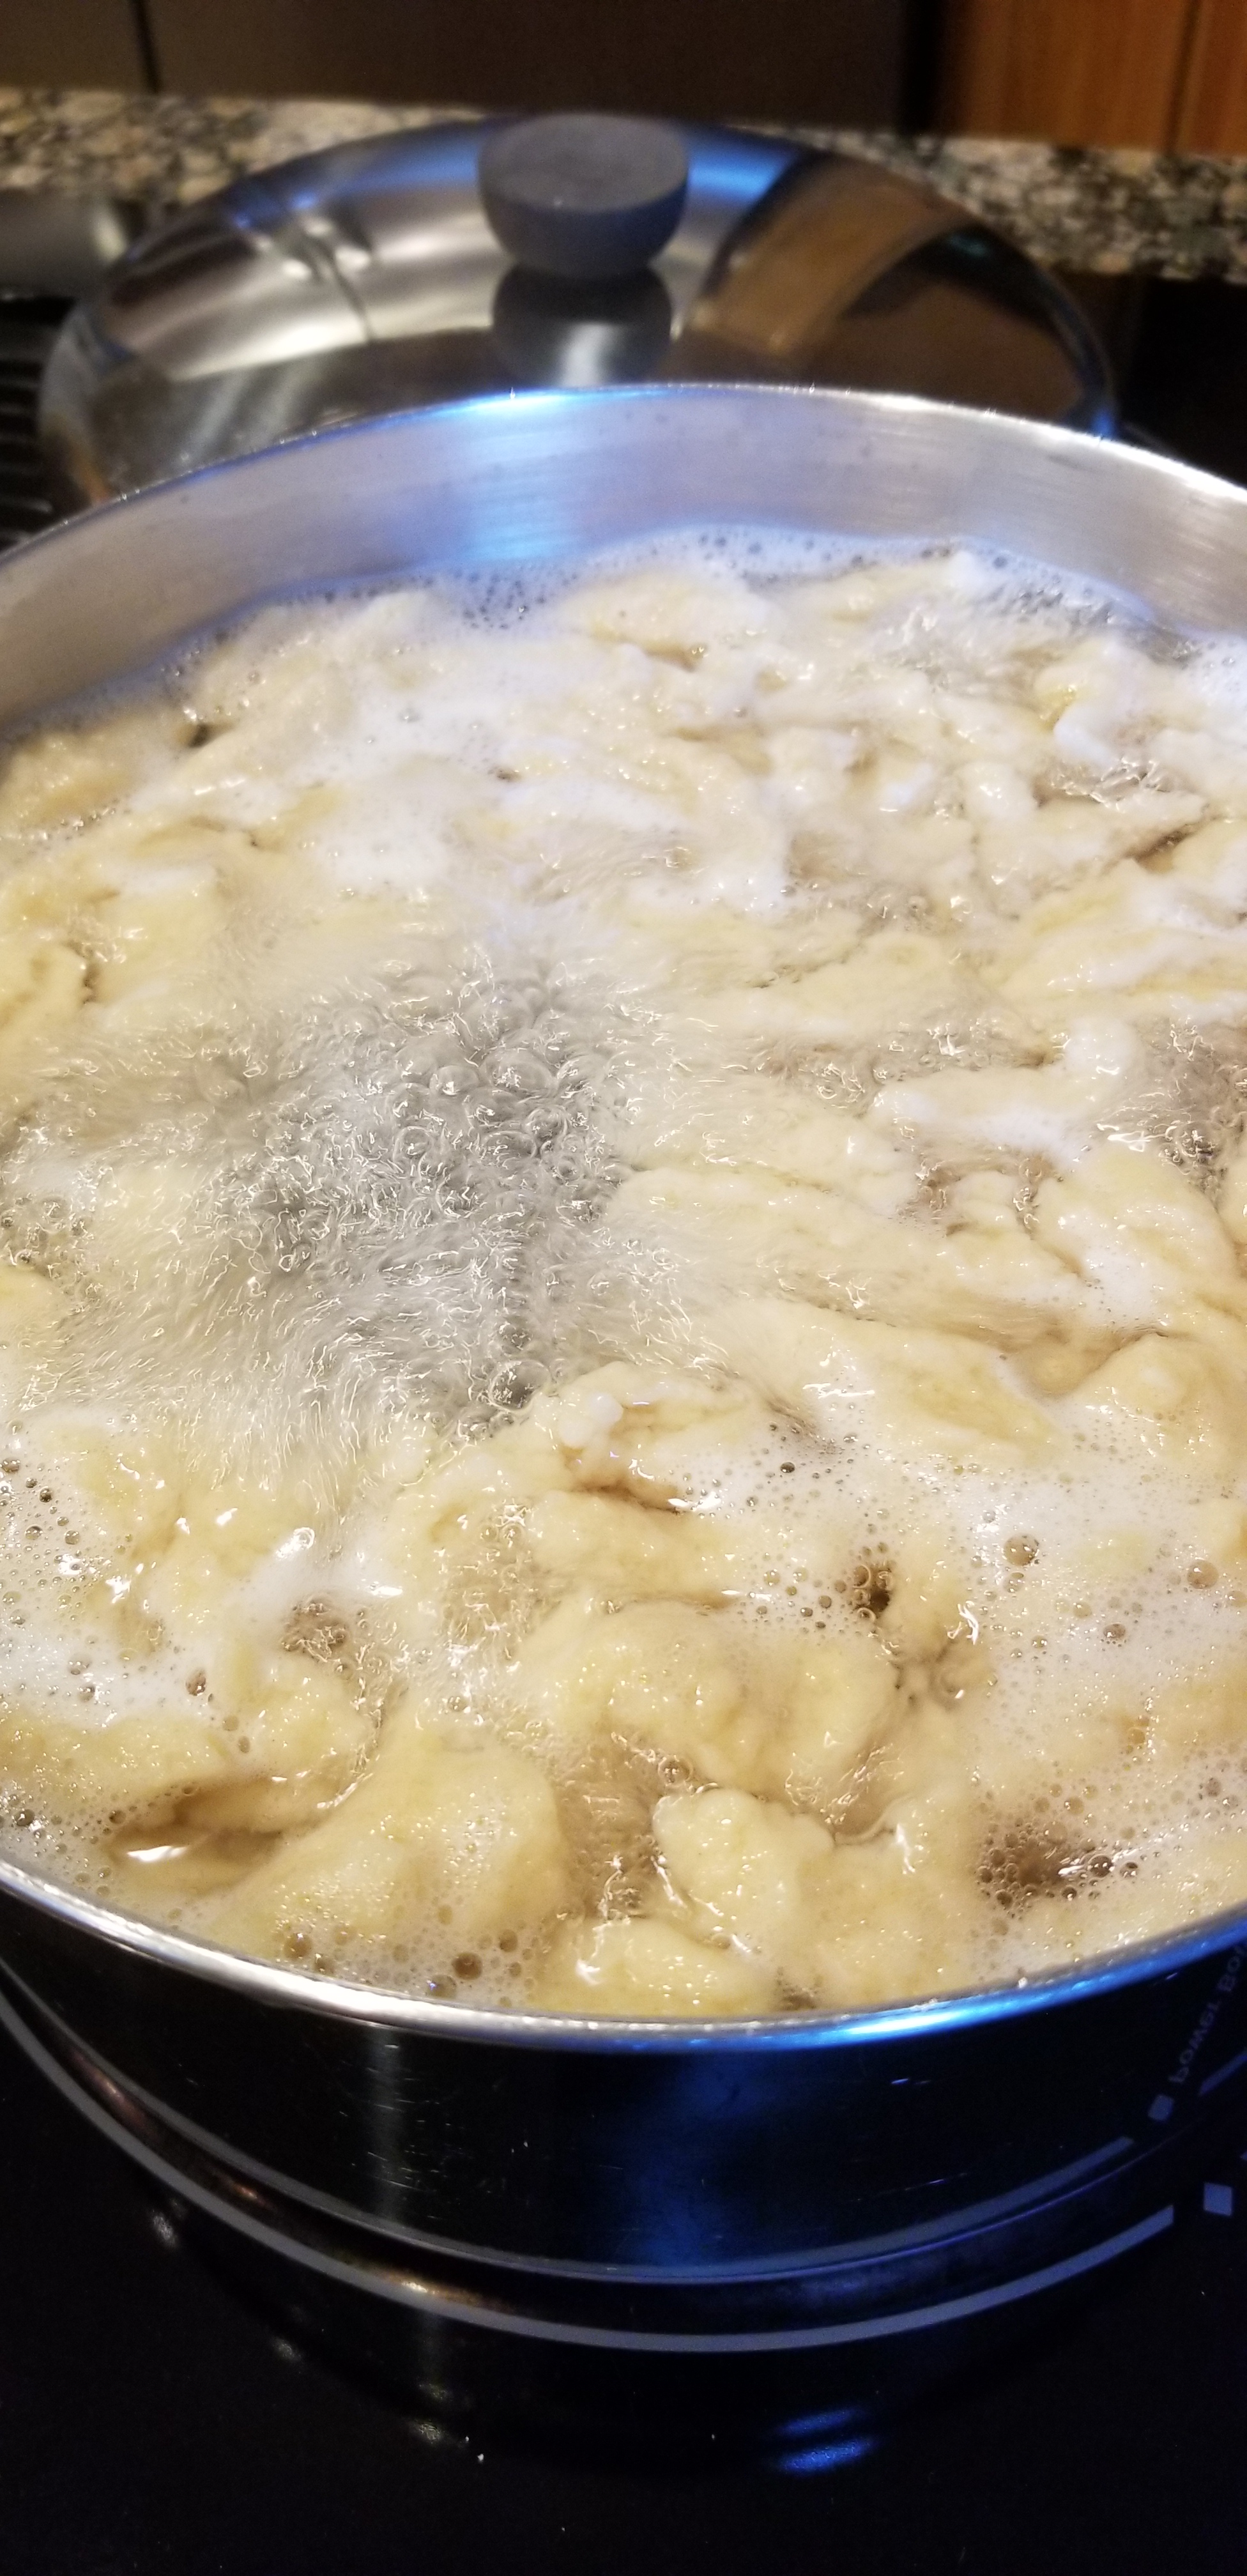
Slide the mixture by spoonfuls into the boiling water. (This is the easiest and simplest way to do it. Some people insist that you need a “spaetzel maker,” but that is totally unnecessary. I use two large soup spoons — one holds a portion of dough and the other scrapes bits of dough off the spoon and into the boiling water). Work fast and repeat the process until the noodles are all in the water.

Cook noodles for 10 minutes and drain in a colander. Add the drained noodles to the cabbage/onion mixture and serve.

In a separate pot: noodles cooking in boiling water for 10 minutes.
Dinner is served!

Mediterranean Hummus Platter

I saw this on a friend’s Facebook Page and thought it was such a beautiful presentation that I had to share it with you all. I just know you will want to take this to your next potluck dinner or party.

Courtesy of Nourished with Alice Group page on Facebook.com

It’s so simple to prepare!

Spread hummus on a platter.

Top with a variety of colorful mediterranean vegetables, such as:

red onion, cucumber, grape or cherry tomatoes, kalamata olives, orange bell pepper, and fresh oregano.

Serve with crackers or pita bread.

Alice has more delicious recipes on her Facebook Page, Nourished with Alice Group. Thank you for sharing this recipe with us, Alice!

Barley Mushroom Casserole (Tsar-kasha)

Because I am working on a new book series for middle grade children that focuses on early 20th Century eastern European immigrants to North America where life was hard and childhood was short, I currently have a special interest in Russian/Ukrainian cuisine. Both of my grandfathers worked in the coal mines of northeastern Pennsylvania during that era, so some of these recipes have been passed down through the generations. I am resurrecting a few favorites from my childhood and experimenting with them to fit a meat-free plant-based lifestyle.

This is a simple Russian/Ukrainian peasant recipe that I have adapted from the original to be vegan. I am including the original ingredients in parentheses so you can choose the version you prefer. This was an easy recipe to adapt because it was already vegetarian. I just made a few minor adjustments to make it vegan.

Ingredients:

2/3 cup finely chopped onion

3 Tbsp grapeseed oil (or 6 Tbsp butter)

1 large clove garlic, minced

1 lb fresh sliced mushrooms (these were traditionally hand-picked in the forest, but you can just use sliced white mushrooms from the grocery store as I did here)

3 cups water

1 cup regular barley

3 tsps instant vegetable bouillon granuals or “Better Than Bouillon-No Chicken Base” (or instant chicken bouillon or regular chicken broth)

1/4 cup snipped fresh parsley

1 tsp dried basil leaves

1/2 tsp salt (optional)

1/4 tsp ground black pepper

Method:

In a large pot combine the onion, oil, garlic, and mushrooms. Cover and cook on medium, stirring occasionally, just until the onion is tender.

Stir in remaining ingredients and bring to a boil. Lower heat to simmer, cover and cook until barley is tender. Stir occasionally and add more water if needed.

Remove from heat and let stand covered for 5 minutes.

This simple recipe yeids 8 -10 side dish servings or 4 – 5 maindish servings.

My mother would have served this with ground redbeets mixed with horseradish, but I really dislike that concoction. I served it with a side of whole cranberry sauce instead and roasted vegetables. Serve as you like.

If you are interested in learning about the early 1900’s coal mine experience as seen through a child’s eyes, then please check out my new book, “Peeling Potatoes: Katie’s Story” on Amazon. Available in Paperback or eBook: https://amazon.com/dp/B0B4KTJL3F