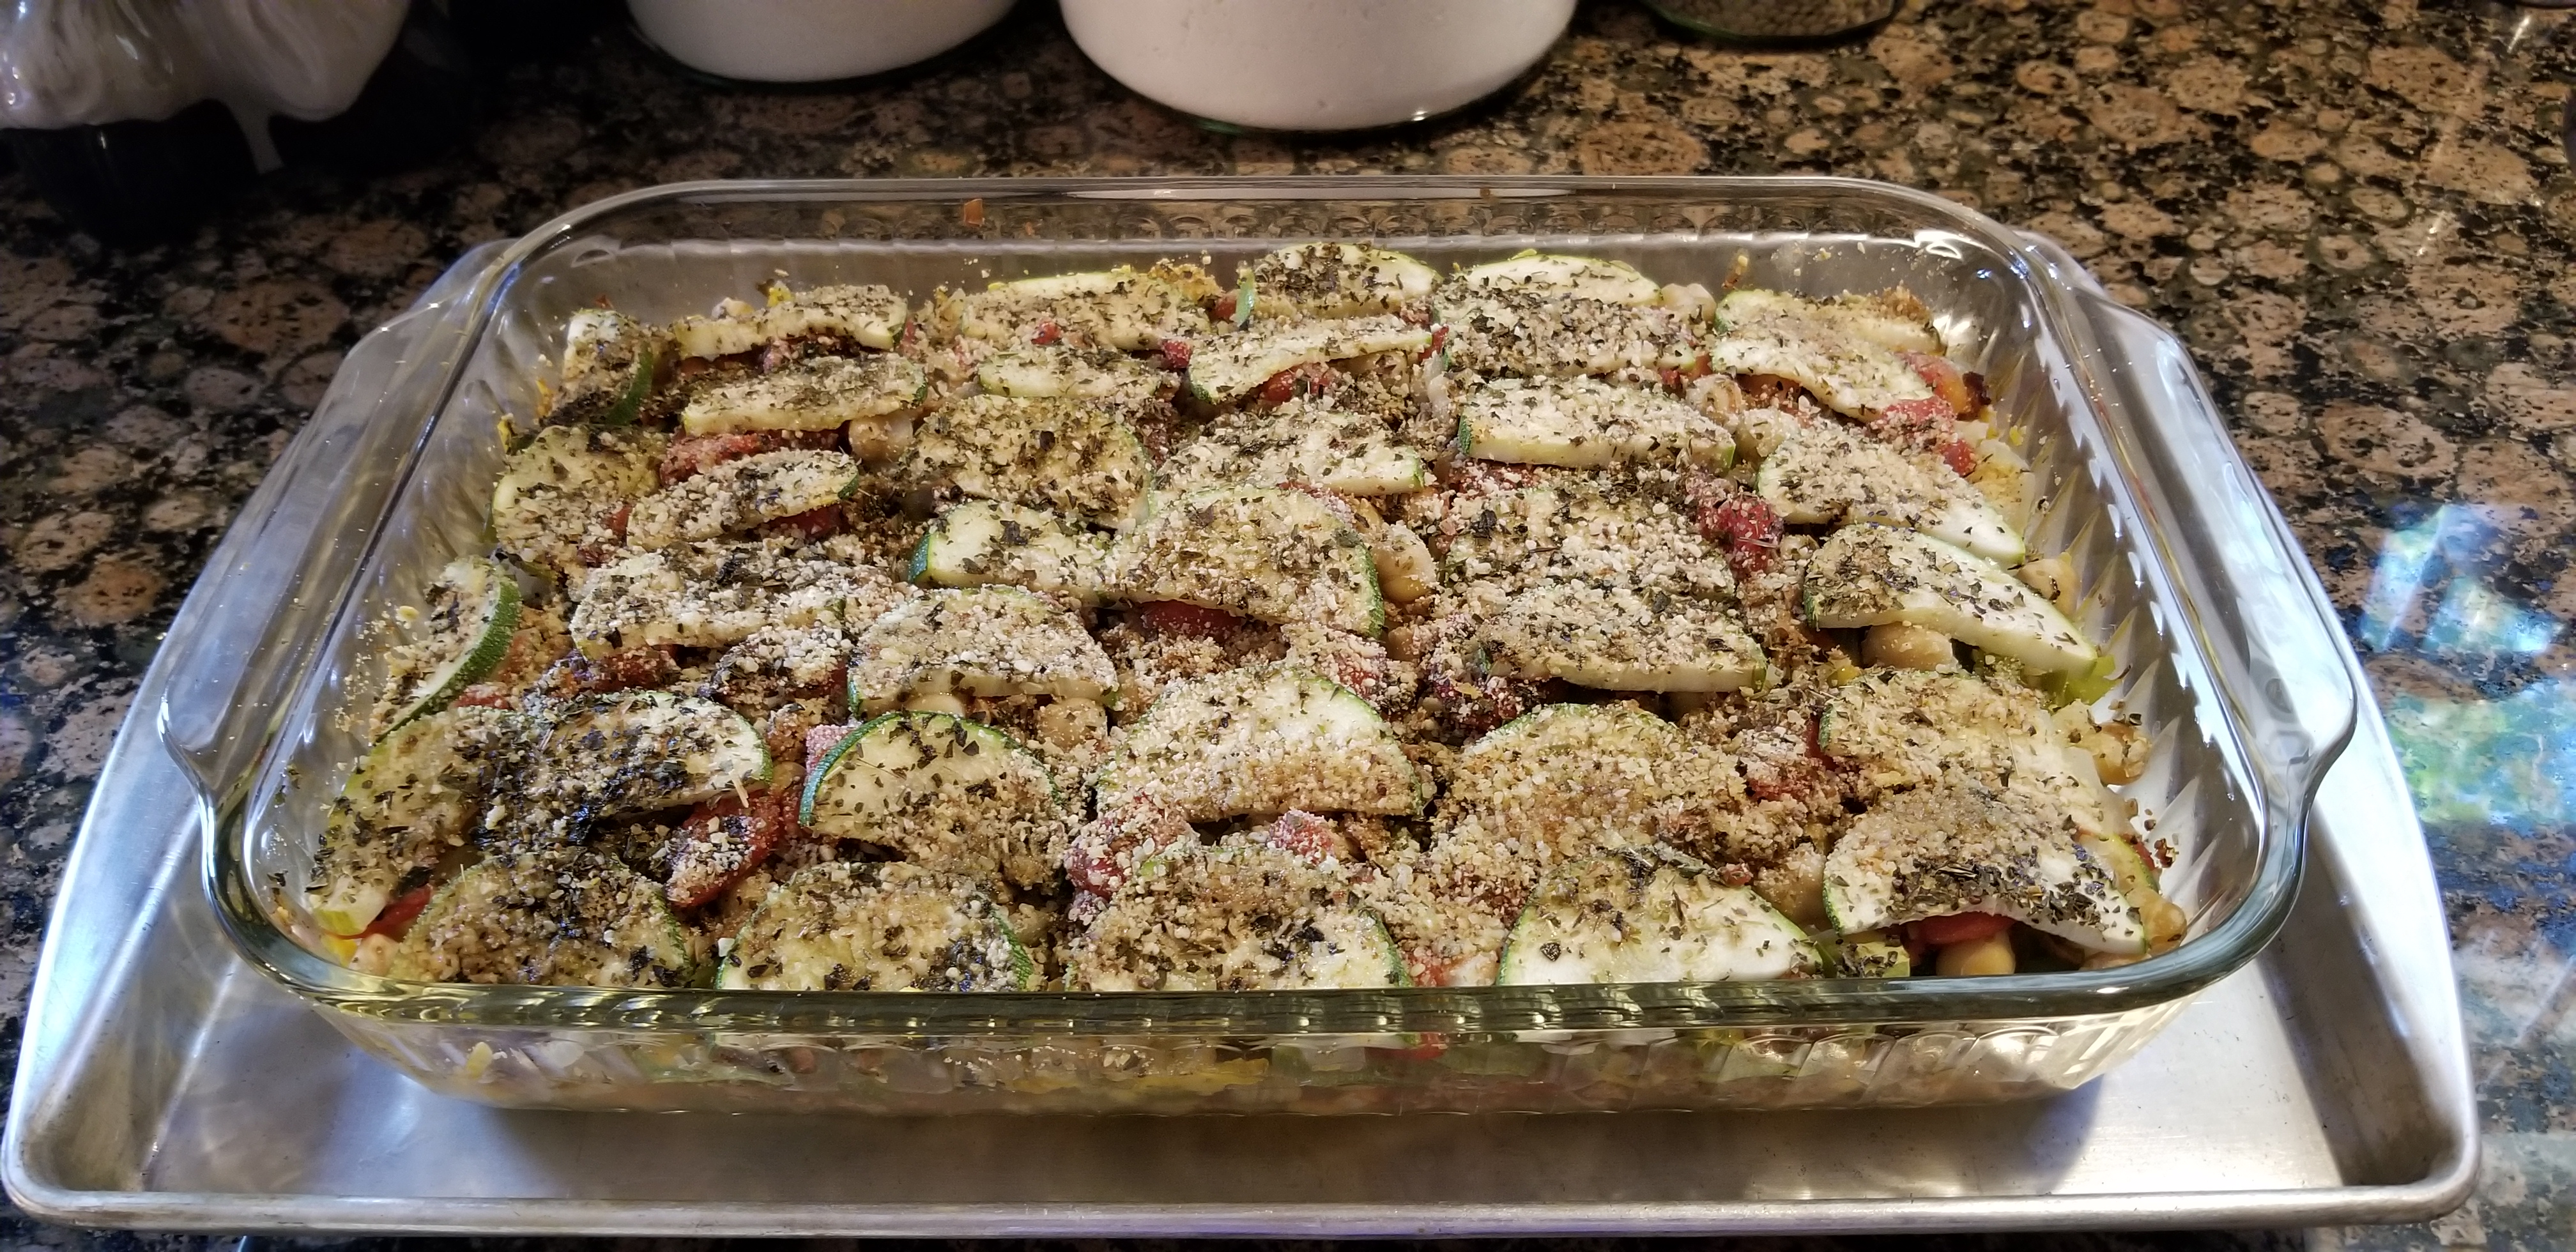
Two of our daughters and daughter-in-law are running an early half-marathon race tomorrow. Tonight they wanted a light, but protein-packed dinner — something that would fuel their race, but not weigh them down. So, they put their heads together and came up with this beautiful plant-based veggie bowl.
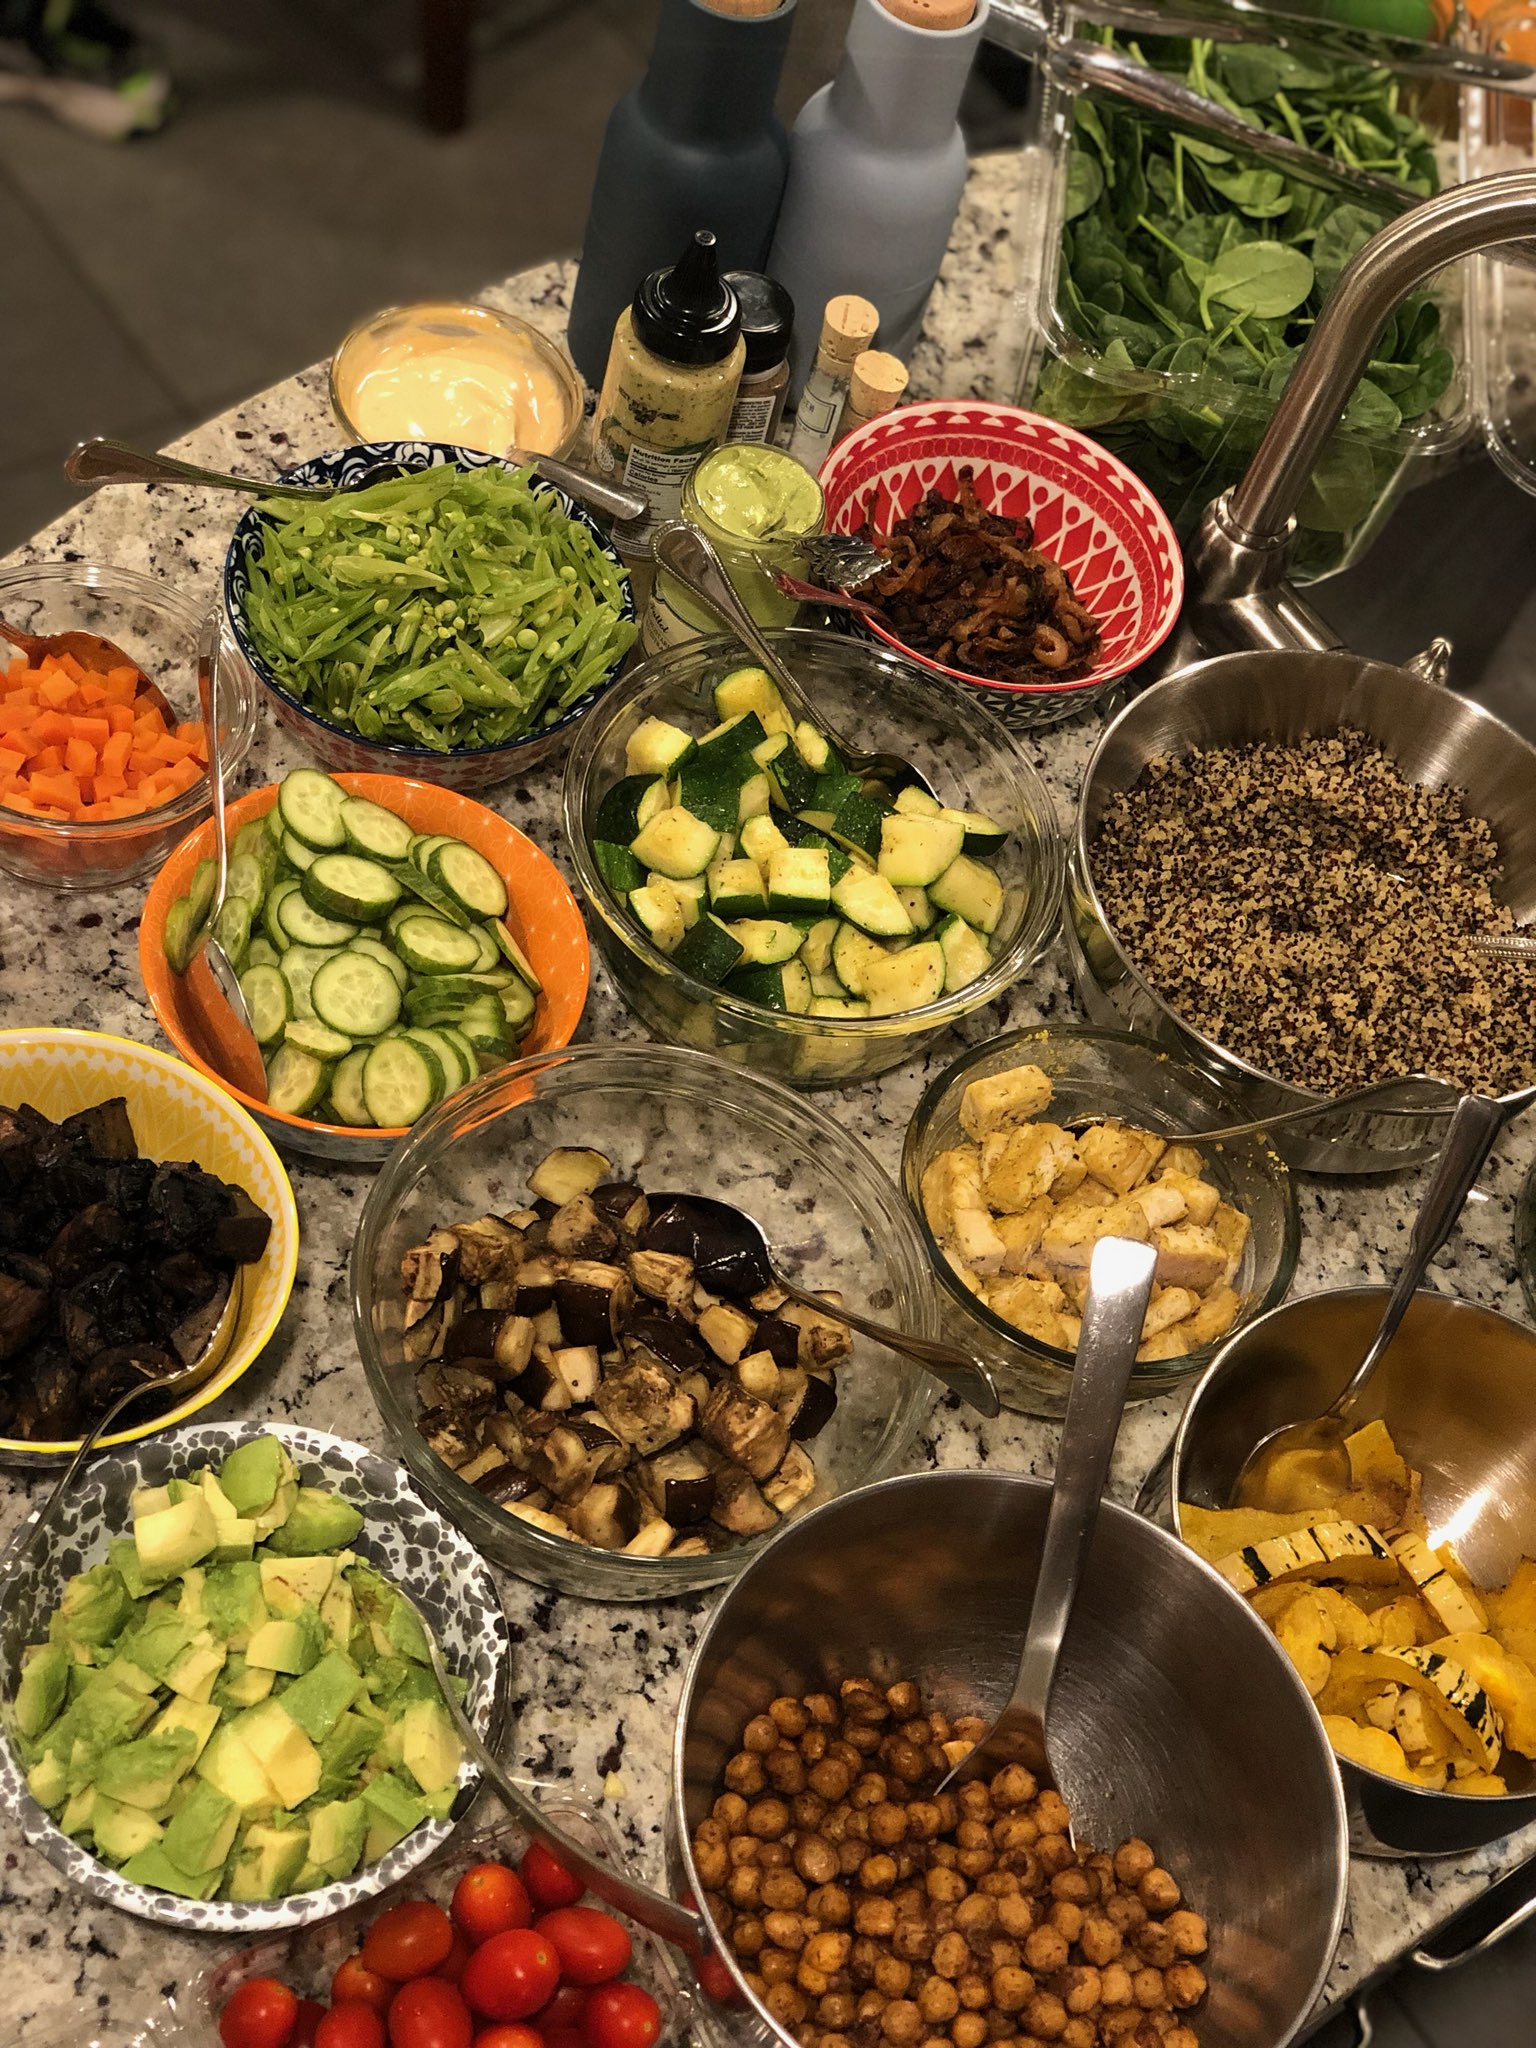
Quinoa, marinated tofu, and spiced chickpeas provided the protein. The colorful veggies included: roasted squash and mushrooms, onions, pickled carrots, snow peas, avocado chunks, and grape tomatoes over a bed of crisp greens. A choice of light dressings completed this delicious veggie bowl.

I am so proud of my girls, not just for running, but for coming up with this much healthier pre-race meal, so different from the carb-loading pasta dinners I remember from their highschool days. This is a much healthier and satisfying meal.
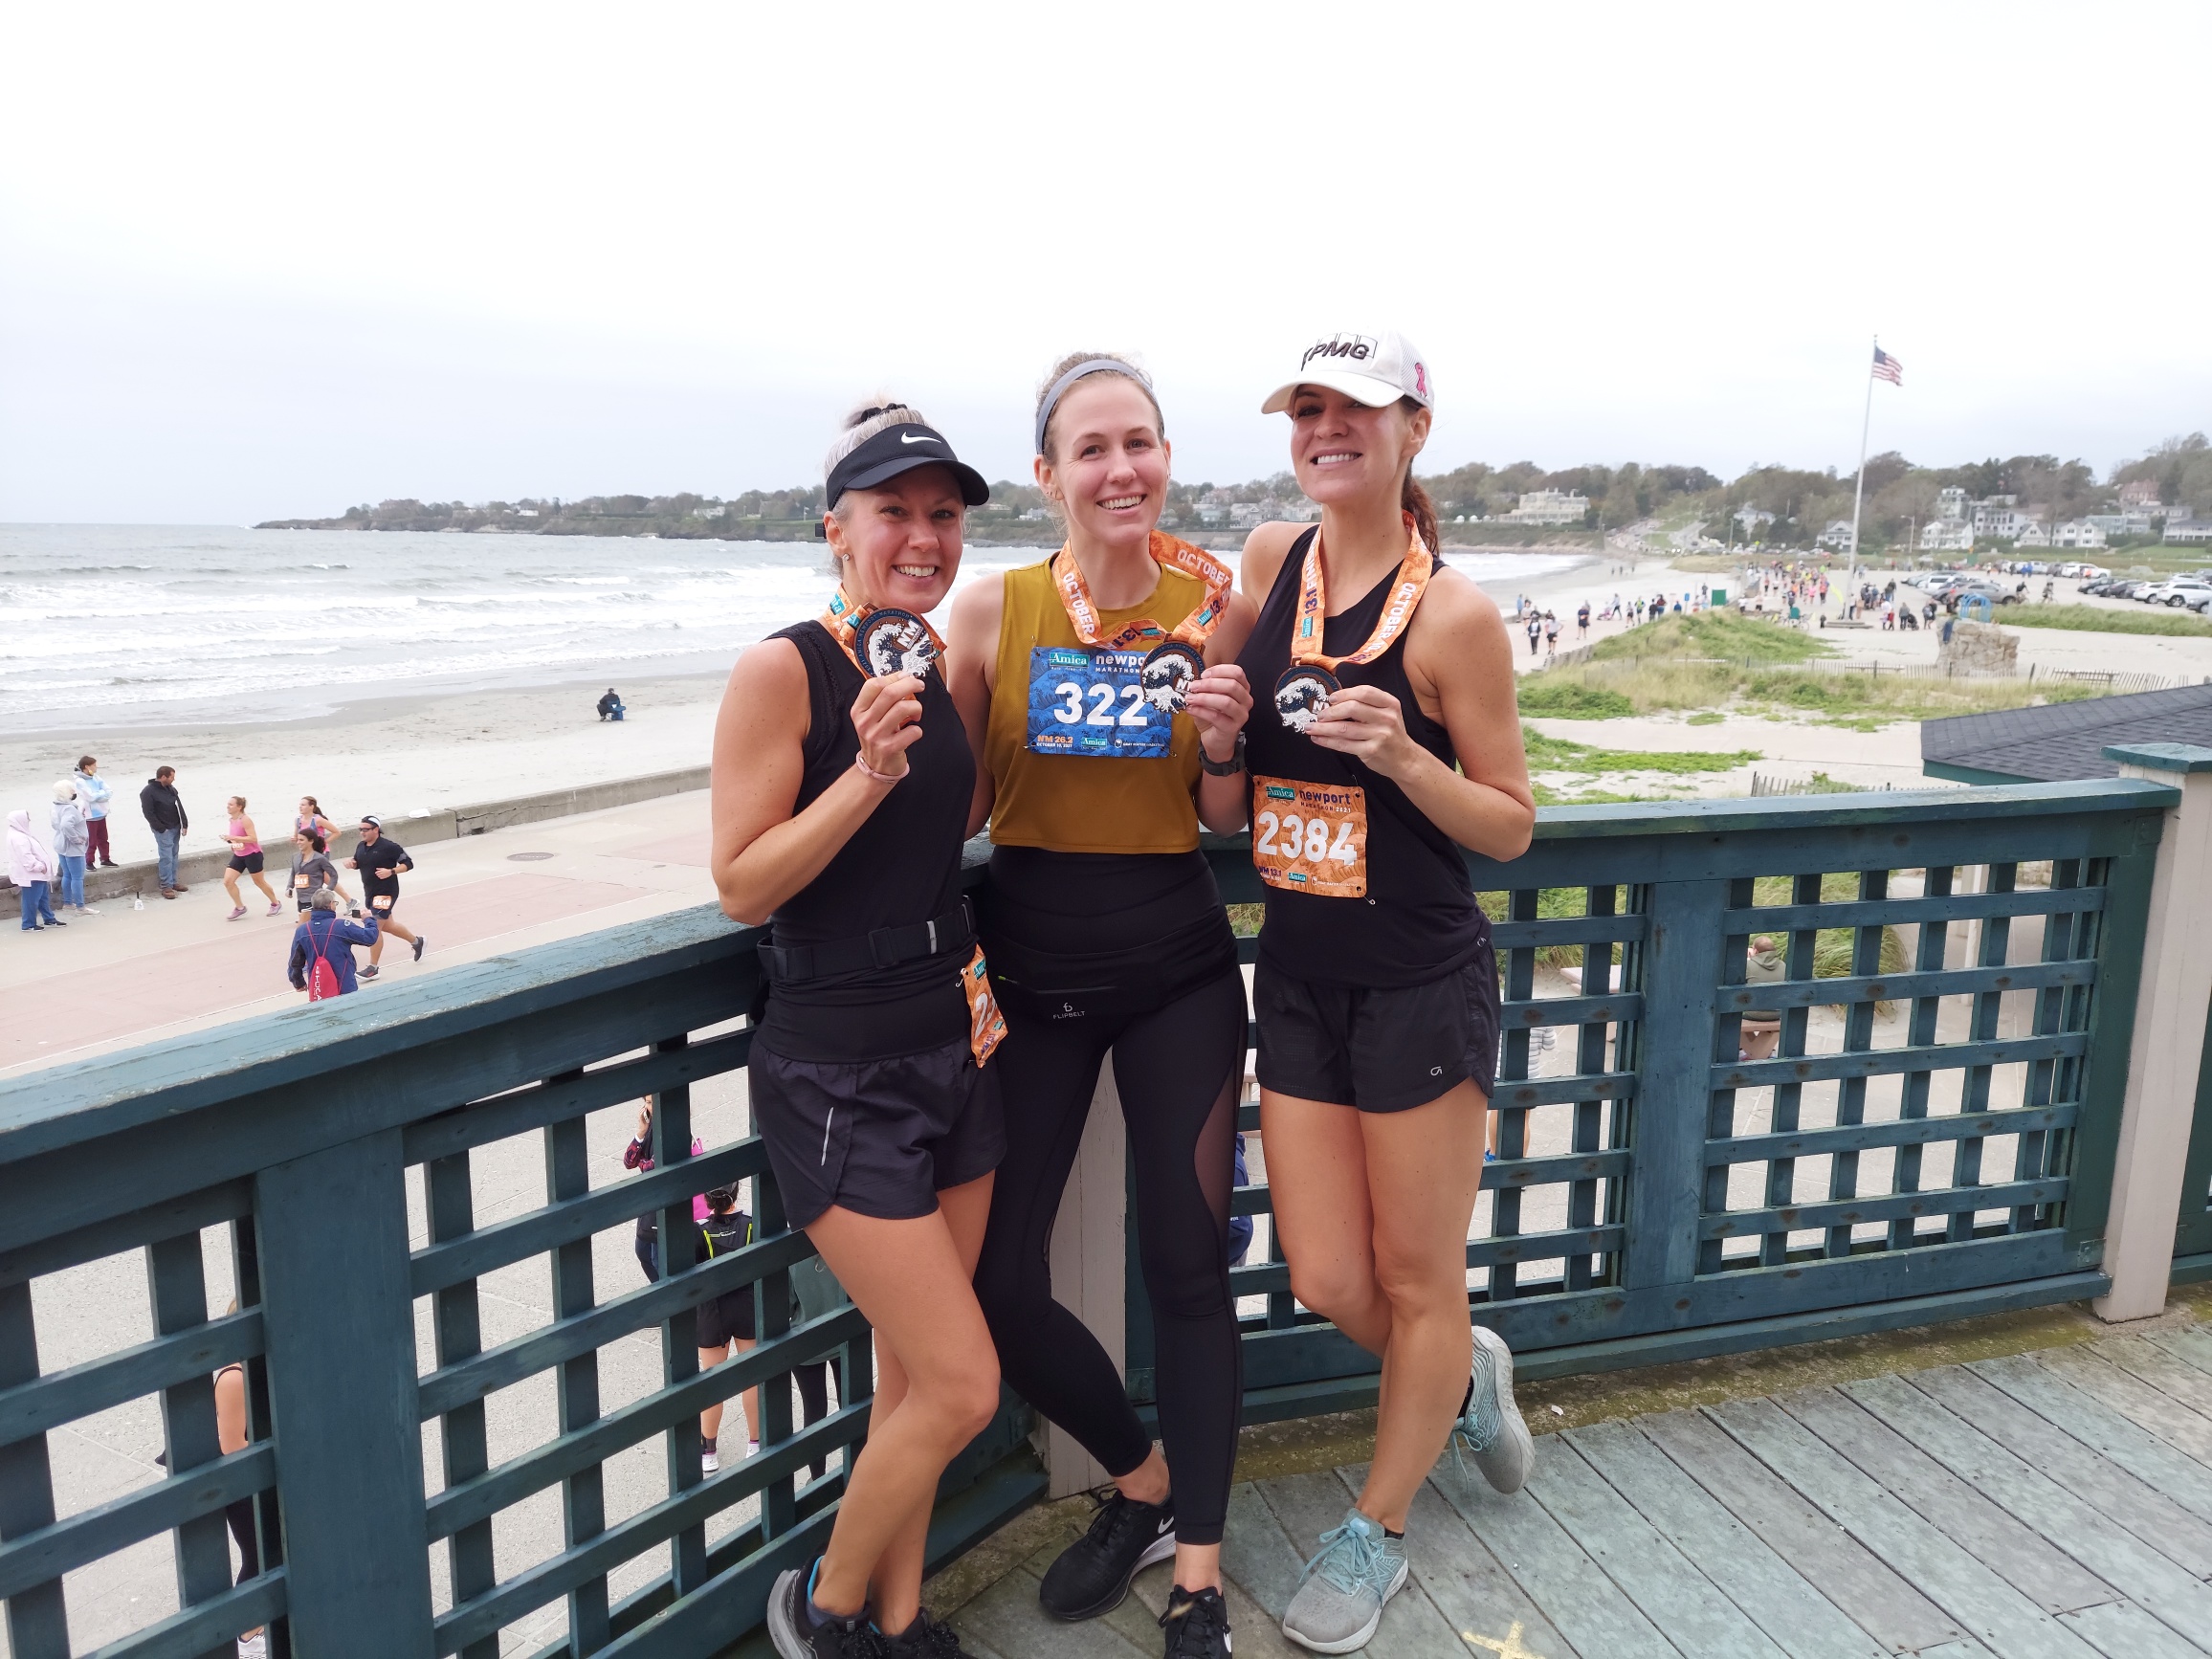
PS: They all finished with good times. Shannon came in third in her class. (Could it have been the quinoa?) 😉