Eat the Rainbow… All the Colors of the Rainbow

It seems like rainbows are everywhere today — TV ads, social media, posters, t-shirts and billboards. Did you know that God made the first rainbow? Not as a marketing ploy or a social/political statement; God made so many colors because he knew we would enjoy them!

I love that God thought of color as a primary way to entice humans to find nutritious food. In the beginning God made the different fruits brightly colored and easy to find peeking out from the green leaves in the garden. Fruit is designed to appeal to all of our senses, so we are instinctively drawn to it… IF we aren’t distracted by modern fake food. For a healthy, natural, sweet treat, fruit should be your first choice. Fruit is not only colorful, but fragrant, sweet and juicy, plus it comes in its own edible or biodegradable wrapper. Win! Win! Win! Win!

Continue reading “Eat the Rainbow… All the Colors of the Rainbow”

Homemade Muesli


wp-1596651218817.jpg

If you like granola, but are leery of the fat contained in most commercial brands, if you like to make your own granola but don’t want to heat up the kitchen making it on hot summer days, if you’re looking for a healthy breakfast that really gives you energy and keeps you feeling full until lunchtime, then muesli is for you. Muesli is a raw oatmeal dish that contains other grains, nuts, seeds and dried or fresh fruit. It’s a heart-healthy alternative to processed cereals that actually helps to lower your cholesterol! Have you ever tried it? Some people have never even heard of muesli.

Muesli was first created by Swiss physician Dr. Maximilian Bircher-Benner, who believed that much of the sickness experienced by his patients could be alleviated through a diet rich in raw grains, fruits and vegetables, plus moderate exercise including walking and gardening daily. Although muesli was first commercially produced in 1959 and has been a presence on grocery store shelves for over 60 years, it is is often overlooked or crowded out by the slick packaging, colors and shapes of the processed breakfast foods we know today. That is a shame, because muesli is so healthy, can be eaten cold or hot with or without added plant milk or yogurt… and it is so easy to make that even a child can do it.

Ingredients:

In a large bowl add:

1/2 cup raw walnuts, crushed*

1/2 cup raw almonds, crushed*

3 cups organic old fashioned rolled oats

1/4 cup raw pumpkin seeds

1/4 cup raw sunflower seeds

2 Tbsp. ground flaxseed

2 Tbsp. wheat germ

1/2 cup chopped dates

1/2 cup organic raisins

20200727_162546.jpg

Gently stir to mix all ingredients together. Place in a tightly covered glass container and store in the refrigerator. Take out individual portions as needed and serve cold with plant milk or as a yogurt topping. If you prefer a softer cereal, top your muesli with just enough plant milk to cover and keep it in the refrigerator overnight. It will soften by morning, and you can eat it cold or warm it in the microwave for a hearty porridge. Add fresh fruit, honey or maple syrup to sweeten if desired.

* Hint: this is an easy way to crush nuts, and cleanup is a breeze. Put the walnuts and almonds in a plastic lunch bag, press out all the air and seal it closed. With any rolling pin roll over the bag several times until each nut has broken into desired size chunks. When you are finished just dump the nuts into your large bowl and throw the bag away. Nothing to wash!


wp-1596651087337.jpg

This recipe makes 10 or more 1/2 cup servings. Muesli is a real time-saver to have on hand for busy mornings. Healthy and delicious!

Garlic Dill Salad Dressing

Garlic Dill Salad Dressing   If you love pickles, then you will love this salad dressing. It’s so simple to prepare, and has none of the unhealthy fats you’ll find in commercial dressings. The only fat in this salad dressing comes from the single fresh avocado. The green color will stay bright several days in the refrigerator (thank you, lemon) — if it lasts that long!

Vegetarians eat a lot of salad, and this light creamy dressing is one of my favorites!

Ingredients:

1 avocado

Juice of one fresh lemon

1 lg. garlic clove

1 tsp. dry dill weed

1 tsp. sea salt

1/4 tsp. black pepper

1/2 – 2/3 cup water  You can add a little more water if necessary, but don’t dilute too much, or you’ll lose flavor.*

Put all ingredients into a blender, then blend until smooth and creamy.

*Add a little less water and you’ll have a tangy dip for veggies or pita chips.

Zucchini Chips

20160715_145616

Do you have an overabundance of zucchini in your garden right now? Are your friends and neighbors starting to avoid you because they can’t accept any more of your extra zucchini “gifts?” Well, this recipe will help you to easily preserve your harvest without using up any freezer storage space (or annoying your friends). When you pull out these raw zucchini chips on a cold winter night people will gobble them down like they’ve never seen zucchini before in their life.

20160714_181921     20160714_182618

When you have a large bowl of sliced raw zucchini it’s time to make the marinade. (You may have to make several batches of marinade in order to coat all the slices).

Ingredients:

1 TBS. olive oil

2 TBS. fresh lemon juice

1/2 tsp. sea salt

1 TBS nutritional yeast (for cheesy flavor)

Extra nutritional yeast to sprinkle on top

Pour the marinade over the chips and gently toss them to coat. Make sure that each slice is coated. It helps to slide a coated slice over an uncoated one, front and back, to get the flavor onto each chip. Make more marinade as needed and repeat the process until all slices are coated.

20160714_184341

Arrange the coated slices in a single layer on the mesh dehydrator trays making sure that they do not touch each other. Lightly sprinkle more nutritional yeast on top of each slice. In order to maintain a raw chip dehydrate at only 110 degrees for 10 – 12 hours. I usually dehydrate overnight and then check them in the morning. Add more time if necessary. They are done when all the chips are dry and crisp.

Allow the finished chips to cool in the dehydrator before storing them in a glass jar with a tight fitting lid. These will stay crisp and tasty for months stored this way, and you can enjoy your fresh garden produce any time of the year. Zucchini chips are great for parties and healthy lunchbox treats, too!

20160712_121700

Fresh, green veggies… enjoy zucchini all year long!


YOUR PERSONAL SALAD BAR

   20160627_185707 salad fixins


You want to eat a healthy meal, but when you arrive home famished the last thing you want to do is spend the next 20 – 30 minutes preparing a fresh salad. You want to eat now! All that washing, chopping, slicing, and dicing veggies each time for a salad is time consuming. All home cooking takes time, but it’s time well spent for your health, and you are worth it — even if you’re cooking for just one person. So, before you give in to the temptation to pop some kind of prepared fast food into the microwave or open yet another can of soup, STOP! There is a more excellent way!

You probably already know that it is wise to cook once to eat twice. This smart idea can be applied to preparing fresh salads, too. You simply need a plan — a specific block of time for food preparation. It is just as easy to prepare veggies for six salads as for one. Your chosen block of time can be any time that is convenient for you, when you are not hungry — before or after work, when the kids are napping or while watching evening TV. And, don’t just stand in the kitchen in silence while you slice and dice (unless you are using this time for prayer or meditation, too). Put on some music, listen to a podcast, practice your French — make it fun!

I have seen those huge salad boxes that people make up once a week for their various salad ingredients, but honestly, most people don’t have that much space in their refrigerator — I know I don’t. I do however, have a couple of plastic relish trays with eight sections each. Each tray has a lid, so they are stackable — what a space saver! When you have your favorite salad ingredients already prepared and waiting to be thrown on top of a heaping handful of triple-washed ready-to-eat greens, eating healthy fresh salads will no longer be a chore you dread. You will be your very own raw chef at a gourmet salad bar featuring only your personal favorites (none of those icky raw onions). It’s all about you, and you are worth it!

Beauty of Sprouts

   It’s been some time since I’ve posted a restaurant review, but while vacationing in Florida we came upon a new restaurant that simply must be recognized. If you try to eat vegan, or even just healthfully, then you know how difficult it is to find a restaurant that meets your needs. Even vegetarian restaurants bury their entrées in cheese. Eating a vegan meal when out on the town can stretch your creativity to the limit.

   Today we were fortunate enough to stumble upon Beauty of Sprouts, 1474 Fruitville Rd. Sarasota, FL; 941-350-8449. Chef  Rano has worked at Rockefeller Center and is an award winning chef in her native Russia. Her menu features all vegan, mostly raw, dishes that are lovingly prepared and artfully presented at reasonable prices. Fresh healthy sprouts are the highlight of each dish.

   As an appetizer, we ordered guacamole with spicy dehydrated crackers. The portion was generous enough for two hungry people to nosh on while we waited for our entrées, and we devoured it all. My husband also ordered the mildly seasoned, sprouted hot mung bean soup, because he eats likes to eat soup whenever he can get it. As an entrée he had the vegan burrito, which was wrapped in a chard leaf instead of a flour tortilla. He liked the filling of fresh veggies and side of salsa, but left the chard leaf on the plate — just his personal preference. I had the raw vegan Pad Thai. It was scrumptious! A mountain of thinly sliced cabbage and carrots, kelp noodles and cashews all served in a tangy sauce. I loved it! Several beverage options are on the menu, including some unique teas and homemade Kombucha, but as we were feeling dehydrated after a day of vacation fun we chose the restaurant’s own purified, ionized, alkalinized water to drink. We topped off our meal with a lovely raw lavender crème brulee for dessert. The serving was deceivingly small but filling, and you don’t want to miss this sweet taste of heaven!

   If you like chatting with the friendly chef, clean bright surroundings, and nutritious food, then you will surely enjoy Beauty of Sprouts. This was definitely the healthiest meal of our entire  vacation. We like to eat nutritionally dense food and also to get the most nutrition for our dollar. Beauty of Sprouts meets both criteria. If you ever want a delicious, guilt-free meal in Sarasota, then this is the place for you!

Dehydrating

This is the coldest winter I can remember. I thought I just felt it more because we’ve relocated farther north (from southern Pennsylvania to northern New Jersey), but the locals tell us that this is the coldest winter on record for these parts. So while the heat runs constantly and everything in the garage freezes solid, I have discovered that keeping the dehydrator running and the kitchen cupboard doors open, our under-the-sink water pipes won’t freeze shut again (as they did a couple of days ago). So, I am dehydrating everything within reach. That appliance is running almost constantly!                                                                       Dehydrating

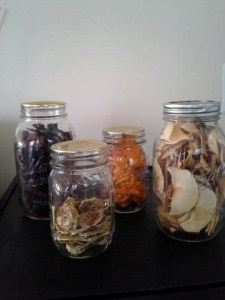
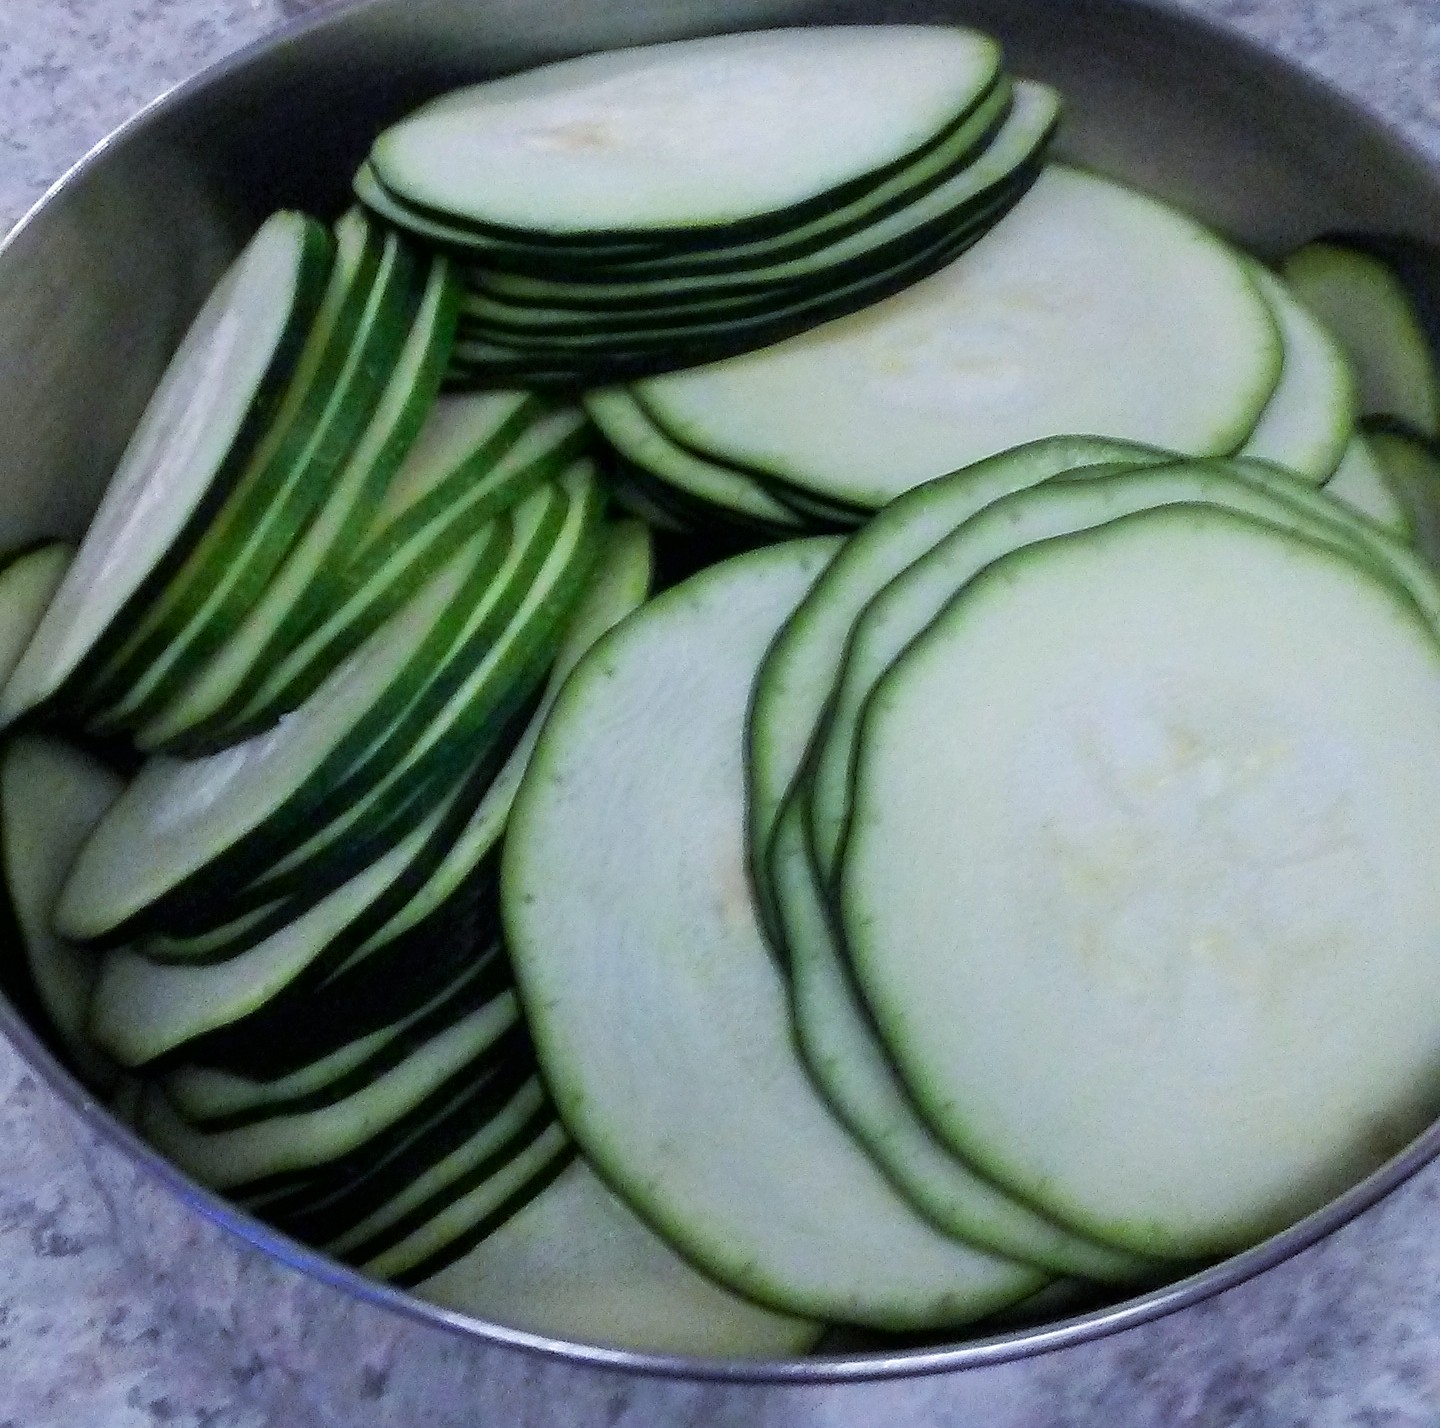
Dehydrating is so easy to do. Much more convenient than canning, in my opinion, and if you do it at a low temperature (I usually dehydrate at 105 – 107 degrees) the fruits and vegetables retain all the living enzymes of raw food. This is important if you want to get maximum nutrition for your effort. My Excalibur Dehydrator has a fan in the back that constantly blows warm air over all the trays, so I don’t need to babysit it and shuffle the trays around to get even air distribution as you would with a round stacked dehydrator with the fan at the top or bottom. Many times I load the dehydrator at night and in the morning everything is done to perfection. (I would highly recommend an Excalibur to anyone considering such a purchase). At this low temperature, it takes awhile longer to properly dehydrate, but I like things to be thoroughly dehydrated.  When I make chips I want them to be thin and crispy, not tough and chewy like leather. The secret is to slice the fruit and vegetables very thin using a mandolin or a very sharp knife if you have the patience — 1/8 inch thick or less is perfect.

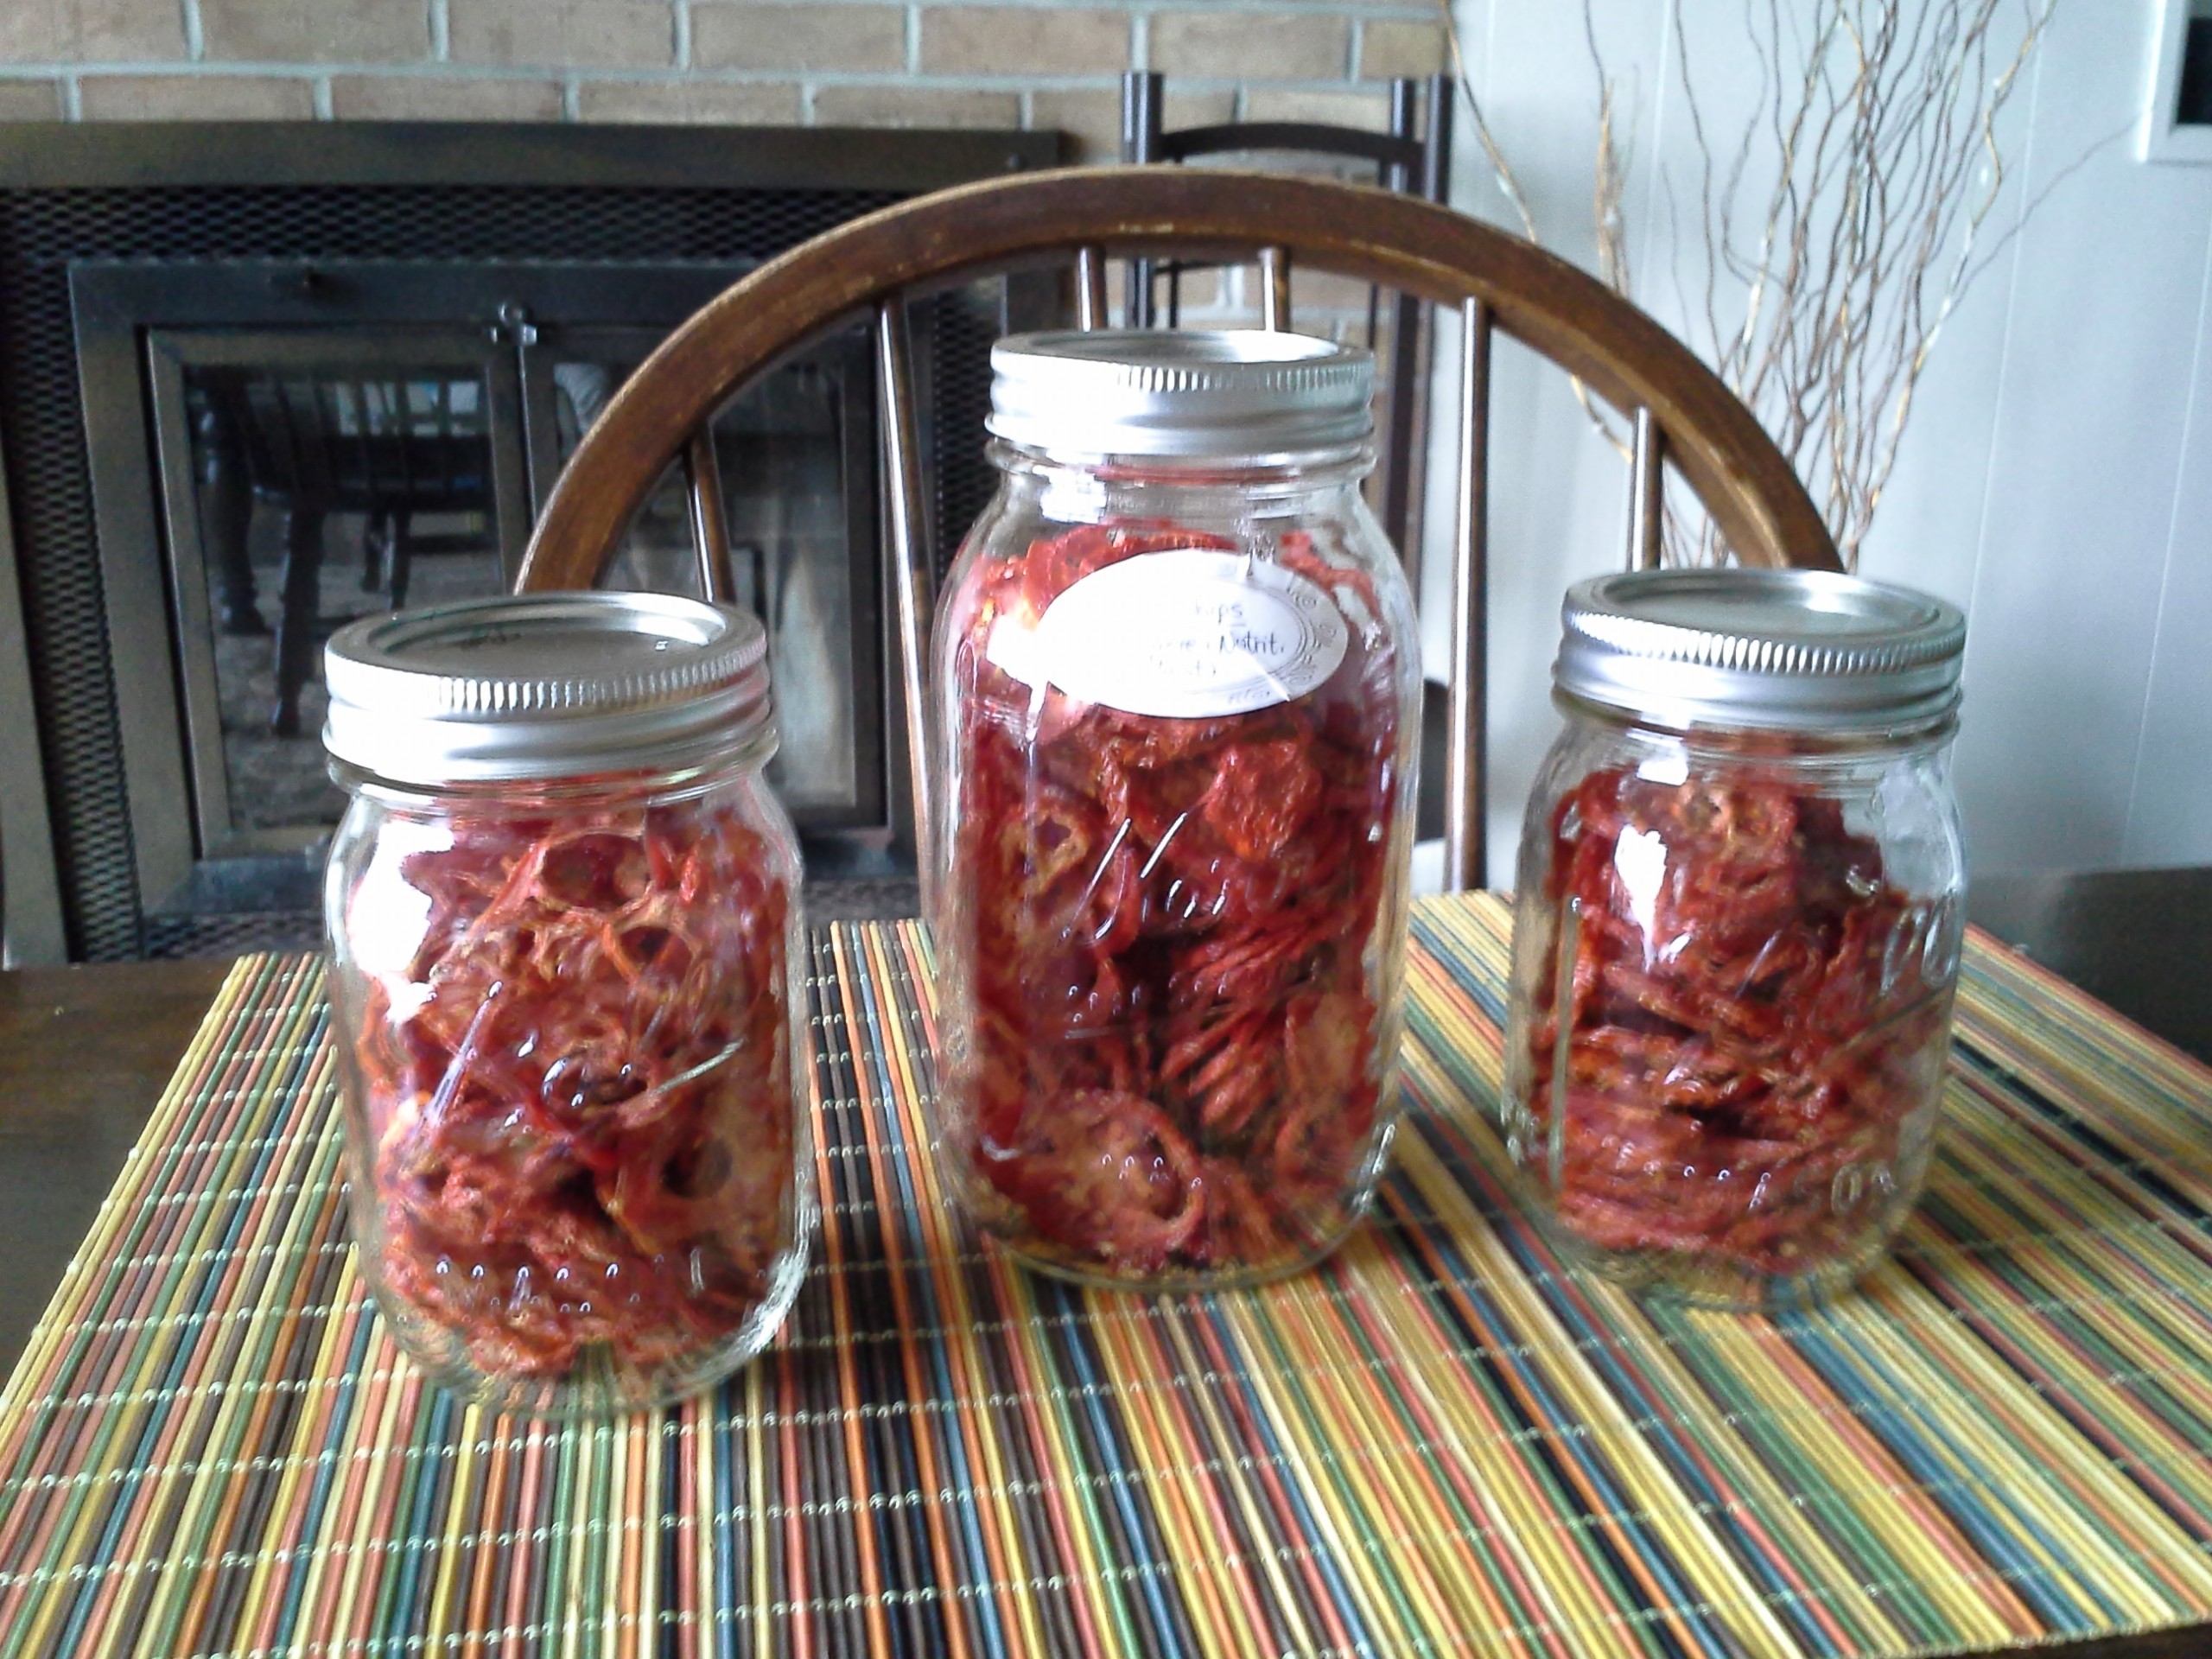
In the photo you can see some of the things I’ve done so far. You can experiment with the seasonings you like, but I will tell you what I used and you can improvise from there.  I only use thoroughly washed organic produce because when dehydrating any chemicals in or on the food will be concentrated. Flavor is also concentrated when foods are dehydrated.  Notice that I did not use any sugar at all.  The natural sweetness of the fruit and vegetables is all you need.

The APPLE CHIPS were easy. Just thinly slice each apple, cut slices in half, remove core parts and any seeds, and lay slices in a single layer on the mesh dehydrator tray. You will get a lot of apple chips from one apple! Some people brush the apple slices with lemon to keep them white, but I don’t think it makes that much difference. Sometimes I sprinkle slices with cinnamon before dehydrating. This time I didn’t.

BANANA CHIPS were peeled, sliced very thin and laid in a single layer on the mesh tray. These I did sprinkle with cinnamon and they tasted great!

RED BEET CHIPS were a first for me. Once again I sliced the beets very thin. I made a marinade of 1/4 cup water, 1/4 cup Bragg’s Apple Cider Vinegar, and 1/2 tsp. Himalayan Pink Sea Salt. In a large bowl I gently tossed the slices in the marinade until they were evenly coated and let them sit for about a half hour, tossing a couple of times just to make sure each slice was flavored. Each beet, single layer not touching, made a full tray of chips!

SWEET POTATO CHIPS…so yummy! I scrubbed, but did not peel, the sweet potatoes. I cut off about 1/2 inch from each end, thinly sliced them, and placed the slices in a large bowl with 2 Tbsp. Extra virgin olive oil and 1 tsp. Himalayan Pink Salt. I gently tossed the slices until each one was coated and placed them in a single layer on a mesh tray.

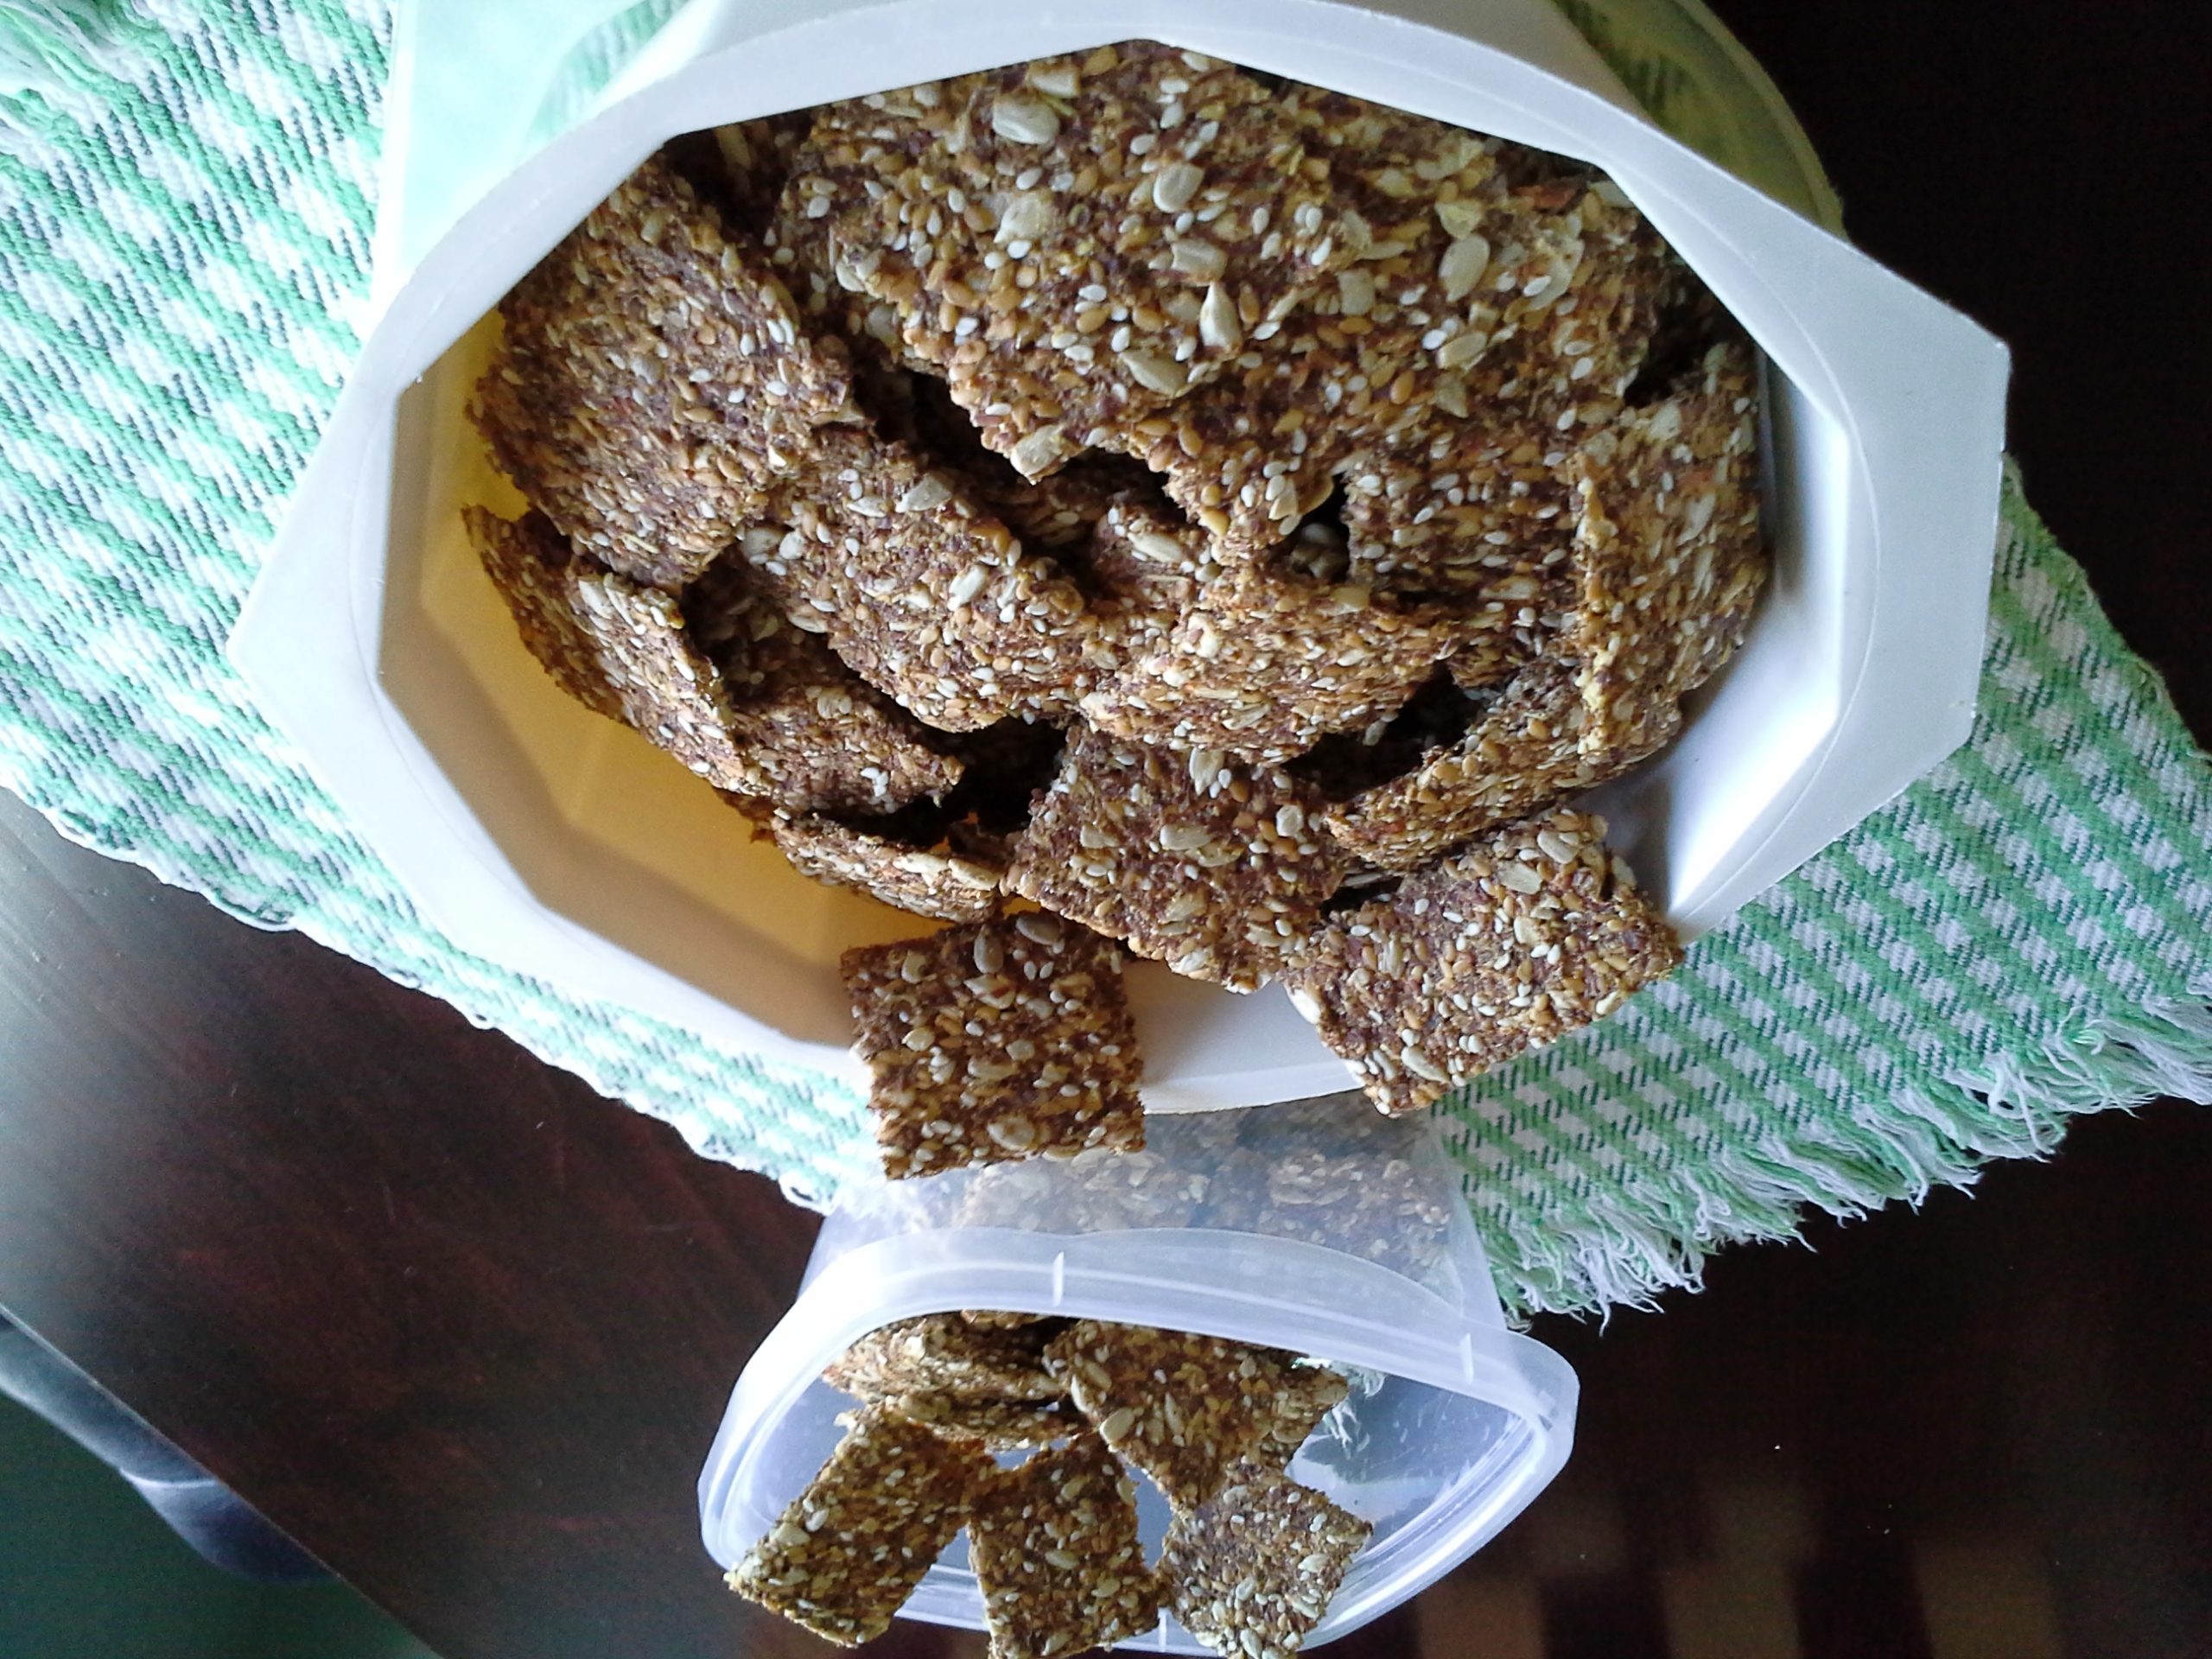
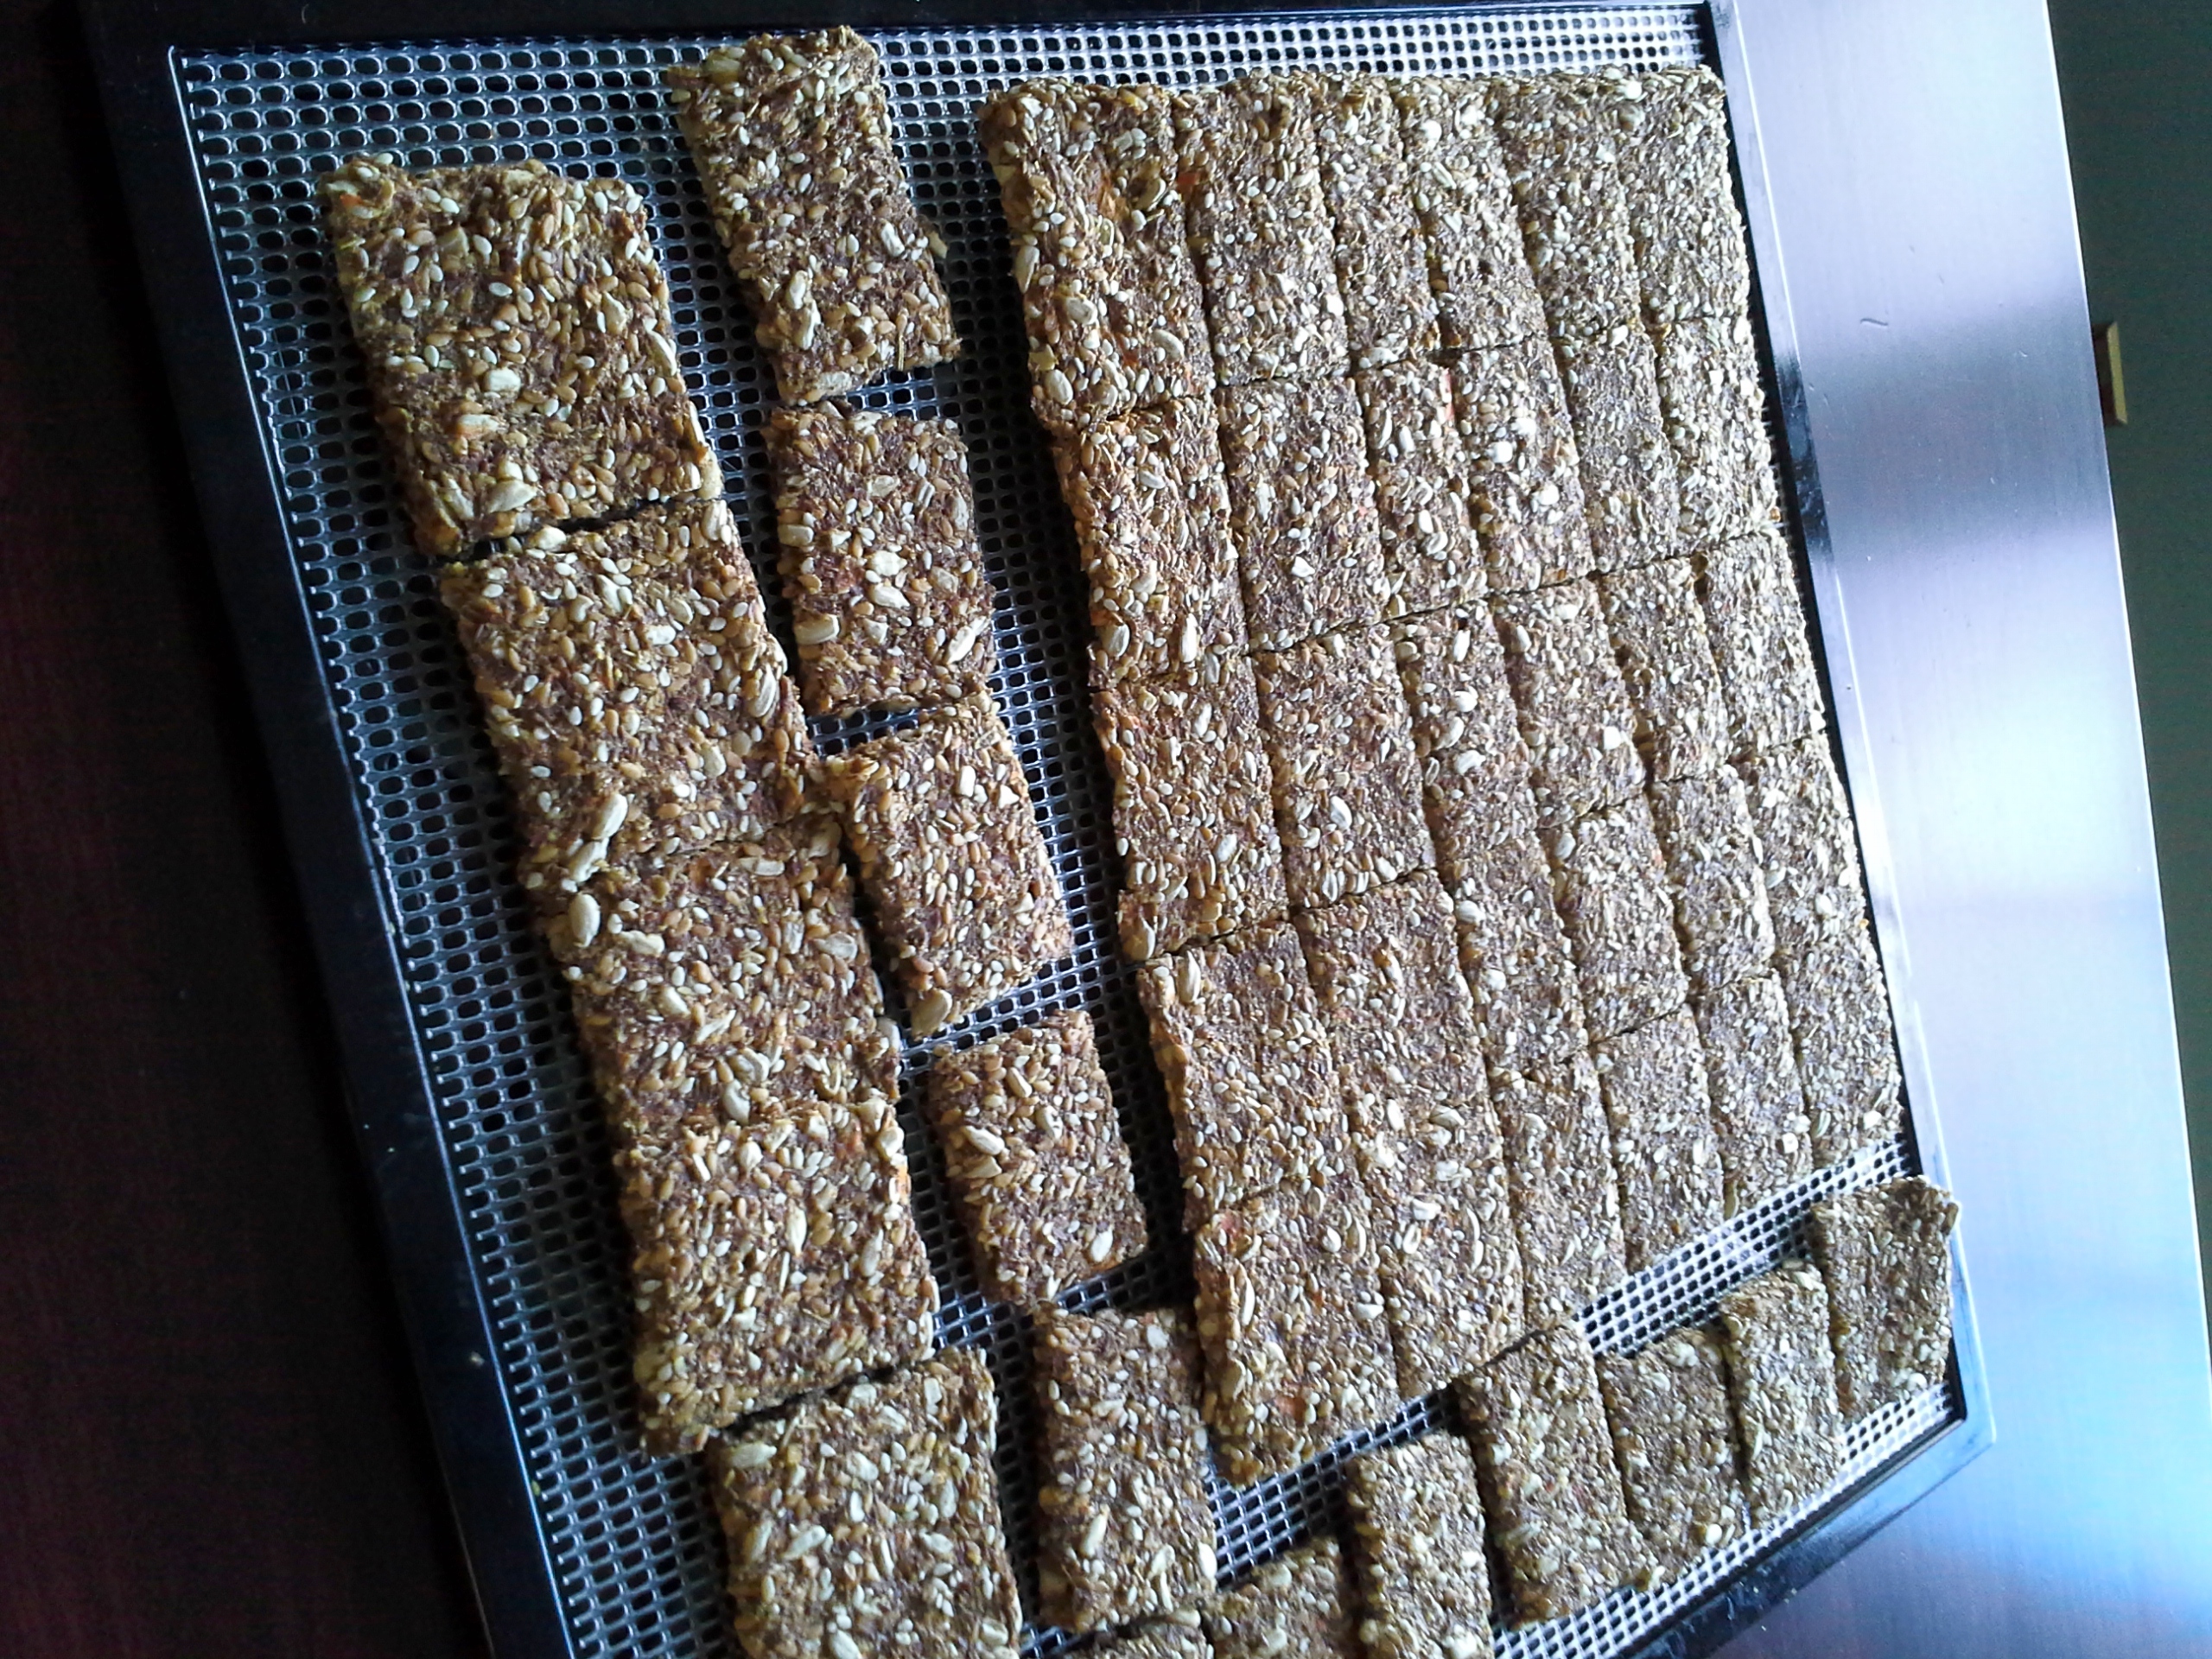
That’s it. When the dehydrator was full I turned it on at 105 degrees and went to bed. No timer, no turning or repositioning trays, no worries. In the morning everything was dried to a perfect crisp chip. No, the flavors did not transfer, and the house smelled wonderful. We have a supply of healthy chips for snacking, AND with the dehydrator fan blowing 105 degrees all night and the cabinet doors open, our kitchen pipes didn’t freeze!


Tomato Chips

Because it’s the end of the growing season, and gardeners probably have an overabundance of tomatoes, I thought I would share this again. I use these tomato chips in place of sundried tomatoes all year long. Delicious!

This is the easiest way I have found to preserve your abundant tomato harvest.  Only two ingredients besides the tomatoes, and so simple!

The first thing you will do is thinly slice the tomatoes — not more than 1/4 inch thick.  Spread the slices in a single layer on the dehydrator mesh tray making sure the slices are not touching each other.  There is no need to line the tray with a teflex sheet or parchment paper.20130917_211051 tomato chips ready for dehydrator, 2

Lightly sprinkle each slice with a little Herbamare (or any sea salt and herb seasoning you desire). Then top with some nutritional yeast. Dehydrate for 6 – 8 hours or overnight.  Store in a tightly covered glass jar in the pantry, and they’ll stay crisp all winter. 20130921_134958 tomato chips jarred, 2

Bet you can’t eat just one!

Raw Pizza Crackers

We made these raw crackers in this week’s Cooking for Health Class, and they are delicious! Serve them with a dip, hummus, or eat them plain.  You will enjoy the pizza flavor which can be enhanced by adding garlic or red pepper flakes if you like your pizza spicy.  The recipe makes two full trays of crackers.  The photo shows how many crackers you will get from one recipe (of course that depends on how big you make them, too).  Easy to make ahead so take some to the next party  — enough for yourself and to share!                                                                                                   20130403_180507 Pizza Crackers

Ingredients:

2 cups ground flaxseed

2/3 cup whole flaxseed

2 large skinned plum tomatoes

2 Tbs. Italian Seasoning

1 tsp. pink Himalayan salt

2 Tbs. nutritional yeast

1 1/3 cups whole raw sunflower seeds

1/2 cup sesame seeds

2 cups water (add up to 1/2 cup more, a little at a time, if needed)

Optional additions:  garlic powder, red pepper flakes, onion powder, chopped fresh basil

Nothing needs to be soaked.  Simply mix all ingredients in a large bowl and stir well.

Spread 1/2 batter on each of two dehydrator trays covered with teflex sheets or parchment paper.  Use the back of a spoon to spread batter evenly about 1/4 inch, thick keeping batter as square as possible.  (If you have a round dehydrator you could drop batter by spoon and spread into individual rounds).

Dehydrate at 115 degrees for about 2 hours. They should be starting to harden.  At this point, take a sharp knife and score the crackers (don’t cut all the way through) into squares or triangles as big as you want them to be. (If you score the crackers now they will be easier to break apart when finished).

Pizza Crackers on Tray

Lower temperature and dehydrate at 105 degrees for 6 – 8 hours, until crackers are firm enough to move (go to work, go to school, go to bed).  Remove teflex sheet (some of the crackers may separate along scored lines…that’s okay), and continue to dehydrate at 105 degrees on mesh dehydrator tray until crackers are completely dry and crisp.

Separate crackers along scored lines.

These can be stored in an air-tight jar in your pantry for weeks…but they won’t last that long!

Raw Vegetable and Nut Cereal

We call this cereal, but it’s really a salad disguised as breakfast.  It’s the strangest and healthiest breakfast cereal I have ever LOVED!  This recipe doesn’t contain any actual cereal at all, but oddly enough, it does have a granola-like texture and taste.  I promise, it is really good — the teenagers in our house have been known to eat three bowls full!  This simple recipe makes enough for several generous servings and will keep in your refrigerator for a couple of days (if it lasts that long).

Ingredients:

1 1/4 cup carrot

1/4 cup pecans or almonds

1/2 cup cauliflower

1 cup broccoli

1/2 apple (peeled if not organic)

Method:

Cut vegetables into chunks.  Chop carrots for about four seconds in food processor.  Add other ingredients to processor and pulse until desired texture is reached (pieces about the size of granola).  That’s it — wasn’t that easy?

Pour all in a bowl, and top with maple syrup (or sweetener of your choice) and pour almond or soy milk over top.

Optional: Sprinkle raisins and/or cinnamon on top.