Vegan Shepherd’s Pie

  Shepherd's Pie

   This is an entrée I love serving to meat-loving friends.  It’s fun to watch them try to figure out where the beef is!  It tastes like it’s there, but in reality it’s not.  Invariably, they have to admit this is a great version of the fat-laden Shepherd’s Pie they’re used to.  All the flavor, minus the artery-clogging cholesterol…what’s not to love?

As always, cook once but eat twice.  This recipe is easy to throw together if you have leftover Vegetarian Taco “Meat” https://vegtutor.wordpress.com/2008/04/29/recipe-vegetarian-taco-meat and cooked brown rice in the freezer.

Ingredients:

1 1/2 c. Vegetarian Taco “Meat”

1 1/2 cooked brown rice

1 small onion, chopped

1 stalk celery, chopped

1 carrot, chopped

2 tsp. olive oil

2 tsp. dried basil

2 tsp. dried parsley

1 Tbs. Dijon mustard

1 c. dry bread crumbs

Bottom Layer:  Place Taco “Meat” and brown rice in a large bowl. Saute vegetables in oil for 4 – 5 minutes, then add to bowl with Taco “Meat” and rice.  Add spices, Dijon mustard, and bread crumbs. Stir with a large spoon to mix ingredients. Season with sea salt and pepper if desired. Spread mixture in an oil-sprayed glass casserole dish.

  Top Layer:  If you’re smart, you have leftover mashed potatoes on hand to make this recipe as simple as can be. If you don’t have any leftover mashed potatoes, here is a recipe:

Mashed Potatoes

4 large potatoes, peeled and cubed

1 qt. water

1/3 c. unsweetened rice, soy, or almond milk

1 – 2 Tbs. organic butter or substitute

salt and pepper to taste

   Bring water to a boil and add potatoes.  Reduce heat and cook 15 – 20 minutes, until potatoes are fork tender.  Drain and place in a mixing bowl. Add seasonings and use an electric mixer or hand masher to mash potatoes.  Add milk a little at a time as you mash until potatoes are thick and creamy with no lumps. Adjust seasonings to taste.

   Spread thick layer of mashed potatoes on top of the bottom layer of Shepherd’s Pie. Top with vegan parmesan cheese or Gomasio if desired.

   Bake uncovered at 375 degrees for 30 -45 minutes

   Cut into thick slices and serve with vegan gravy.

Tomato Chips

Because it’s the end of the growing season, and gardeners probably have an overabundance of tomatoes, I thought I would share this again. I use these tomato chips in place of sundried tomatoes all year long. Delicious!

This is the easiest way I have found to preserve your abundant tomato harvest.  Only two ingredients besides the tomatoes, and so simple!

The first thing you will do is thinly slice the tomatoes — not more than 1/4 inch thick.  Spread the slices in a single layer on the dehydrator mesh tray making sure the slices are not touching each other.  There is no need to line the tray with a teflex sheet or parchment paper.20130917_211051 tomato chips ready for dehydrator, 2

Lightly sprinkle each slice with a little Herbamare (or any sea salt and herb seasoning you desire). Then top with some nutritional yeast. Dehydrate for 6 – 8 hours or overnight.  Store in a tightly covered glass jar in the pantry, and they’ll stay crisp all winter. 20130921_134958 tomato chips jarred, 2

Bet you can’t eat just one!

Vegan Wendy’s Frosty

This is a summer treat you can make at home… often! No need to feel guilty because it’s  dairy-free and low in fat!

There are several versions of a Vegan Wendy’s Frosty out there.  I’ve tried a few, and played around with the recipe until I came up with one that suited me.  Of course this isn’t full of fat like the original, but it is cold, sweet and creamy.  If you like chocolate, but not the fat and calories that go with it, then I think this version will satisfy very nicely. Hope you like it!

This recipe makes enough for two large servings — one for you and one for a friend.20130812_122328

Ingredients:

3 frozen bananas, broken into pieces

2 Tbsp. carob powder or cacao powder

12 -15 ice cubes (depends on the size)

3/4 cup plant milk

12 – 20 drops vanilla stevia

Method:

Place all ingredients in a high speed blender (one that can crush ice).  Turn on high speed and blend until smooth and creamy, stirring occasionally if necessary.  Add a little more plant milk, if necessary.  Adjust the amount of vanilla stevia to suit your taste.

Yum!

Veggie Lasagna

A word to the wise: If you’re trying to change your family’s eating habits to a healthier vegetarian diet, please don’t serve them a green smoothie or a blended salad to start out.  Unfamiliar and unrecognizable food like that will only shock them into resistance. Give your family something they are used to, something they can identify and already enjoy eating — but make it healthier, lower in fat and calories, with no animal ingredients.  This is a delicious recipe even a carnivore can enjoy.  It may become one of your family’s favorites!

Ingredients:

1 chopped onion

1 clove minced garlic

1 lb. frozen chopped spinach, thawed and drained

8 oz, sliced mushrooms, rinse well and drain

12 – 15 lasagna noodles

1 container (12.3 oz) Mori-Nu silken tofu, drained and mashed with a fork

¼ c. vegan parmesan topping, plus another 1/2 c. reserved for top

1 Tbs. parsley flakes

1 tsp. oregano

1 ½ tsp sea salt

12 oz. shredded vegan mozzarella (Soya Kaas or Daiya are good brands)

1 ½ qt. any good meatless spaghetti sauce (reserve 1 c.)

Method:

— Cook noodles according to package directions.

–Saute onions, garlic and mushrooms in 1 Tbs. olive oil. Add thawed, drained spinach and toss together.

–In a large bowl combine: tofu, ¼ cup veggie parmesan and spices. Add sautéed vegetables and mix together with a fork.

–In an ungreased oblong casserole layer:

A thin layer of sauce

¼ noodles

¼ sauce

¼ tofu mixture

¼ vegan mozzarella

Repeat this process three times.

–Spread reserved 1 cup sauce over top layer of noodles.  Sprinkle with ½ cup vegan parmesan topping. (At this point lasagna can be covered and refrigerated for several hours.)

–Bake uncovered at 350 degrees for 45 minutes (allow additional 10 – 15 minutes if lasagna has been refrigerated.)

For easier cutting, let stand for 15 minutes after removing from oven.

Raw Pizza Crackers

We made these raw crackers in this week’s Cooking for Health Class, and they are delicious! Serve them with a dip, hummus, or eat them plain.  You will enjoy the pizza flavor which can be enhanced by adding garlic or red pepper flakes if you like your pizza spicy.  The recipe makes two full trays of crackers.  The photo shows how many crackers you will get from one recipe (of course that depends on how big you make them, too).  Easy to make ahead so take some to the next party  — enough for yourself and to share!                                                                                                   20130403_180507 Pizza Crackers

Ingredients:

2 cups ground flaxseed

2/3 cup whole flaxseed

2 large skinned plum tomatoes

2 Tbs. Italian Seasoning

1 tsp. pink Himalayan salt

2 Tbs. nutritional yeast

1 1/3 cups whole raw sunflower seeds

1/2 cup sesame seeds

2 cups water (add up to 1/2 cup more, a little at a time, if needed)

Optional additions:  garlic powder, red pepper flakes, onion powder, chopped fresh basil

Nothing needs to be soaked.  Simply mix all ingredients in a large bowl and stir well.

Spread 1/2 batter on each of two dehydrator trays covered with teflex sheets or parchment paper.  Use the back of a spoon to spread batter evenly about 1/4 inch, thick keeping batter as square as possible.  (If you have a round dehydrator you could drop batter by spoon and spread into individual rounds).

Dehydrate at 115 degrees for about 2 hours. They should be starting to harden.  At this point, take a sharp knife and score the crackers (don’t cut all the way through) into squares or triangles as big as you want them to be. (If you score the crackers now they will be easier to break apart when finished).

Pizza Crackers on Tray

Lower temperature and dehydrate at 105 degrees for 6 – 8 hours, until crackers are firm enough to move (go to work, go to school, go to bed).  Remove teflex sheet (some of the crackers may separate along scored lines…that’s okay), and continue to dehydrate at 105 degrees on mesh dehydrator tray until crackers are completely dry and crisp.

Separate crackers along scored lines.

These can be stored in an air-tight jar in your pantry for weeks…but they won’t last that long!

Easter Onigiri

Onigiri may be new to Americans, but in Japan it is a common snack and bento box lunch treat for kids. Usually, they are small round or triangular rice balls filled with vegetable surprises.  Onigiri is an ancient food that history tells us was wrapped in leaves and carried by Samuri warriors into battle.  Today, making the cutest Onigiri, shaped and decorated like animals or people, has become somewhat of a crafty competition among Japanese mothers when preparing school lunches.

Easter Onigiri

With Easter approaching I was inspired to try making something I’d never seen — Easter Onigiri! It was a little tricky getting the colors I wanted naturally, without going the standard food coloring route, but I think these turned out pretty cute.  They’re really not that hard to make and would be a fun project to do with the kids.  What a colorful addition to an Easter buffet table instead of the usual hard-boiled eggs — and no messy eggshells to deal with!

Ingredients:

1 cup sushi rice

3 Tbs. rice vinegar

1 Tbs. + 1 tsp. evaporated cane sugar

1 1/4 sea salt

1 sheet nori (to cut up for decorating)

Fillings:  1/2 inch slices canned baby corn, pickled radish (yummy!), red bell pepper, thawed frozen corn, diced avocado, etc.

I recommend making one color rice at a time.  To make the different colors you will need:

1 tsp. Turmeric – yellow

1 tsp. red beet powder (I’m sure Hallelujah Acres BeetMax* would work, too. You may have to adjust the amount to get the color you want) – pink

1 Tbs. Hallelujah Acres BarleyMax* – green (For brightest color, in a shaker cup put 1 ice-cube the BarleyMax and enough water to measure 1 1/2 cup. Shake vigorously until ice-cube dissolves. Add mixture, foam and all, to rice and cook as directed)

If you want to decorate white eggs, then add no coloring.

Method:

Rinse and drain rice several times (It takes about 5 times until the water is no longer cloudy). Place in a heavy saucepan with 1 1/2 cups water and whatever coloring you choose. Bring to a boil, cover and reduce heat to med/low. Simmer 12 minutes (don’t peek!) Remove from heat and let stand 1 minute.

Meanwhile, in a medium size bowl whisk together rice vinegar, sugar, and sea salt. Mix in the hot rice until the liquid is absorbed. Spread on a foil covered baking sheet to cool for about 5 minutes.

Place a square of plastic wrap over a 1/2 c. custard bowl. Scoop a spoonful of rice into center of plastic wrap making a thumbprint indentation. Fill indentation with your choice of fillings. Cover with another spoonful of rice and pull up sides of plastic wrap. Twist and squeeze wrap around rice, forming a tight, smooth egg shape around filling. Unwrap and place onigiri on a large flat plate.  Repeat with remaining ingredients.

Decorate Onigiri with cut up nori.  Have a bowl of water nearby to glue down nori decorations.  If rice sticks to your fingers wet them to solve that problem.  I used die cut stamps (the kind used for scrapbooking) to stamp out flower and duck shapes, and a paper punch for little dots. Be creative — go wild!

*www.hacres.com

Grandma’s Chili (Vegetarian Style)

20130123_175023 Blog photo Chili

What is the perfect dinner for a cold winter evening?  A steaming bowl of heart healthy chili!  This recipe will provide mega protein and fiber with very little fat and calories.  It’s a very simple recipe made with common ingredients, and is delicious with or without the optional ingredients. As a bonus, you can also throw everything in your crockpot and let it cook on LOW all day.  Dinner will be ready when you return home!

Ingredients:

1 large onion, chopped and sautéed in 1 Tbsp oil (if you have the time)

1 large can tomato sauce

1 large can kidney beans

1 Tbsp. chili powder

1/4 tsp. ground black pepper

1 1/2 tsp. sea salt

Optional Ingredients (use any or all as desired):

1 tsp. ground cumin

1 tsp. sweetener

1 Tbsp. vinegar

1 – 3 cloves minced garlic

1 chopped red bell pepper

a little cayenne pepper or Tabasco Sauce (to warm you from the inside out!)

Method:

Cover and simmer all ingredients for 45 minutes, stirring occasionally.

Add 1 pkg. Morning Star Farms (frozen meat substitute) Crumbles, and cook for an additional 15 minutes to heat crumbles.  Remove from heat and enjoy with salad and warm cornbread.  Mmmm-m-m-m! This chili tastes even better the second day, so look forward to any leftovers 🙂

Raw Vegetable and Nut Cereal

We call this cereal, but it’s really a salad disguised as breakfast.  It’s the strangest and healthiest breakfast cereal I have ever LOVED!  This recipe doesn’t contain any actual cereal at all, but oddly enough, it does have a granola-like texture and taste.  I promise, it is really good — the teenagers in our house have been known to eat three bowls full!  This simple recipe makes enough for several generous servings and will keep in your refrigerator for a couple of days (if it lasts that long).

Ingredients:

1 1/4 cup carrot

1/4 cup pecans or almonds

1/2 cup cauliflower

1 cup broccoli

1/2 apple (peeled if not organic)

Method:

Cut vegetables into chunks.  Chop carrots for about four seconds in food processor.  Add other ingredients to processor and pulse until desired texture is reached (pieces about the size of granola).  That’s it — wasn’t that easy?

Pour all in a bowl, and top with maple syrup (or sweetener of your choice) and pour almond or soy milk over top.

Optional: Sprinkle raisins and/or cinnamon on top.

Crunchy Garden Salad

Do you ever get tired of leafy green salads?  With gardens producing just about every vegetable imaginable right now you might want to throw together a colorful vegetable salad that contains no lettuce at all.  The ingredients in this crunchy salad can be altered to accommodate whatever vegetables you have on hand; for a surprising burst of flavor throw in your choice of olives (I like kalamata olives), pickles, banana peppers, or sun-dried tomatoes.

It will be more flavorful if you steam the heavier, more dense vegetables for a few minutes — not too long, just until the color brightens but they still retain some crispiness. Any Italian salad dressing will work well, and it always tastes better the next day after flavors have had time to marinate. Makes a great lunch!

Ingredients:

1/2 head cauliflower florets

1 stalk broccoli florets

2 carrots, sliced

1/2 red bell pepper, diced

1/2 green bell pepper, diced

1/2 red onion, sliced

2 red radishes, thinly sliced

1 pint halved cherry tomatoes

1 ear fresh corn kernels (sliced off the cob)

1 can chickpeas, rinsed and drained

Optional: (any or all) olives, dill pickles, banana peppers, sun-dried tomatoes

Lightly steam cauliflower, broccoli, and carrots until just crisp tender (they will be easier to chew and absorb more flavor if steamed). Cool quickly in very cold water and drain.  Place in a large bowl, add other ingredients and your favorite Italian dressing. Toss to coat everything with dressing and allow to marinate for best flavor (good to make the day before). Serve cold.

Makes 10 – 12 servings

Vegan Polish Stuffed Cabbage (Halupki, Golumpki, Pigs-In-A-Blanket)

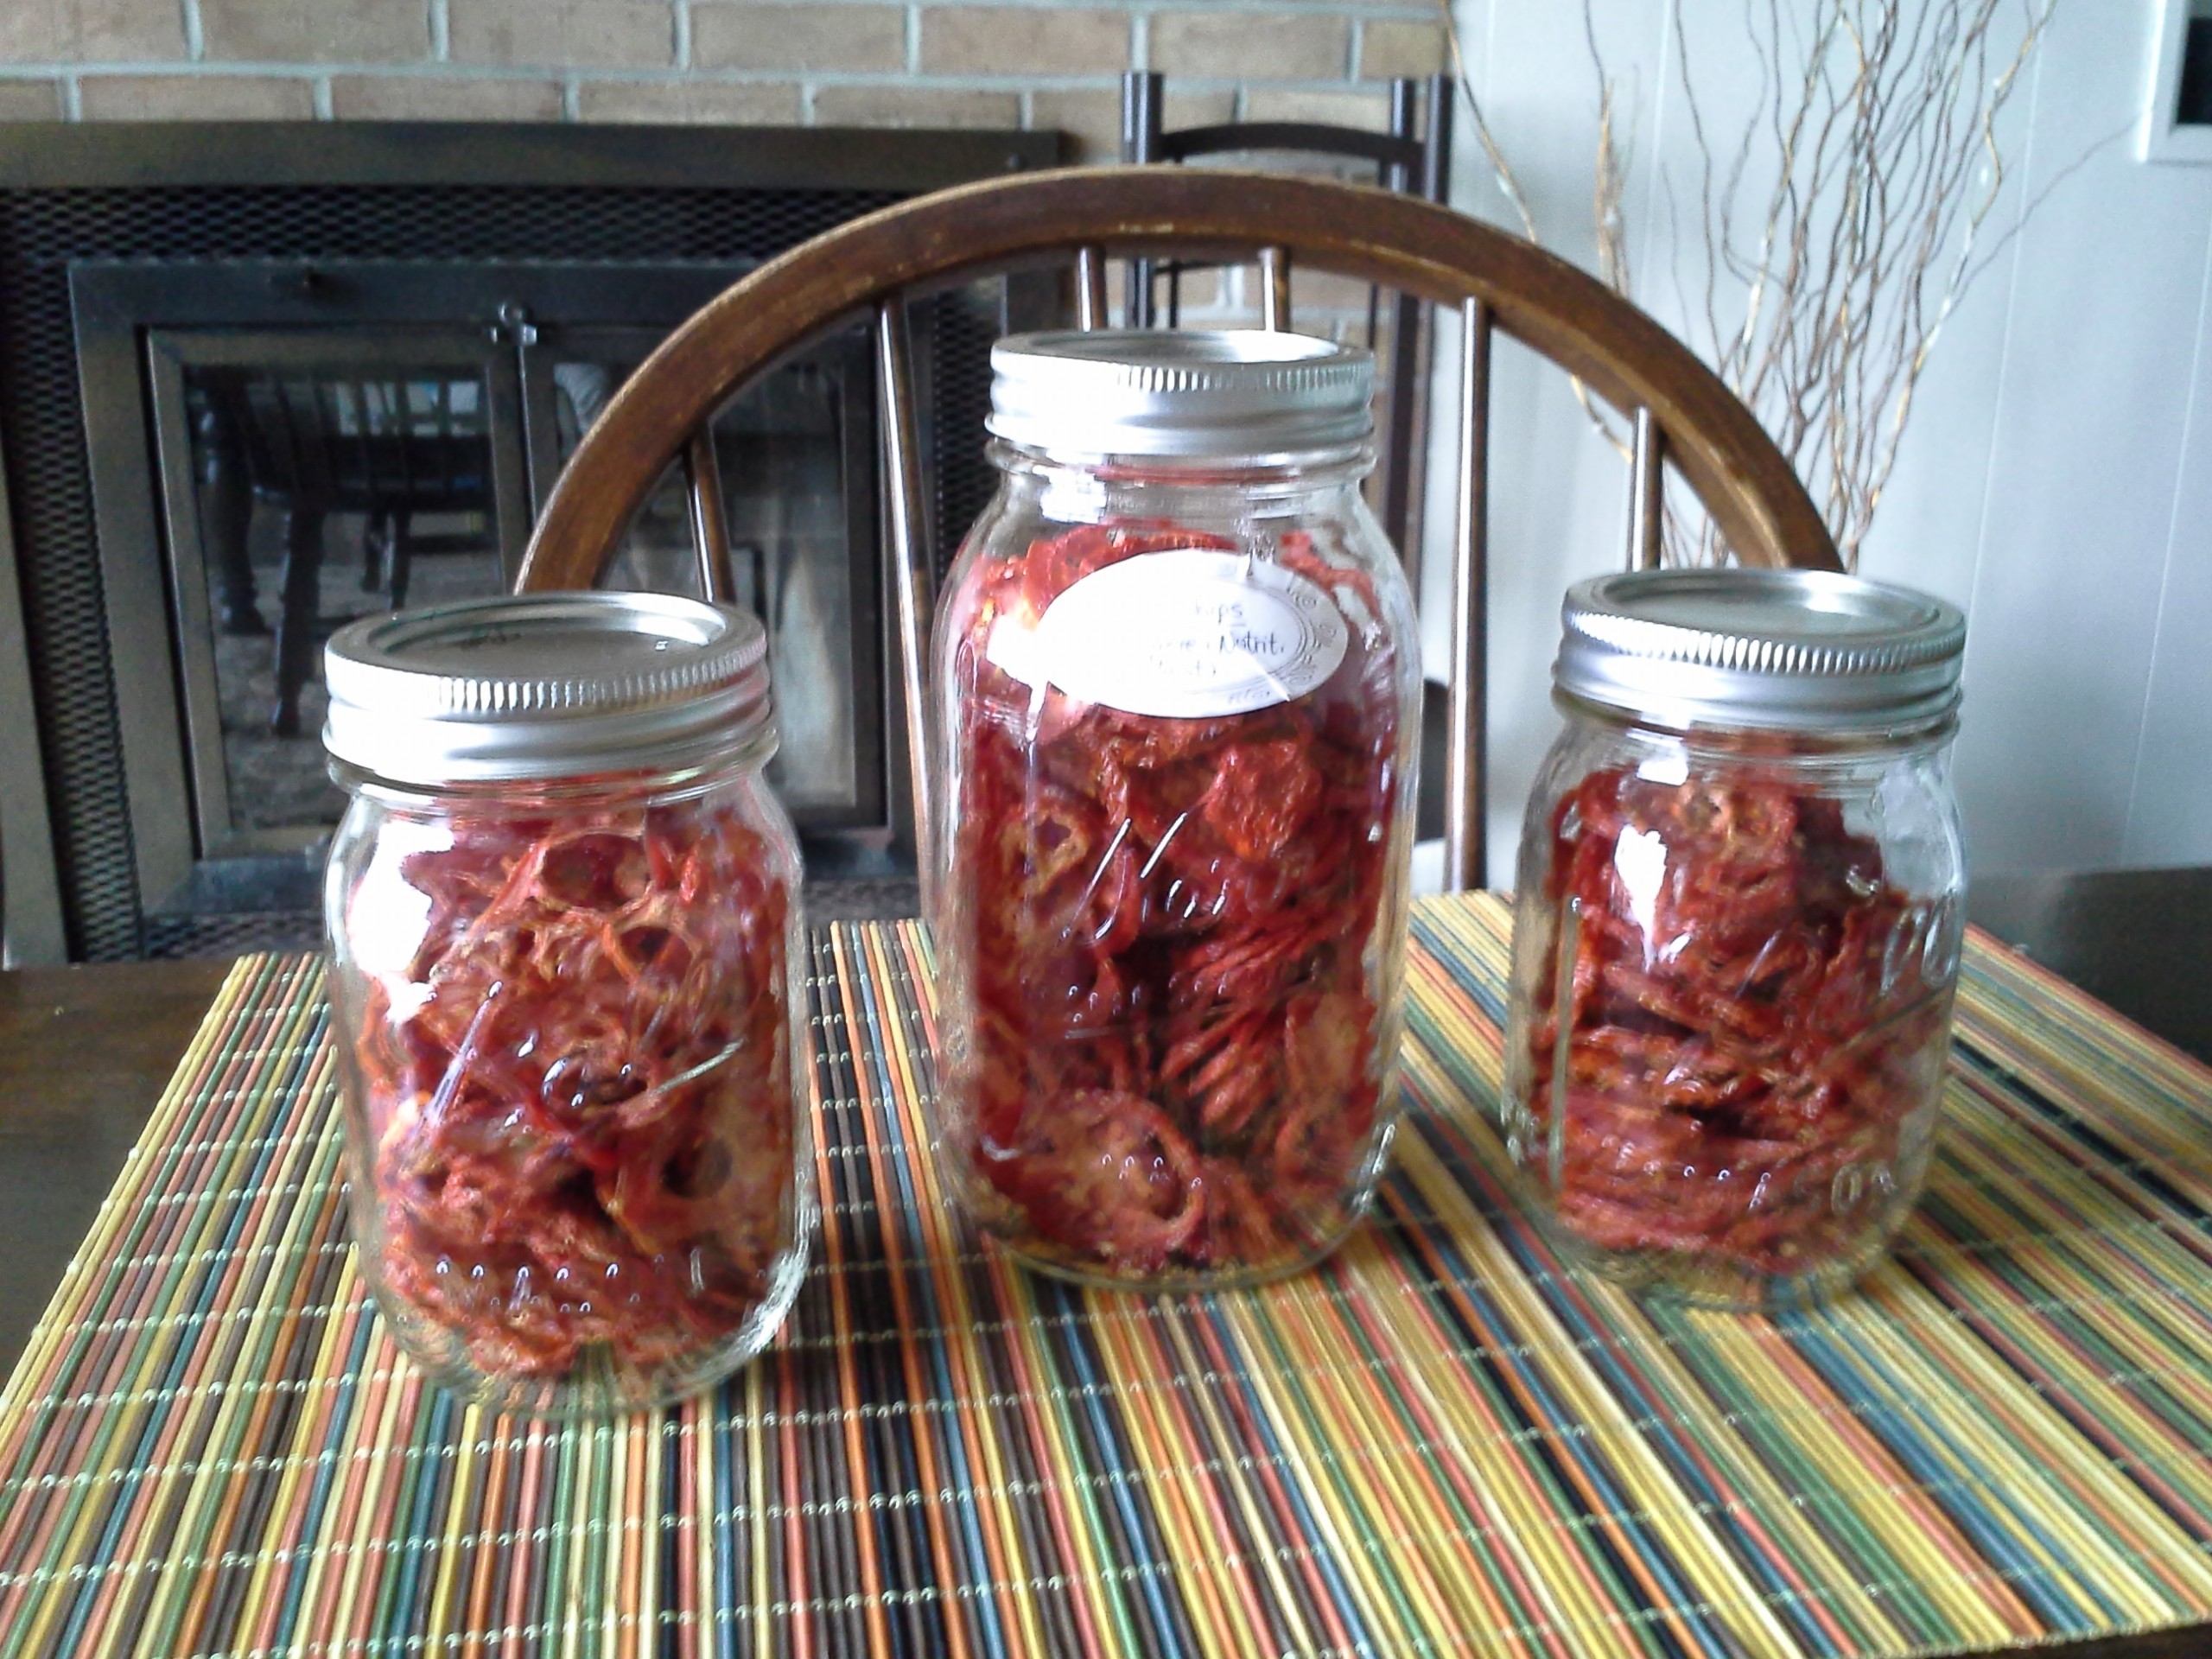
One of the things I miss most about my hometown is the food.  Populated by descendants of European immigrants brought to the anthracite area of Pennsylvania as cheap labor for the booming coal industry in the late 1800’s – early 1900’s, the Wyoming Valley is rich in ethnic heritage and the most wonderful foods you can imagine.  These simple peasant dishes will not be found in any fine restaurant, but families still gather to make and feast on recipes that traveled from Europe and  have been handed down for generations.

I thought Halupki, pure Northeastern PA soul food, was gone from my life forever when I gave up meat, but I have found that with a little imagination and experimentation I can still have my Pigs-In-A-Blanket (as we called them when I was a child) and eat them, too!  This recipe is the result of sheer determination and stubbornness, since I also decided to not use prepackaged fake meat for the traditional ground beef filling. I think this one is a winner. It takes a long time to prepare, so the best thing to do is plan ahead and do it in two stages.  The first day make the brown rice and  Medley’s Vegan Oat Burgers; the second day you can prepare the cabbage, filling, and sauce and assemble the cabbage rolls. It truly is a labor of love (now I know why it took my mother, aunts, and grandmother all together to make these for family gatherings), but to make things easier prepare extra brown rice to freeze, and note that one Oat Burgers recipe is enough for two Halupki casseroles, so making it next time will not be as time-consuming.  Here we go:

MEDLEY’S  VEGAN OAT BURGERS

These are the tastiest vegan burgers ever — on a bun with your favorite toppings or as a substitute for chopped sirloin with mushroom gravy.  This recipe makes a lot so you can freeze some for another time.  The recipe comes from my niece (a wonderful cook just like her mother) who got it from the restaurant where she first enjoyed them. I veganized it.

In a food processor separately grind:

2 c. rolled oats

1 c. walnuts (not too fine, chunky is better)

1 lg. onion

Add:

2 c. rolled oats

2 Tbs. ground flaxseed & 6 Tbs. warm water (mix together and allow to sit a few minutes until thickened)

1 tsp sea salt

1 tsp ground sage

1 tsp garlic powder

1/2 tsp pepper

1 c. unsweetened soy or almond milk (or just enough to hold it all together)

Let mixture sit for 20 minutes.  Form into patties (slightly wet hands so they don’t stick) and brown in olive oil. Then add 2 cups of water with enough soy sauce or Bragg’s Liquid Aminos (about 3 Tbs) to taste.  Pour this over the burgers and simmer uncovered until liquid is absorbed, turning once or twice. Enjoy!

Halupki FILLING:

1/2 recipe Medley’s VEGAN Oat Burgers chopped up after cooking (freeze the other half for next time)

1  – 1 1/2 c. cooked brown rice

1 Tbs parsley

1 Tbs sweet paprika

Saute together: 6 oz. chopped Portobello mushrooms, 1 lg. onion, and 2 Tbs. Annie’s Organic Worsteshire Sauce.  Mix all ingredients together in a large bowl and season to taste with sea salt and cayenne pepper.

Halupki SAUCE:

1 – 10 3/4 oz. can tomato soup and an equal amount to crushed tomatoes

2 Tbs. fresh lemon juice or vinegar

1 soup can water

Mix all together and season with sea salt and pepper as desired.

Method:

(Dealing with a whole head of CABBAGE can be intimidating — don’t worry, you will win).  Core the cabbage and submerge the whole thing in a large pot of boiling water.  It will be somewhat bouyant so you will want to turn it occasionally so that the leaves soften evenly. Cook until the outer leaves become tender, then you can start to peel the leaves off one at a time, and place them on a clean towel to drain. (You can take the cabbage head out of the water to do this, then return it to the water to cook a little while longer until more leaves can be removed.) Repeat until all leaves are removed.

When cabbage leaves are cool enough to handle: In each leaf place 2 – 3 heaping Tbs.filling, tuck in sides and roll to cover filling.  Place cabbage rolls in a large oblong glass baking dish (seam side down).  Pack them tightly together so they don’t unroll.

Pour sauce over all the rolls and cover with aluminum foil.  Bake @ 375 degrees for 45 minutes, or until easily pierced with a fork. This recipe makes a lot (about 30 cabbage rolls).